Engine Out: Finally Starting the Overhaul
The GTI is finally in the workshop and the engine is out — but not without a few snapped bolts, broken AC lines, and a reminder that rust never makes anything easy
Today we finally started the engine overhaul properly.
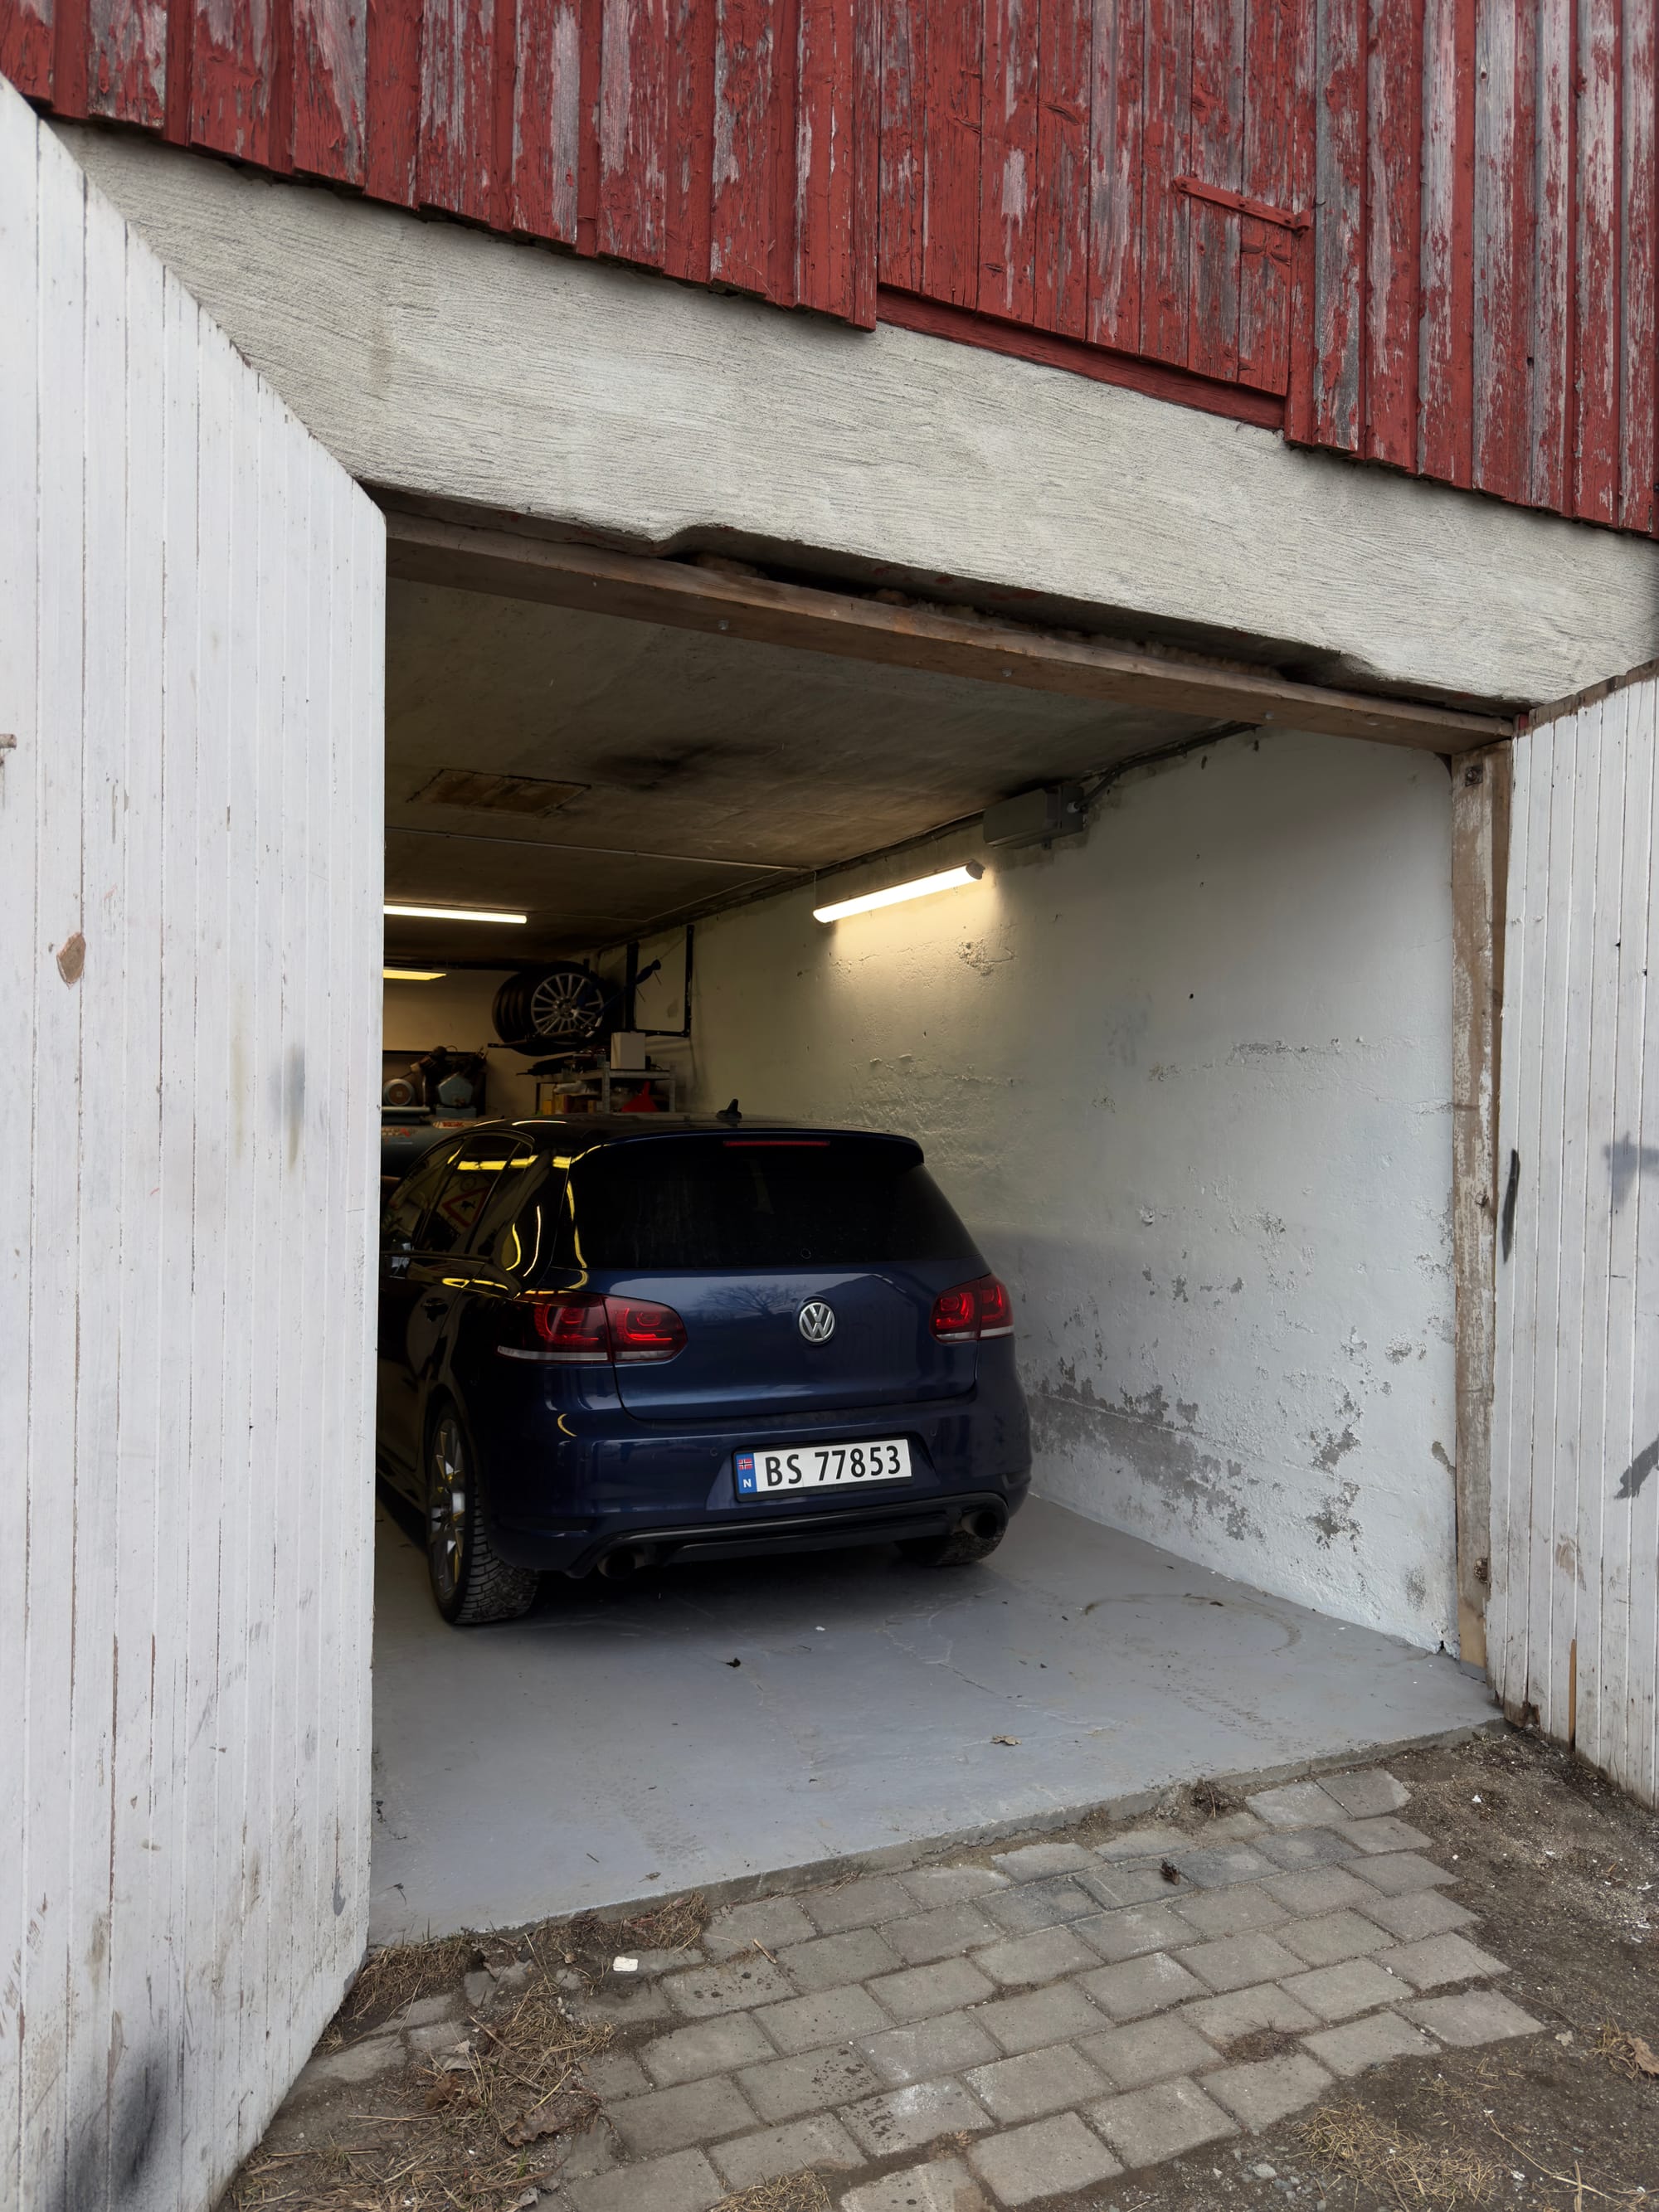
We got the car into the workshop, up on jacks, and started stripping everything down so we could pull the engine. This is something I’ve been looking forward to for a while, because even though the car has already had a lot of work done, this is where things start getting serious.

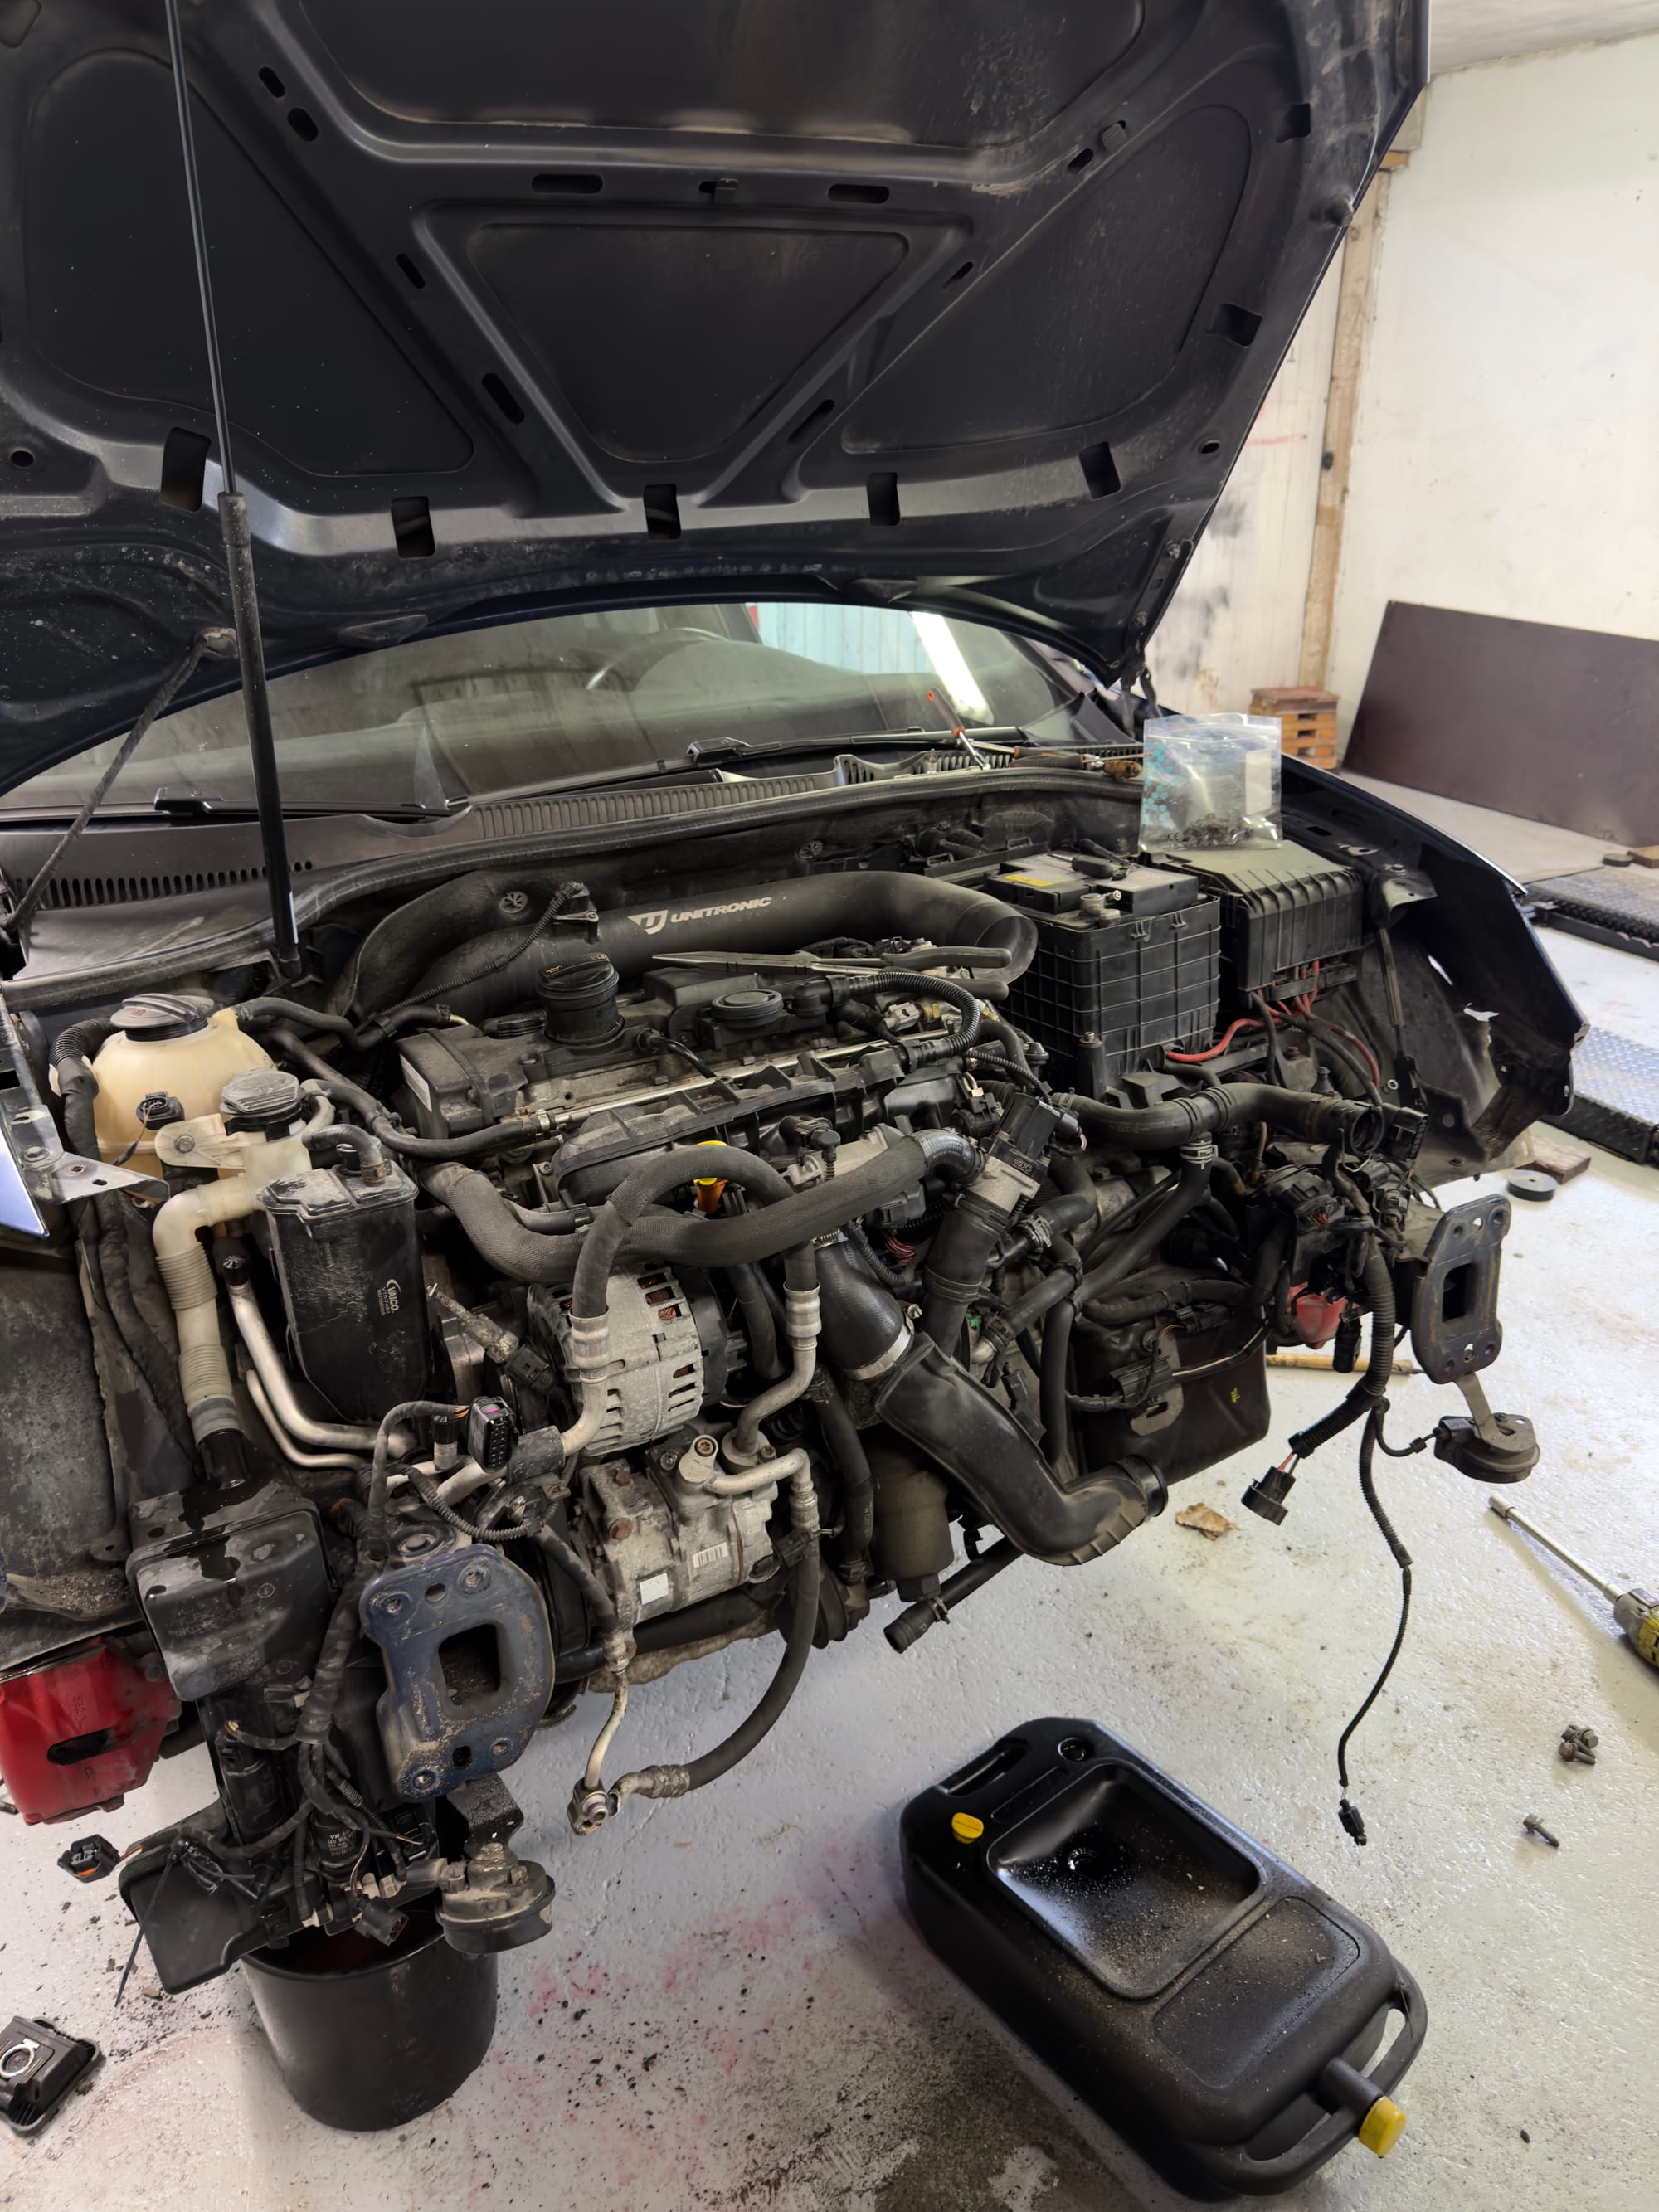
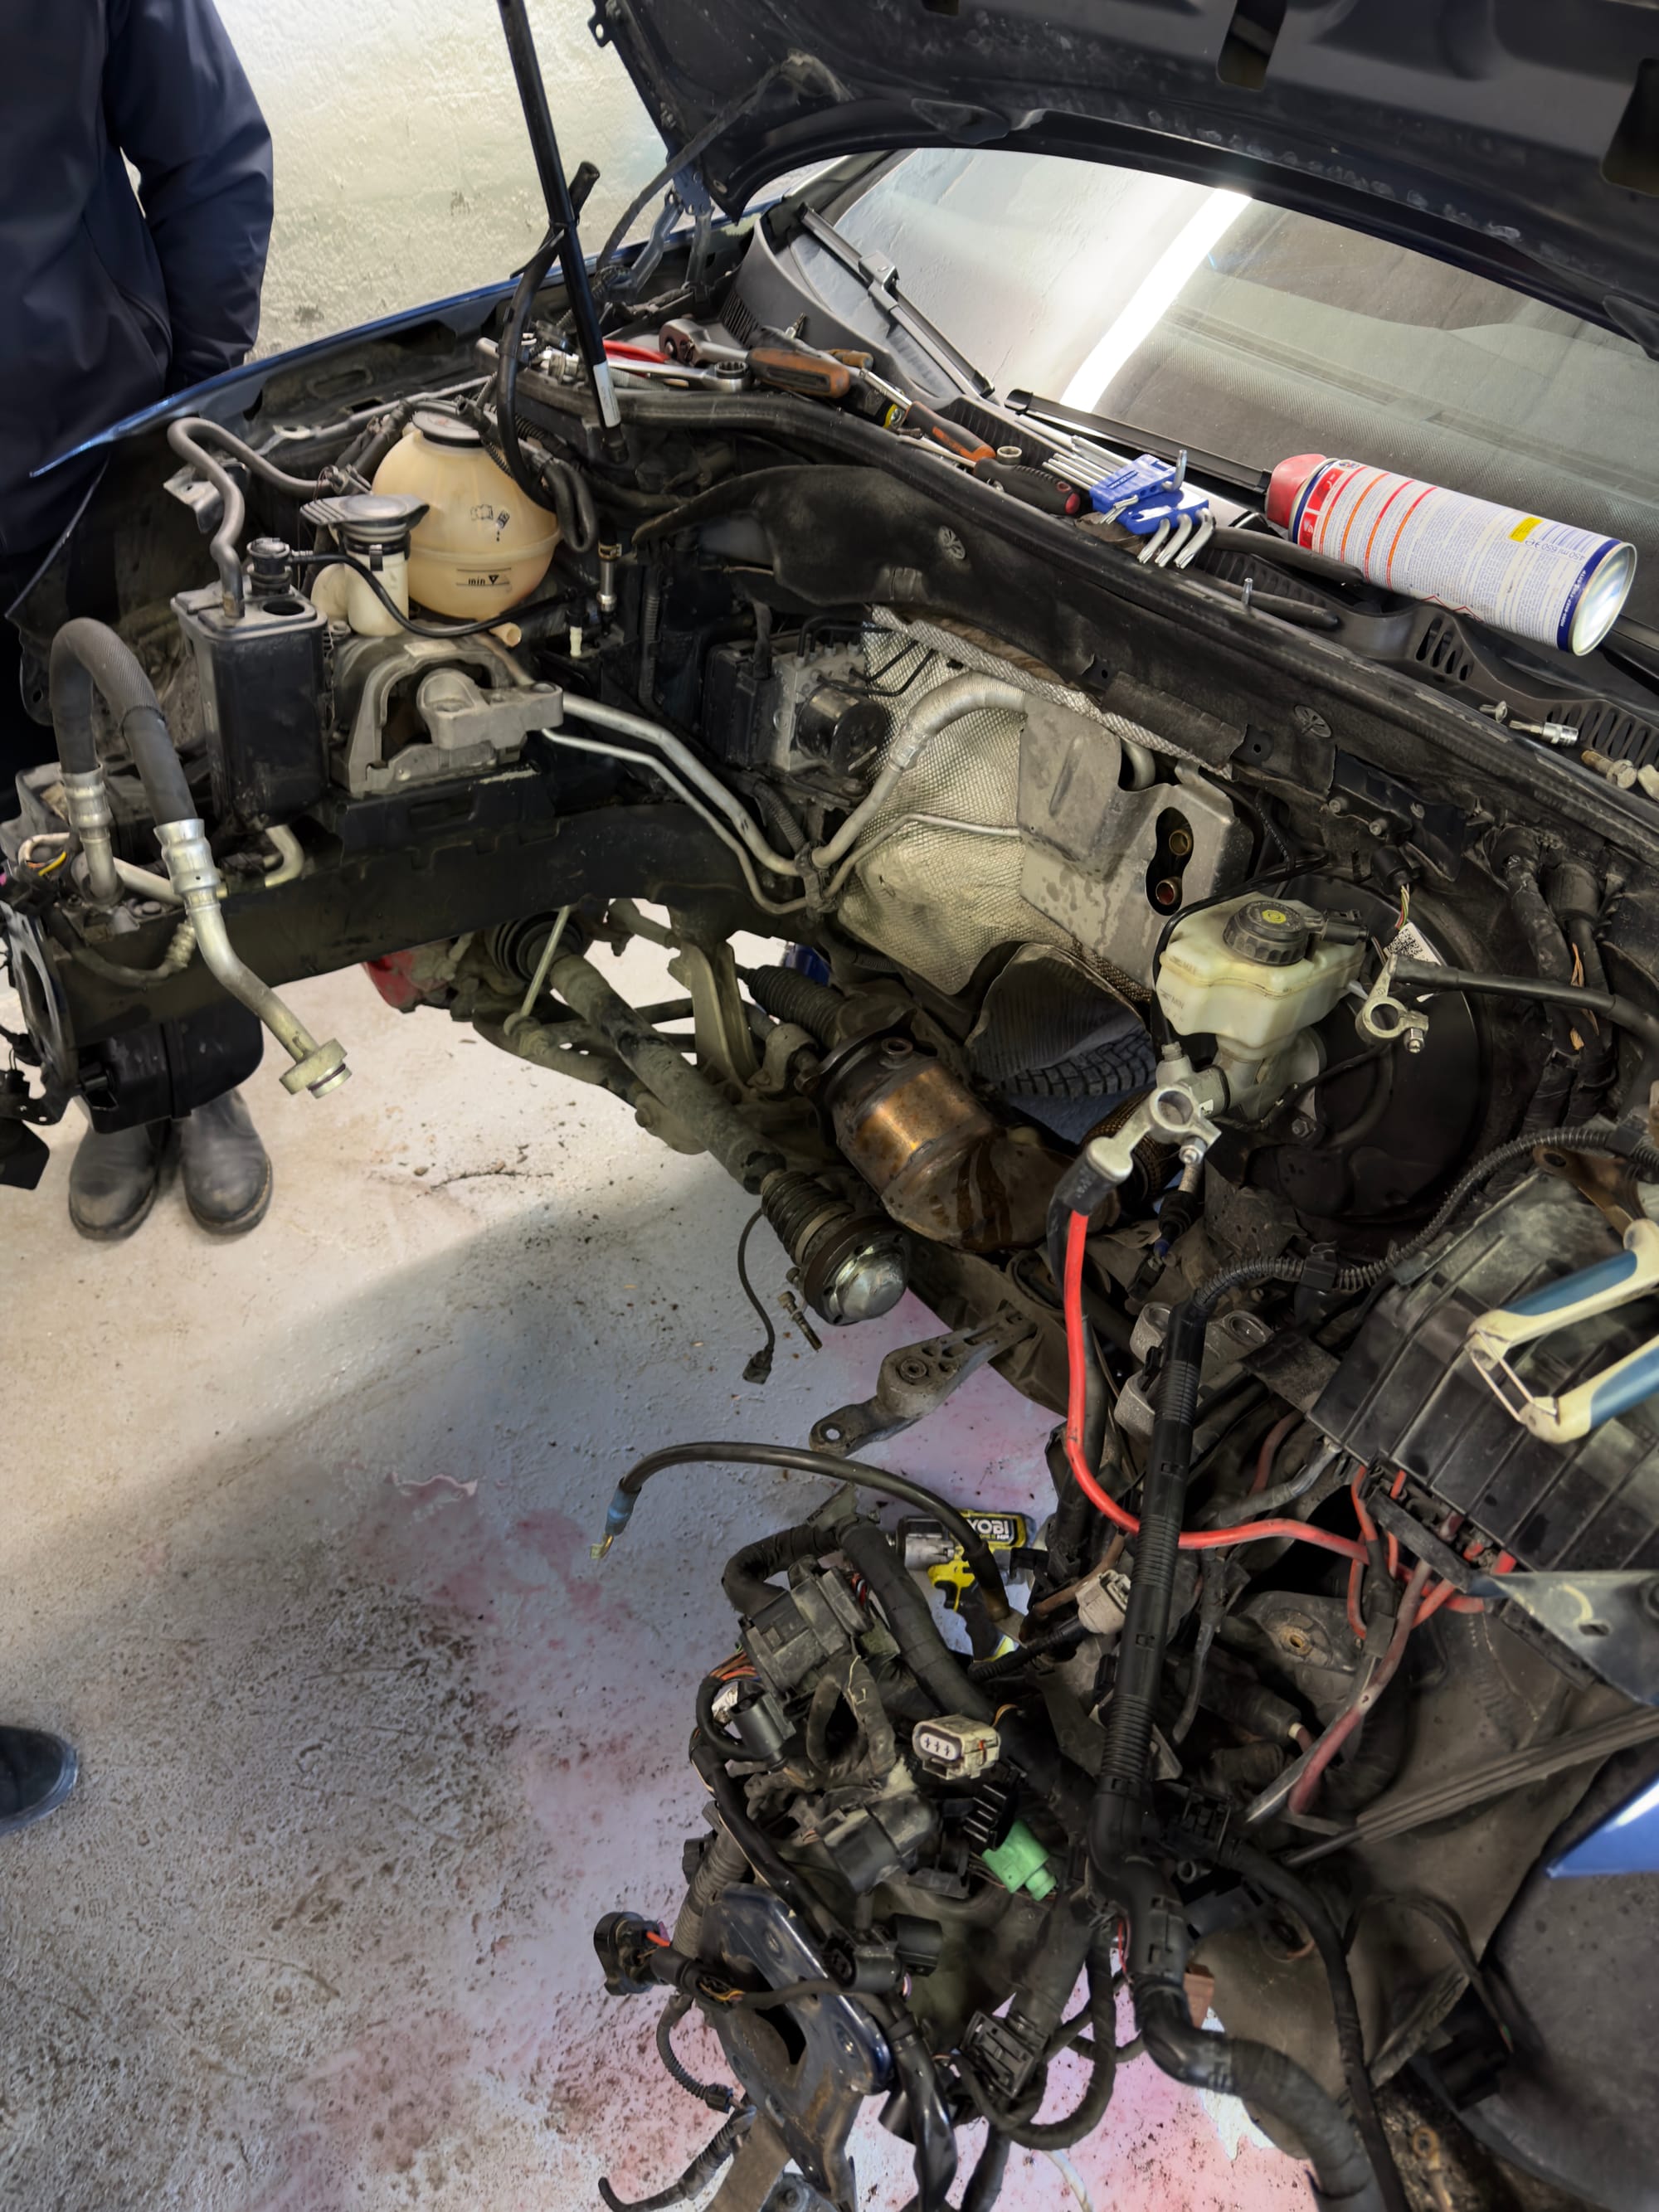
We started by removing the front end of the car, and thankfully that part went surprisingly smoothly. No real issues there. Once that was off, we moved on to the lock carrier area and started freeing everything up so we could get proper access to the engine.
That’s where the rust started reminding us who’s in charge.
A lot of the bolts holding the lock carrier and surrounding parts were badly rusted, and most of them were far too crusty to survive removal. Quite a few snapped off, but since some of these parts are being replaced anyway, it’s not the end of the world.
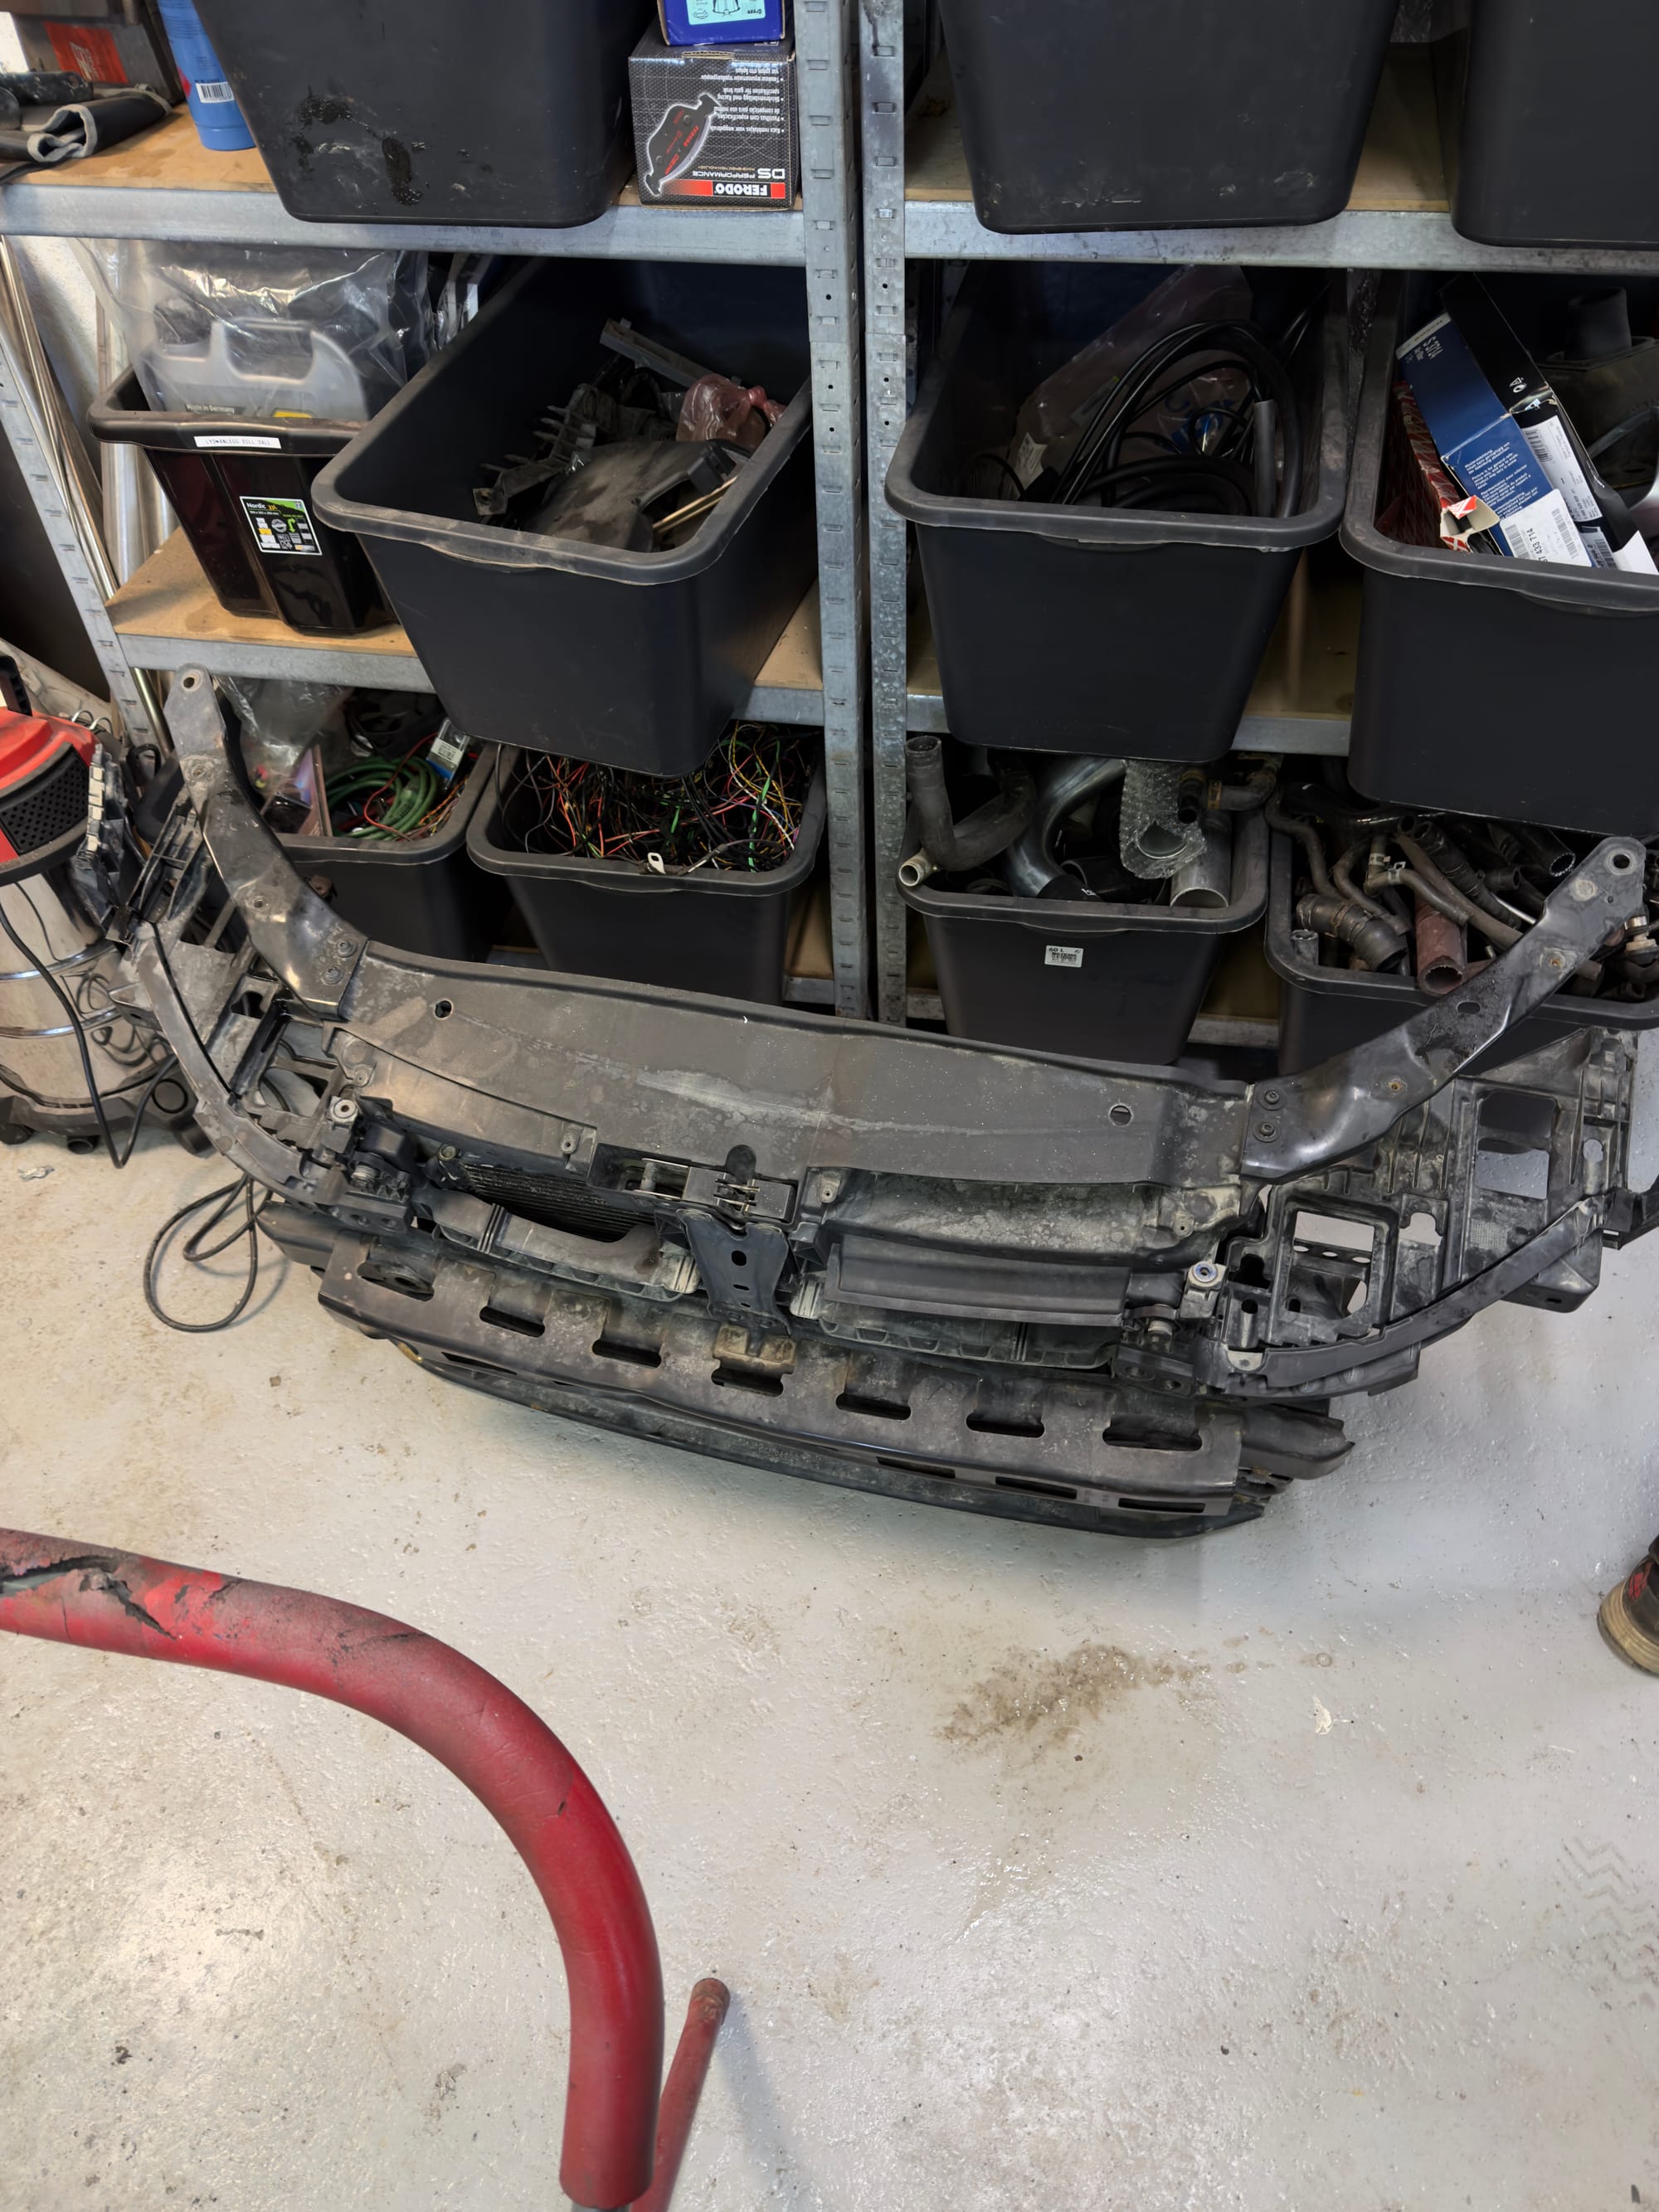
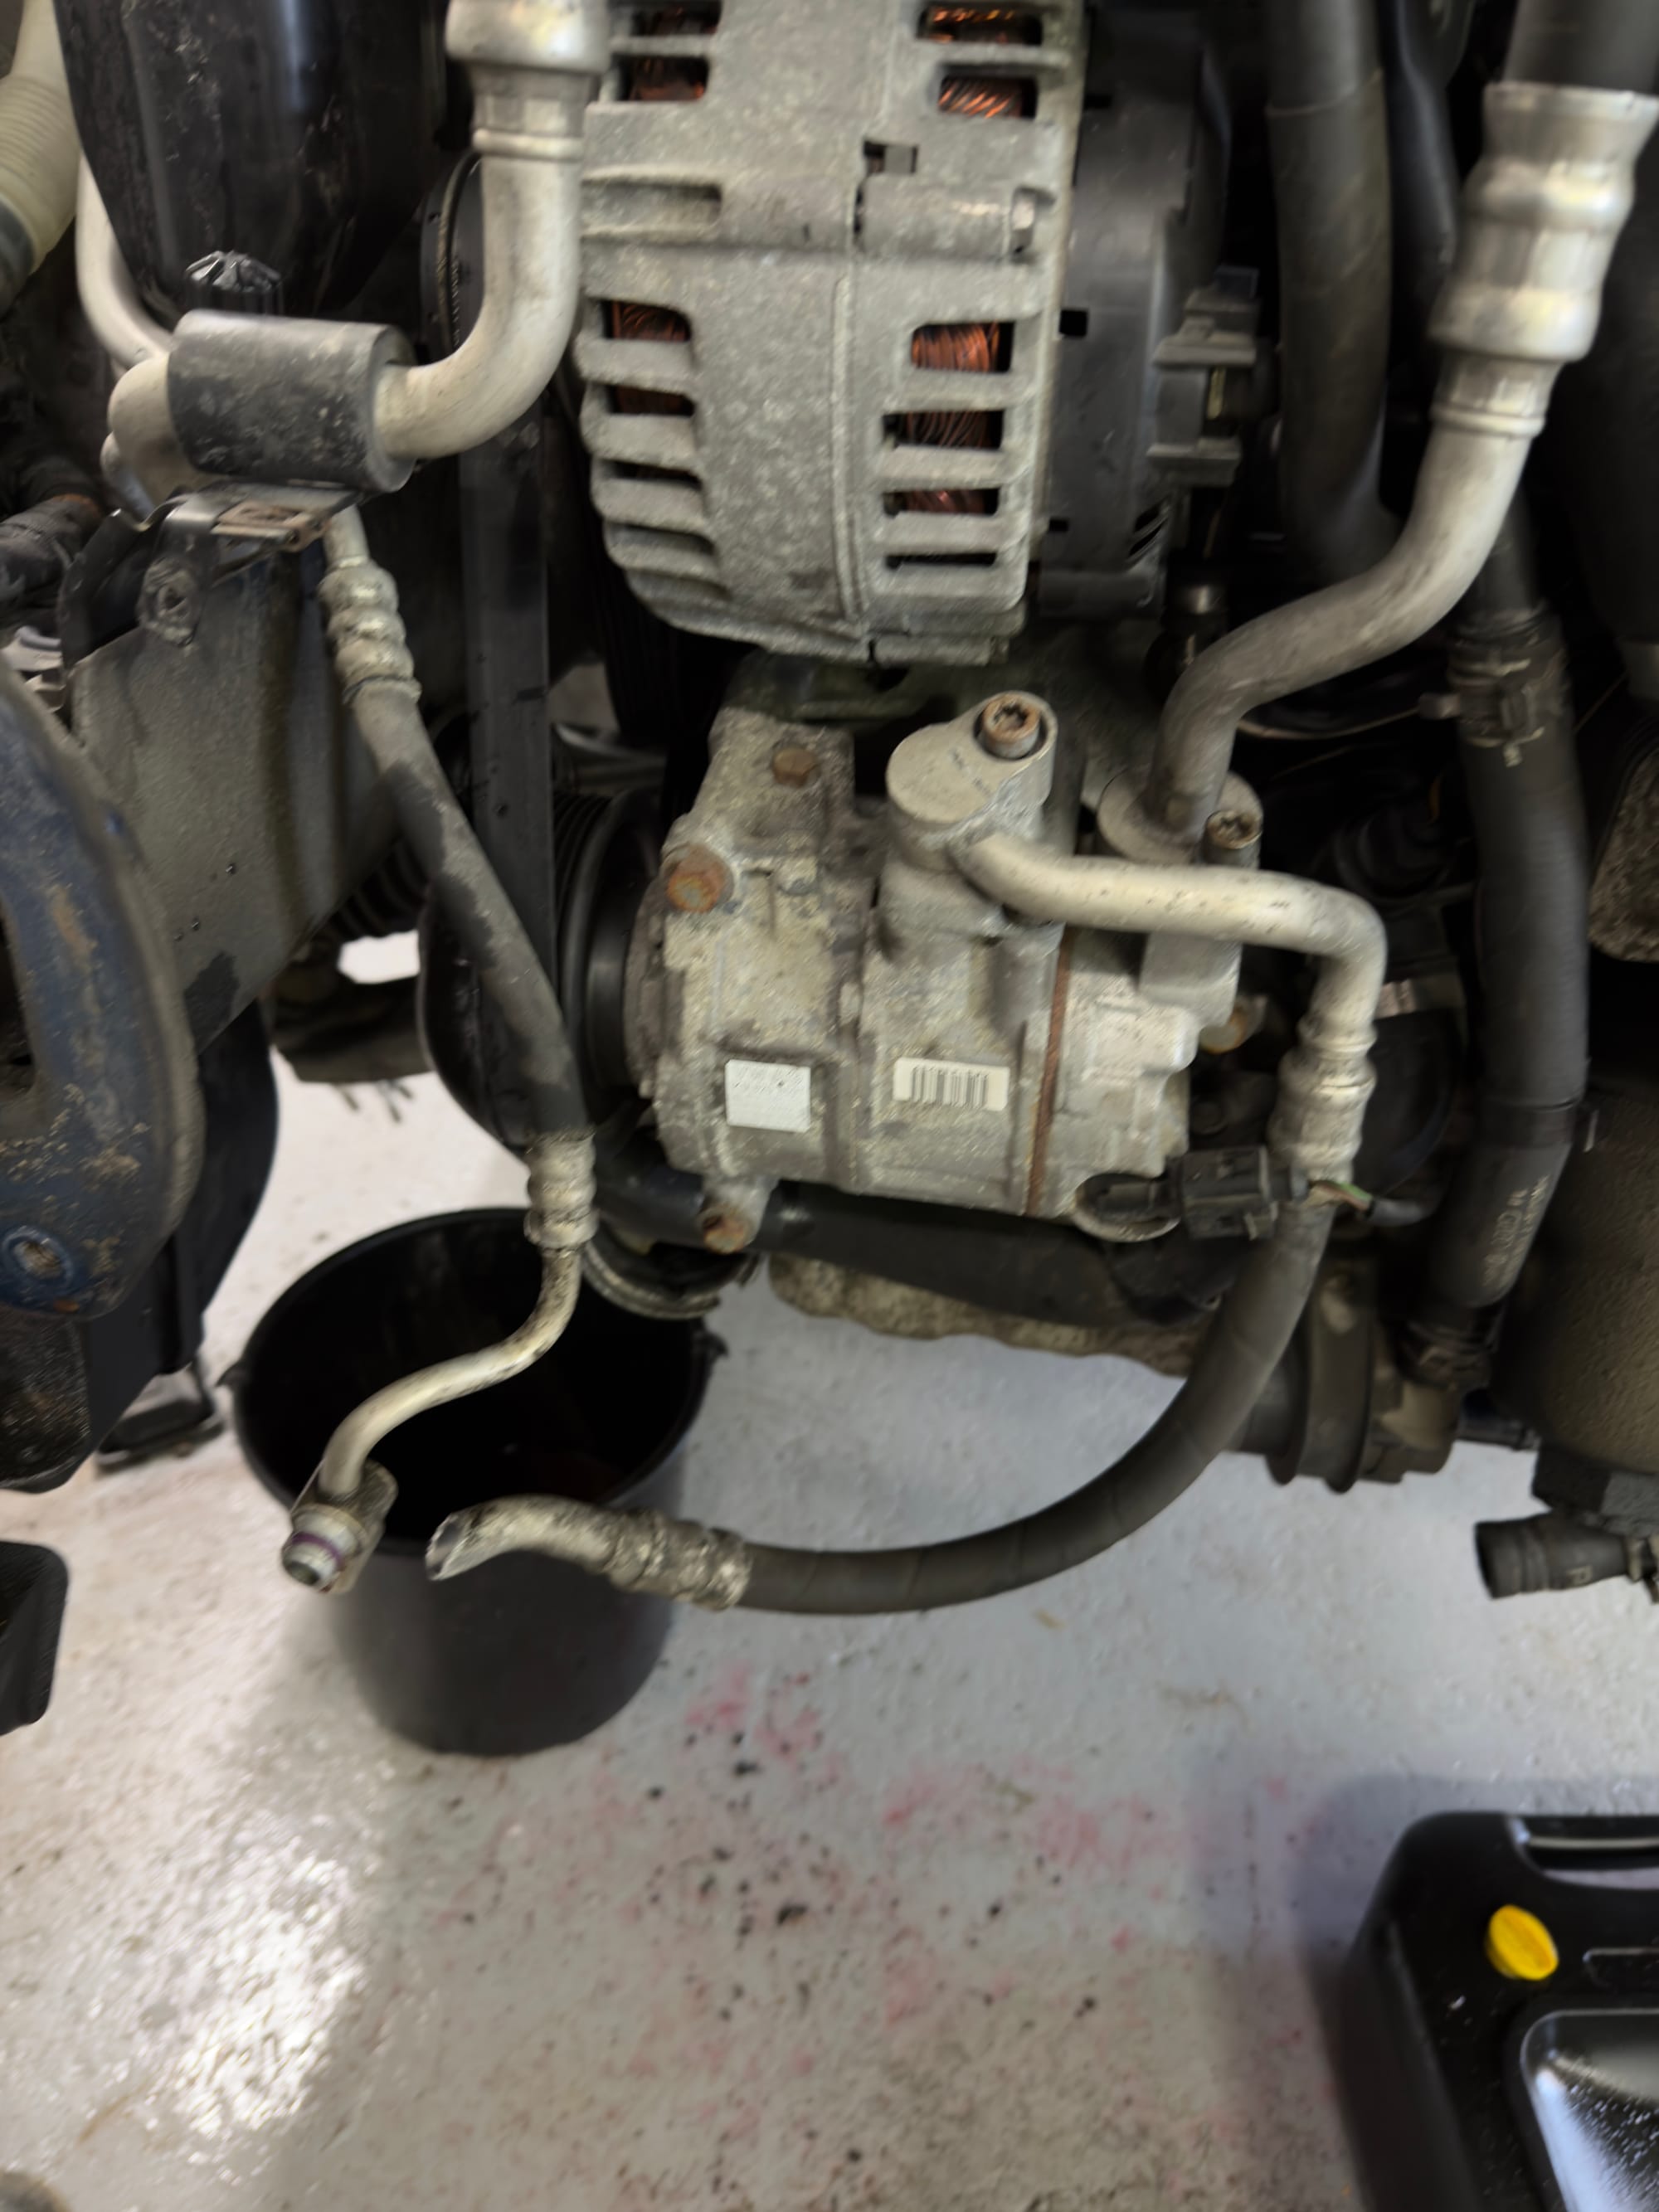
The AC condenser was also in really bad shape. That’s the big radiator-looking unit with all the fins in the front, and this one had clearly seen better days. Since they’re not that expensive, replacing it now just makes sense. A lot of the bolts holding it in place were also heavily corroded, and several of those snapped too — but again, not a huge loss when the part is getting replaced anyway.
While dealing with all of that, two of the AC lines also broke during removal. They were completely crusty, so honestly it was probably only a matter of time before they had to go. It’s annoying, but I’d rather replace them now than deal with them later.
After the front end was out of the way, we could finally start disconnecting everything else. Hoses, wiring, connectors — all the usual things that need to come off before an engine can leave the car. Thankfully, the electrical side of the job was actually very straightforward. Most of the harness stays with the engine, so separating it all was easier than expected.
So far, this engine has actually been pretty okay to work on.
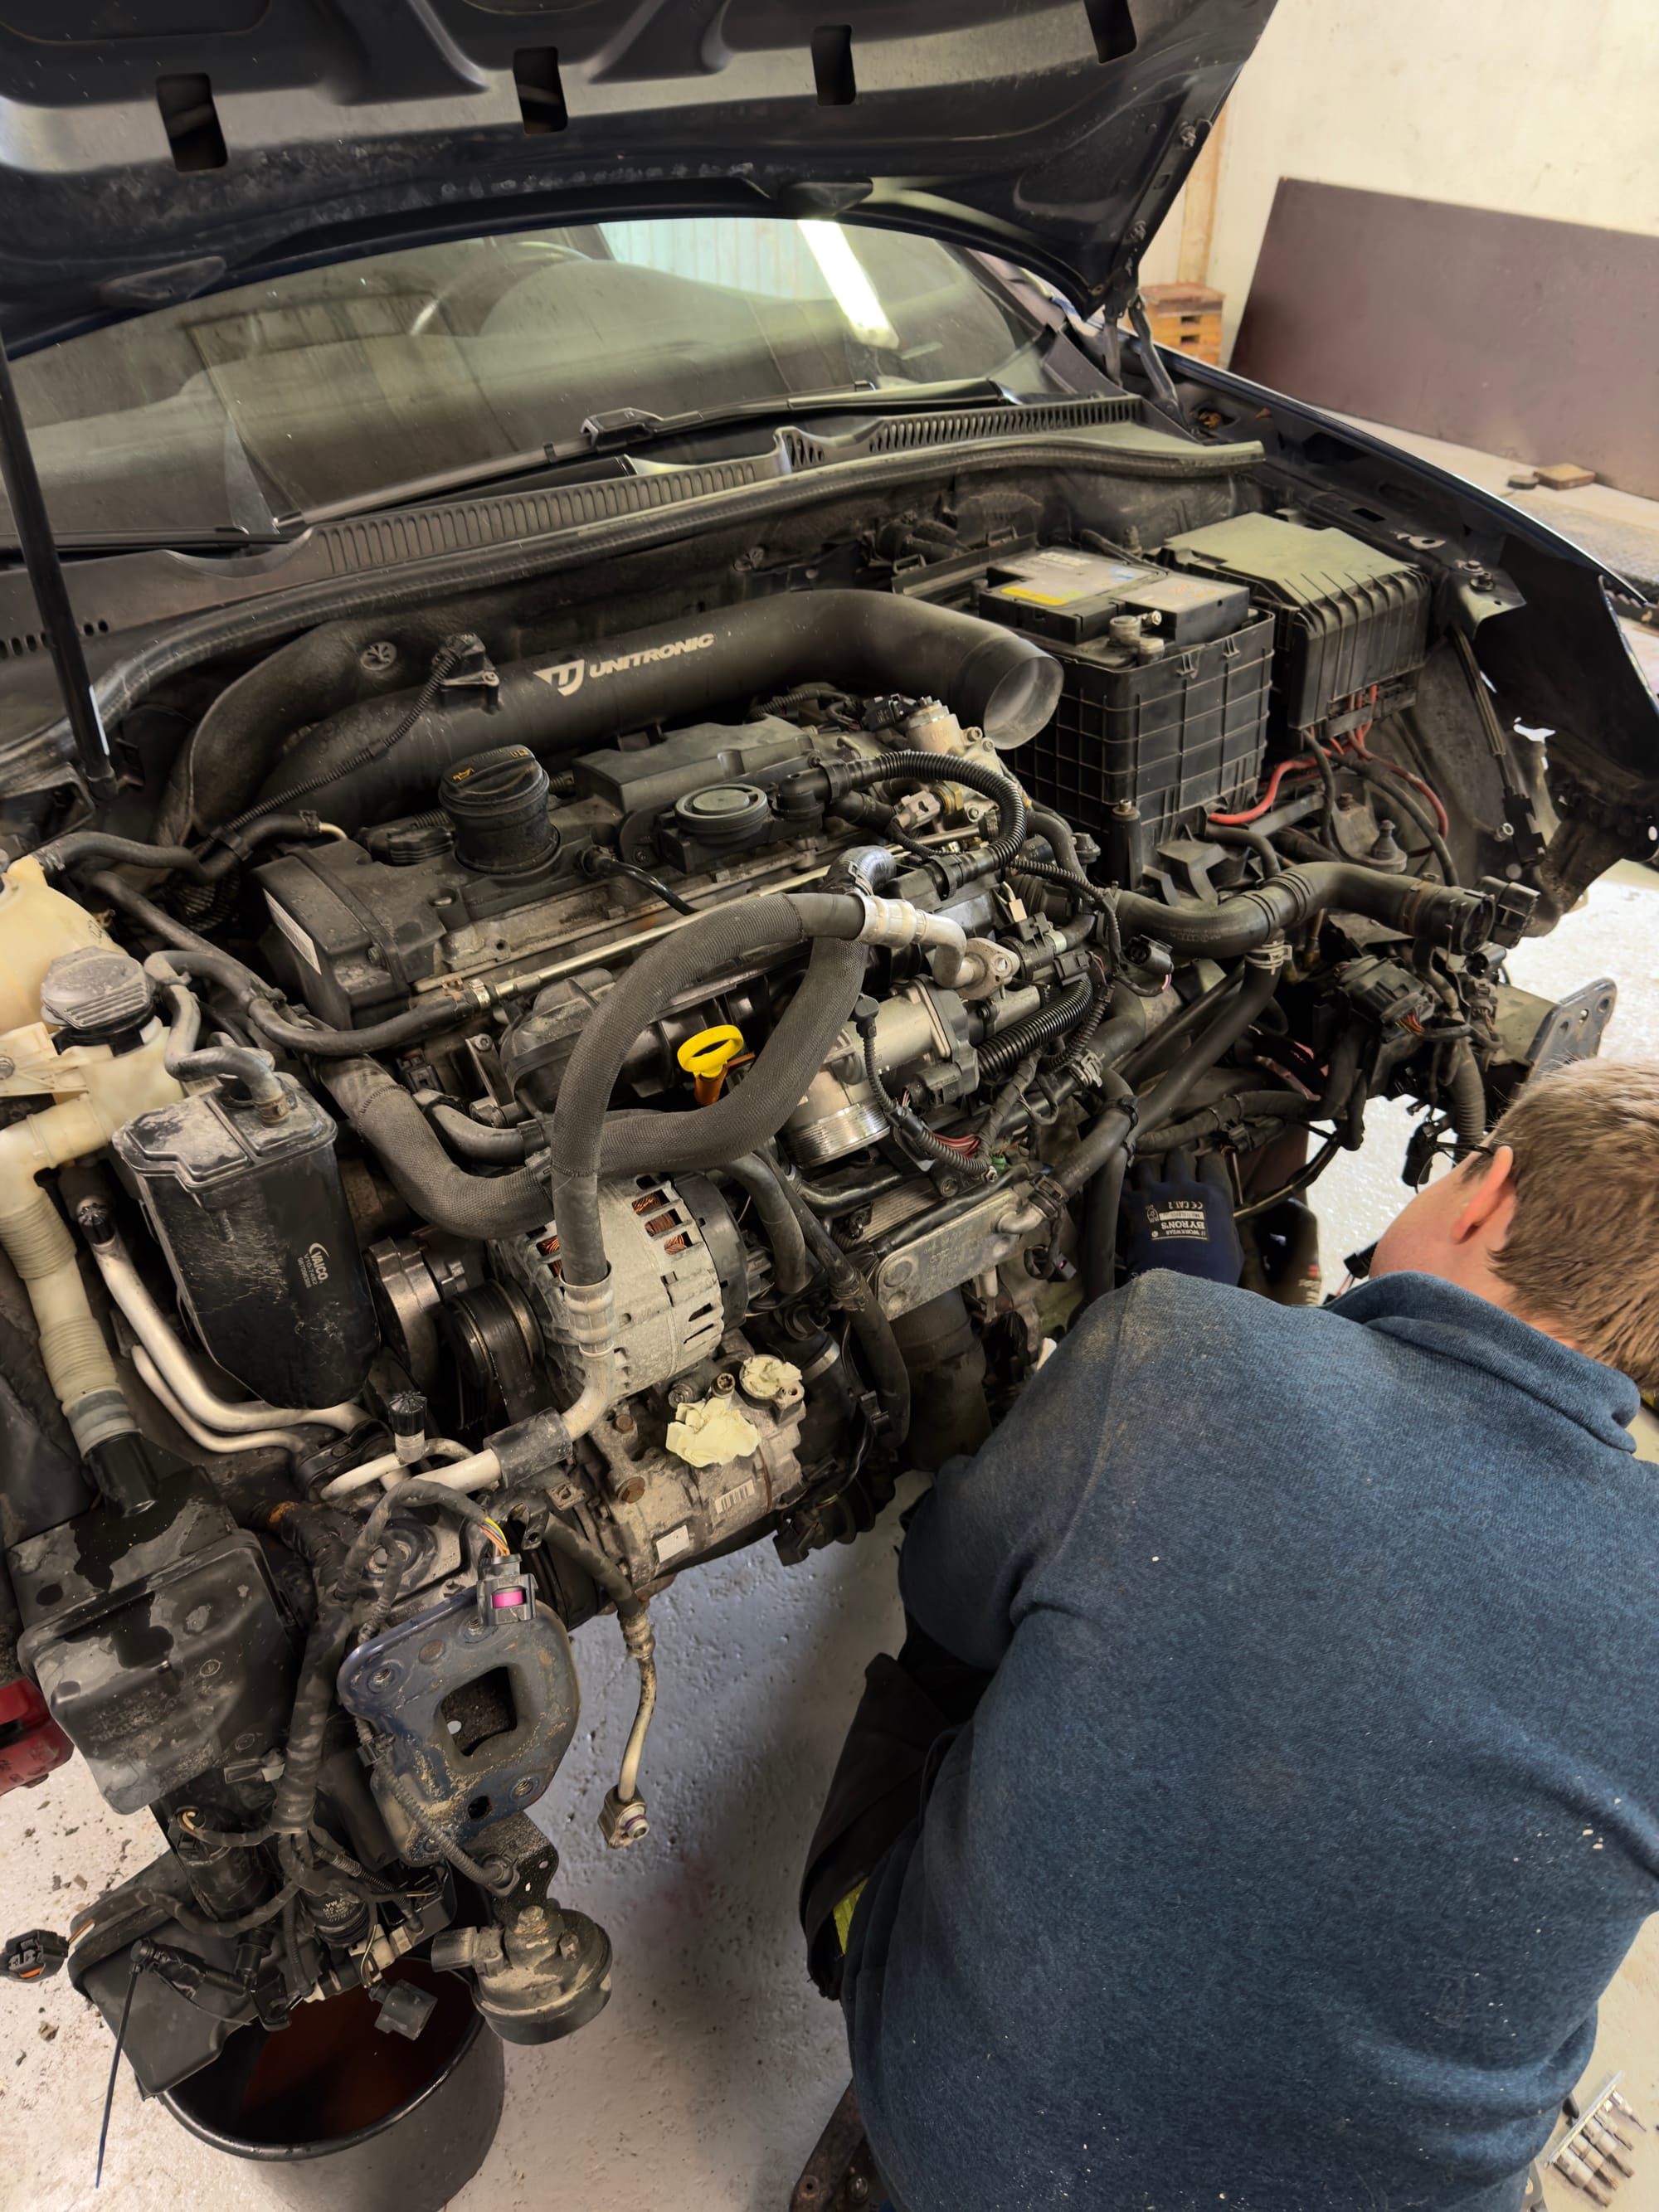
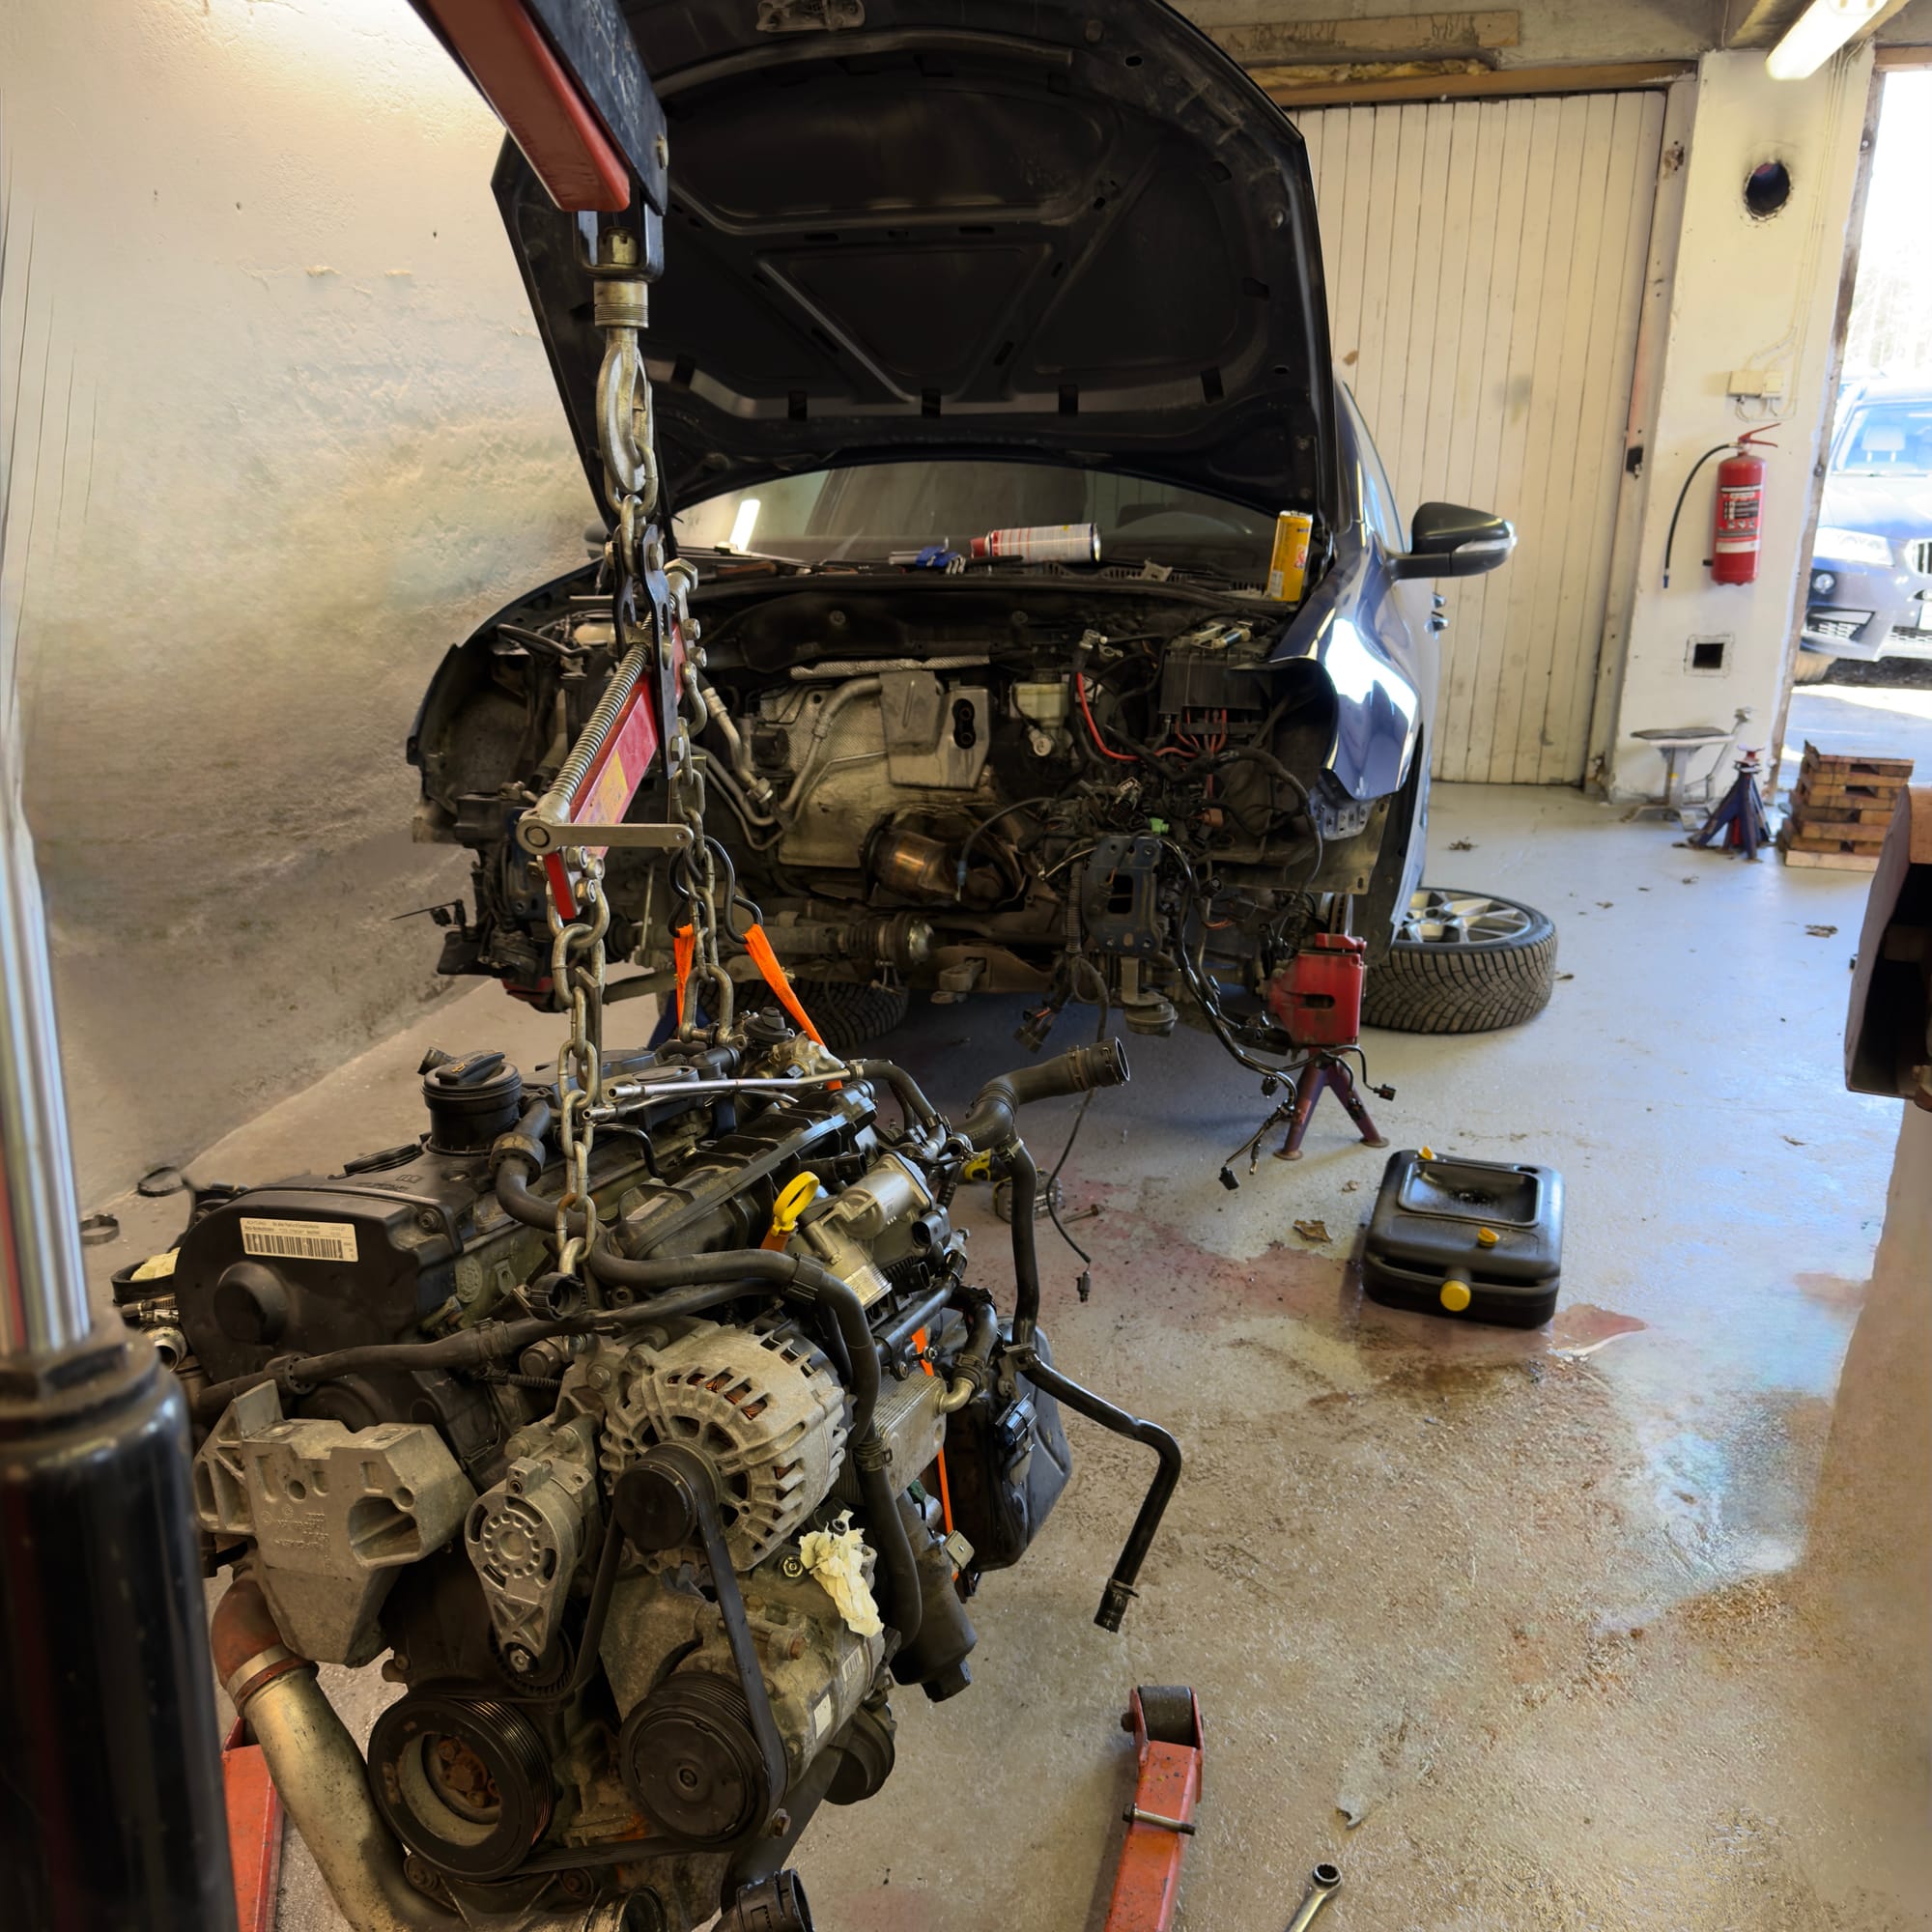
Once the hoses and wiring were disconnected, we moved on to the rest of the drivetrain connections. That included disconnecting the driveshafts from the gearbox, the dogbone mount, and the remaining bits holding everything in place. After that, we could finally hook the engine up to the hoist and get ready to lift it out.
There was only one small problem: we only had one lifting point installed.
At some point in the past, the right lifting bracket had been removed. It sits next to the PCV area and also doubles as a mounting point for the engine cover. I’m guessing that when we previously removed the intake manifold and changed the injectors, we didn’t bother putting it back since I never use the engine cover anyway.
That made the lift a little more awkward than ideal, but we still got it done.
And finally — the engine was out.
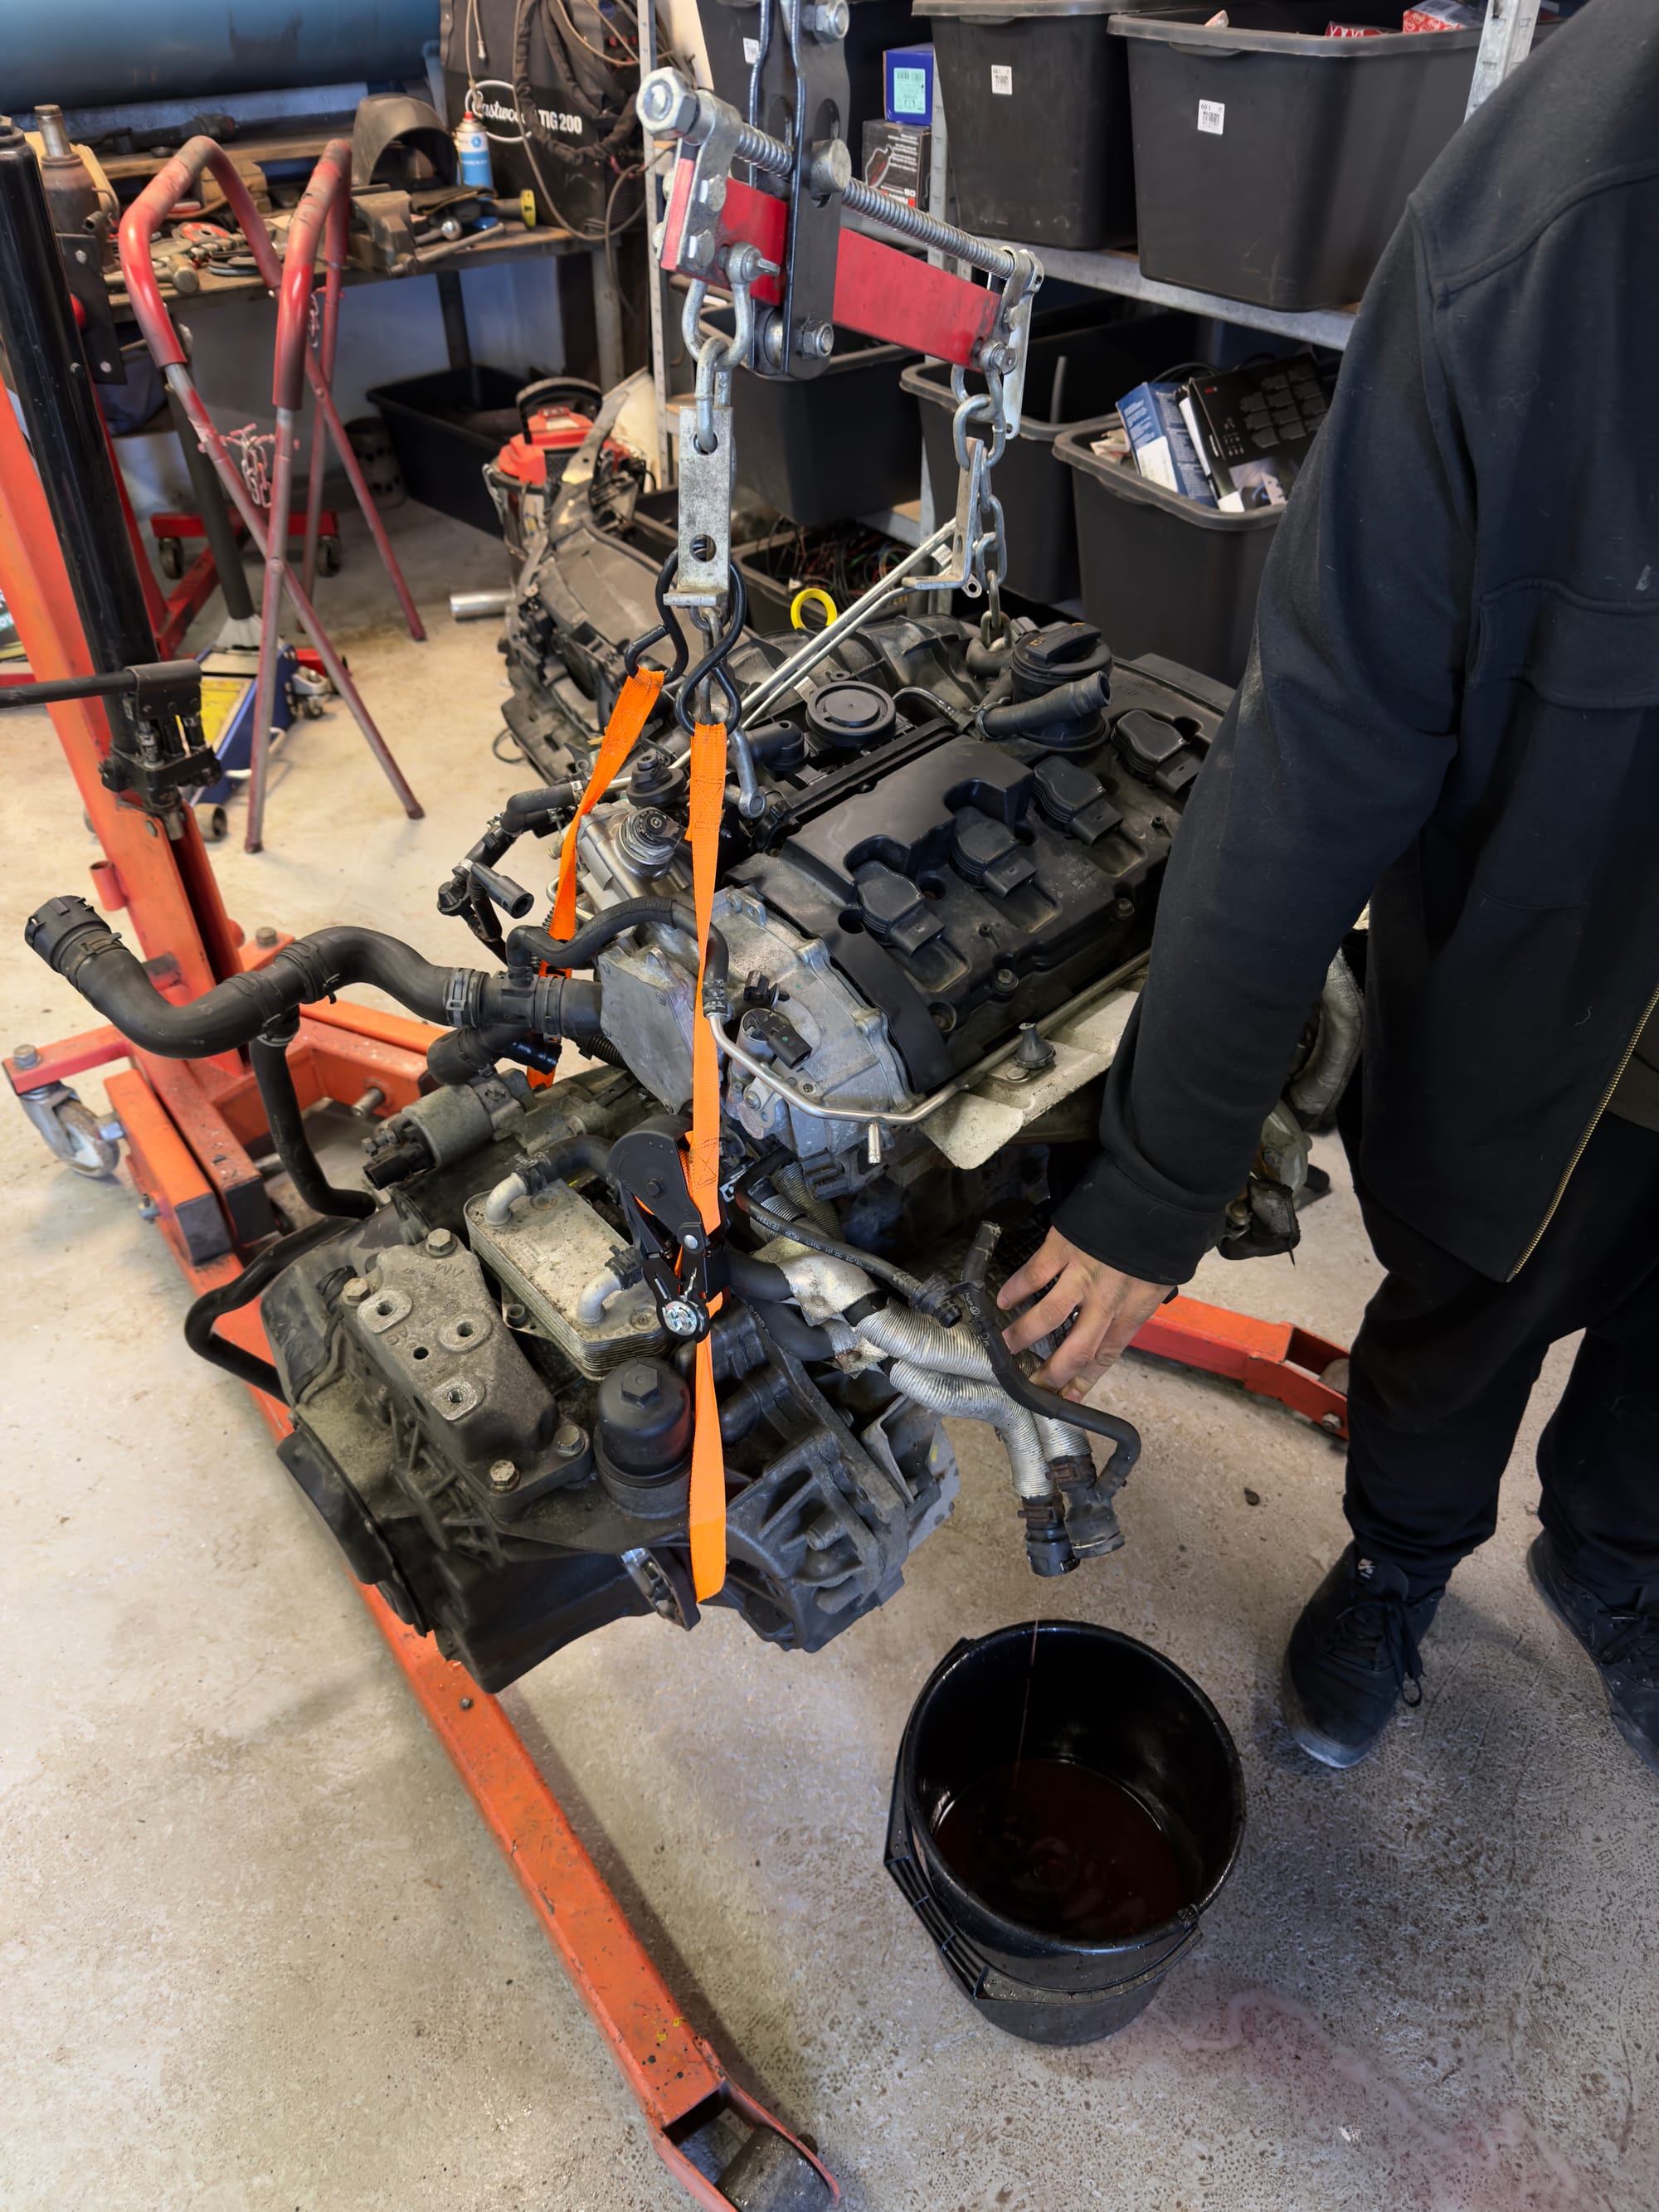
With the engine hanging, we also drained some more coolant before setting it down properly. Always a nice bonus when you think you’re done draining fluids and the engine decides it still had a bit more left in it.
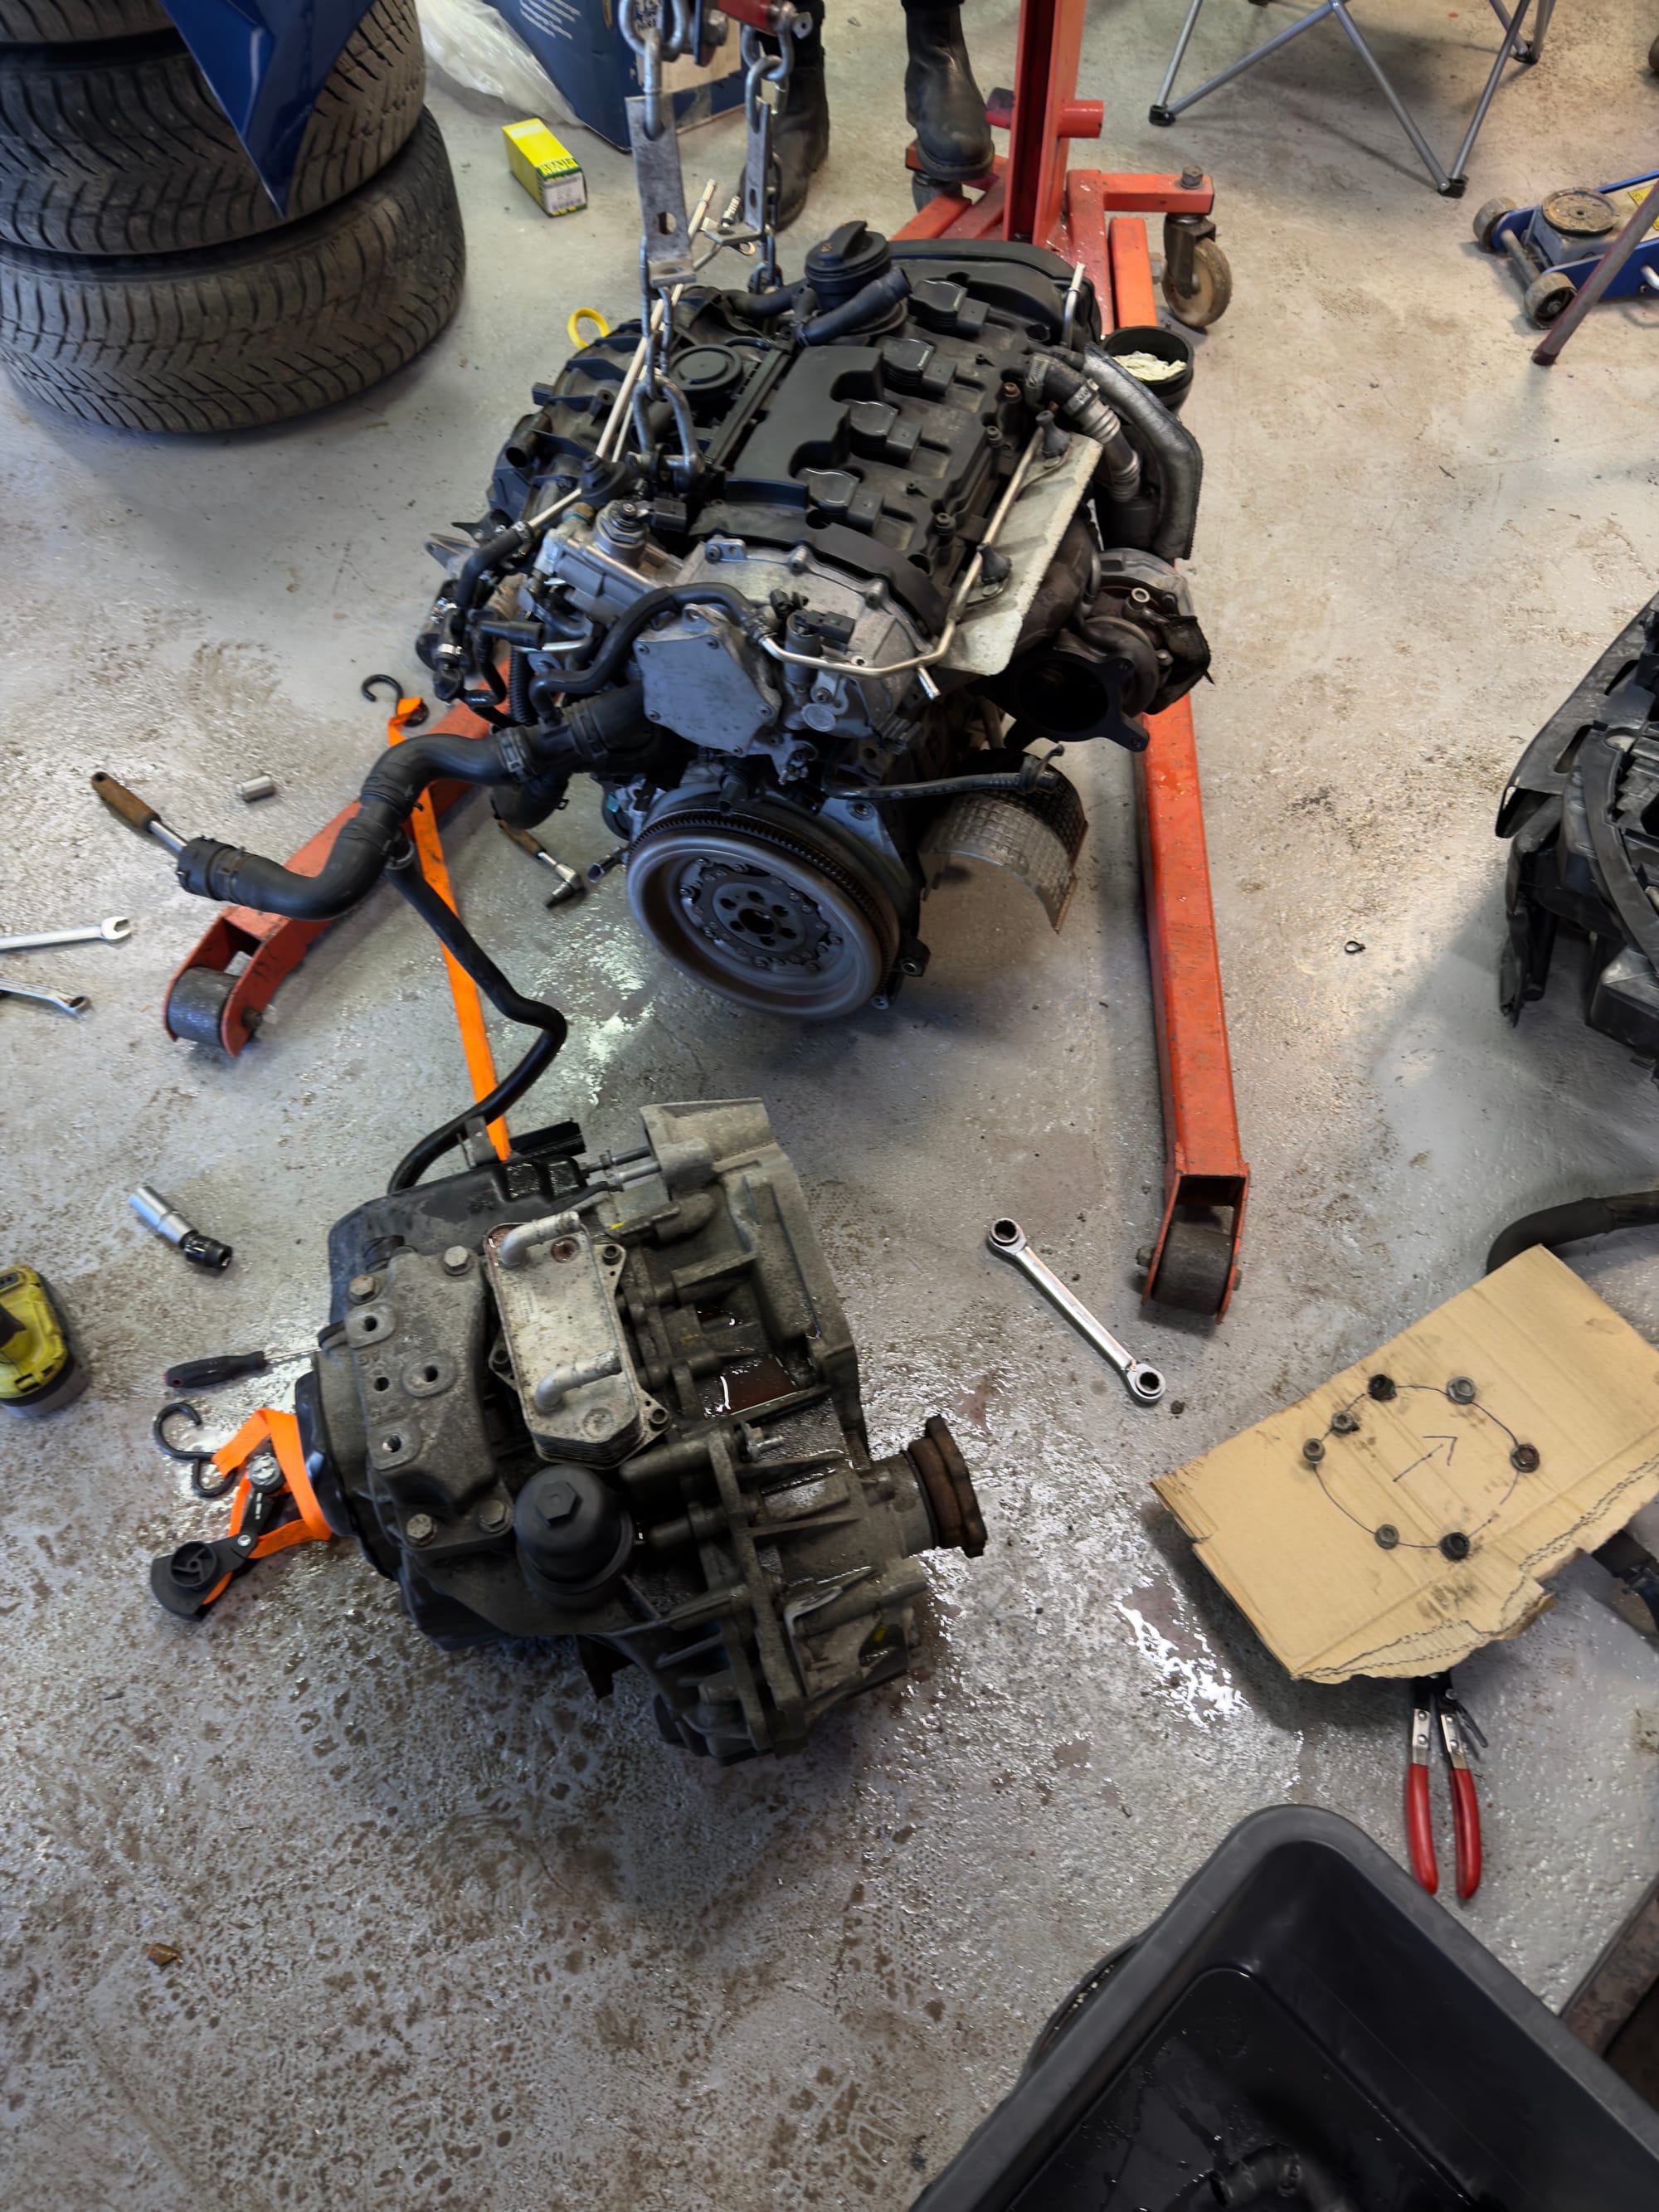
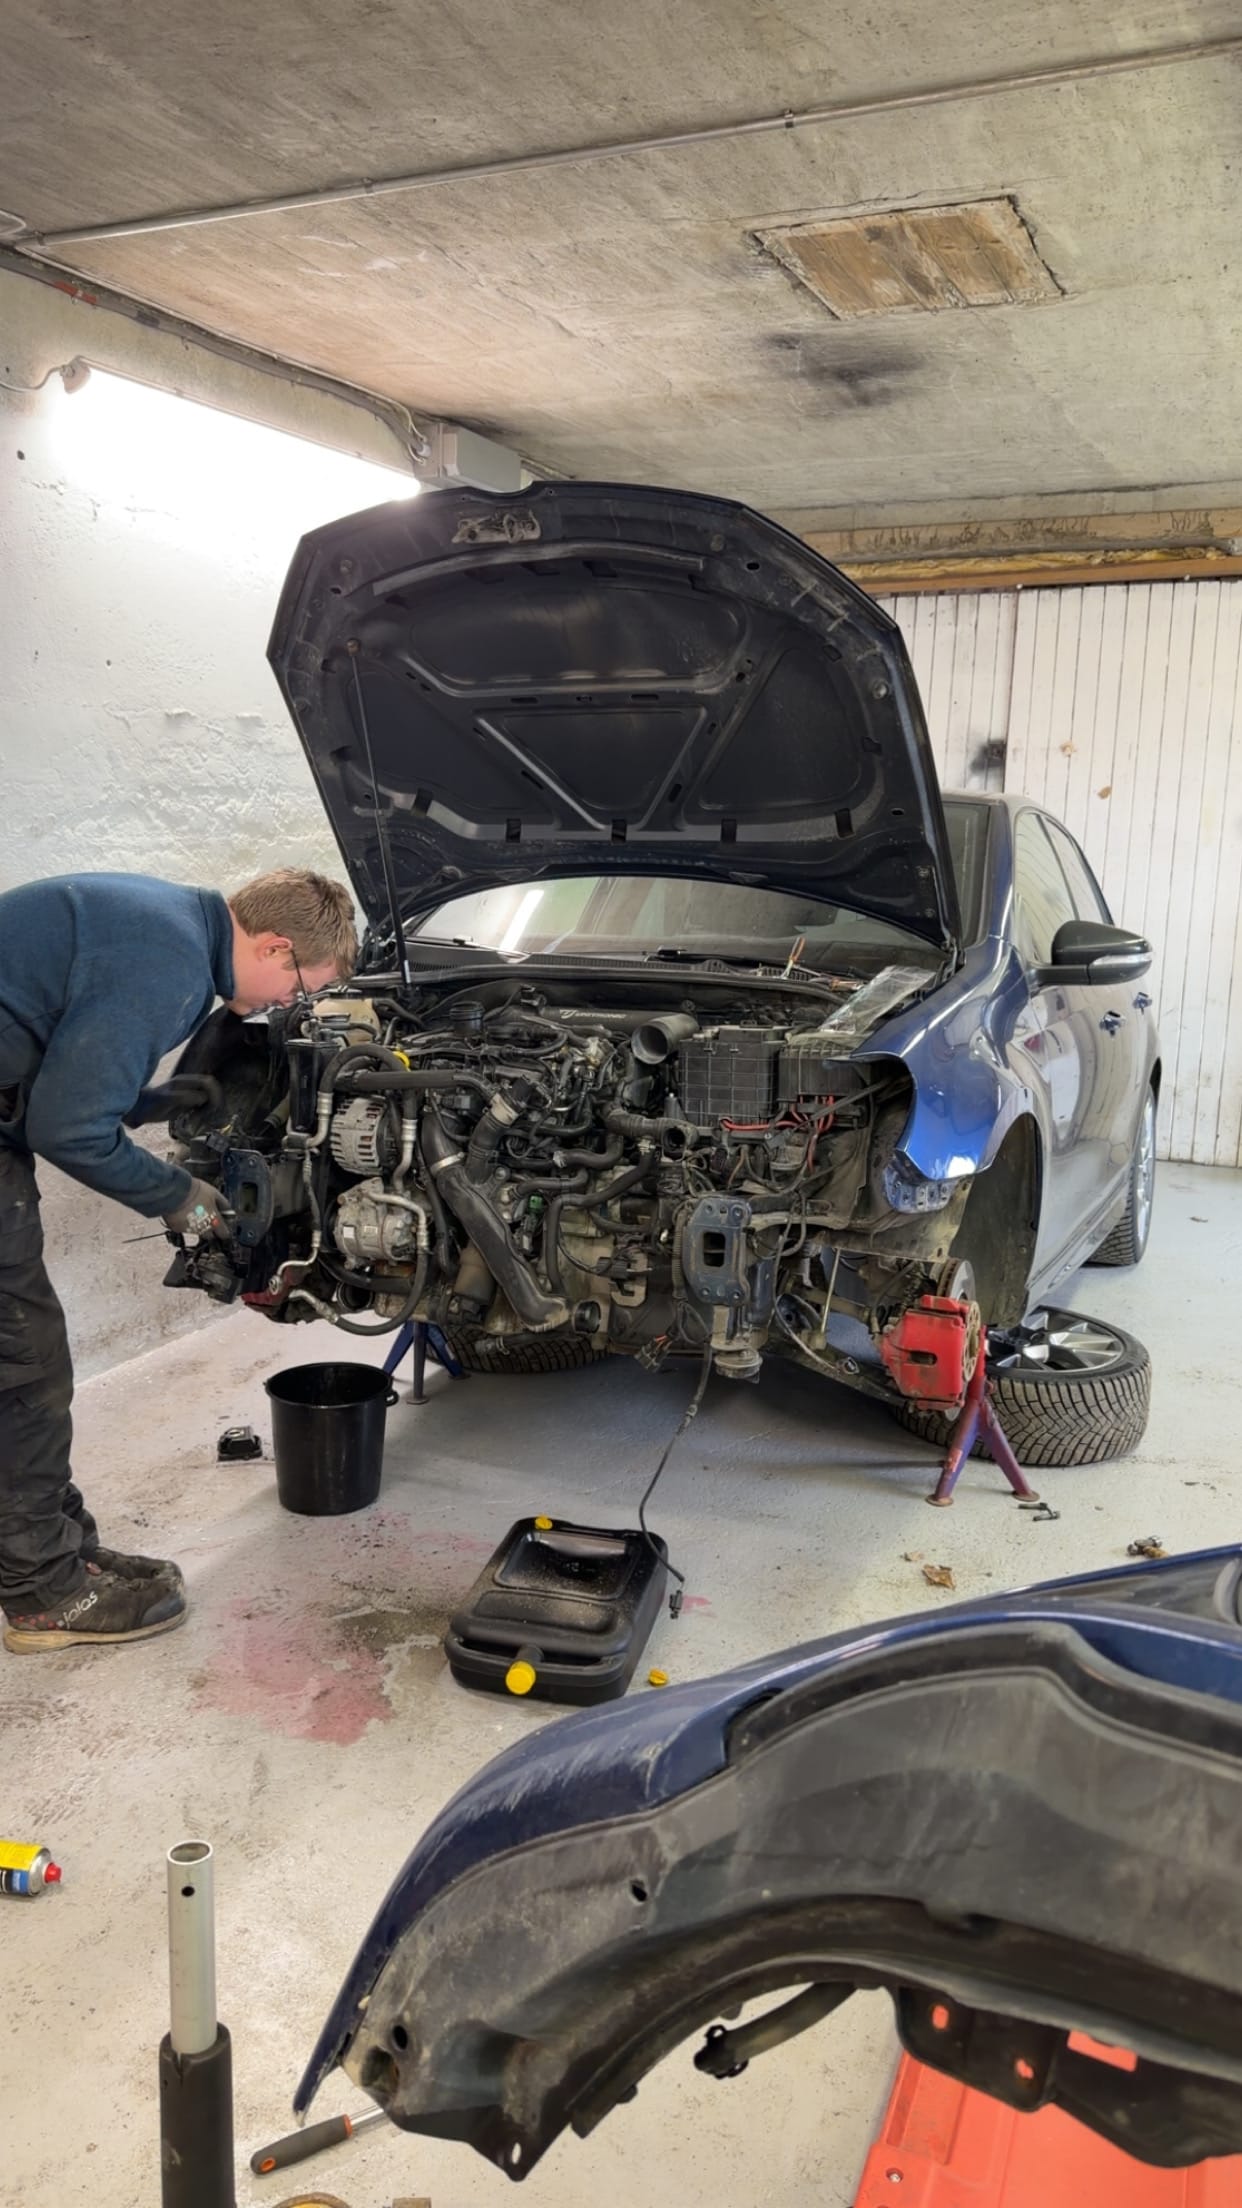
Once the engine was out, we got a proper look at the empty bay. It’s always a strange sight seeing such a big part of the car suddenly missing, but it also makes the whole project feel very real. No turning back now.
One thing I’m also curious about now is the oil cap extension piece on top of the valve cover. Since the car originally had an engine cover, there’s still that extra extension installed to bring the oil cap higher up. I’ve read that it’s glued in, which should mean it can be removed with some heat. Since we’re overhauling the engine anyway, this is probably the right time to deal with that while the engine is on the bench.
Not a huge thing, but one of those details that would be nice to sort out while everything is apart.
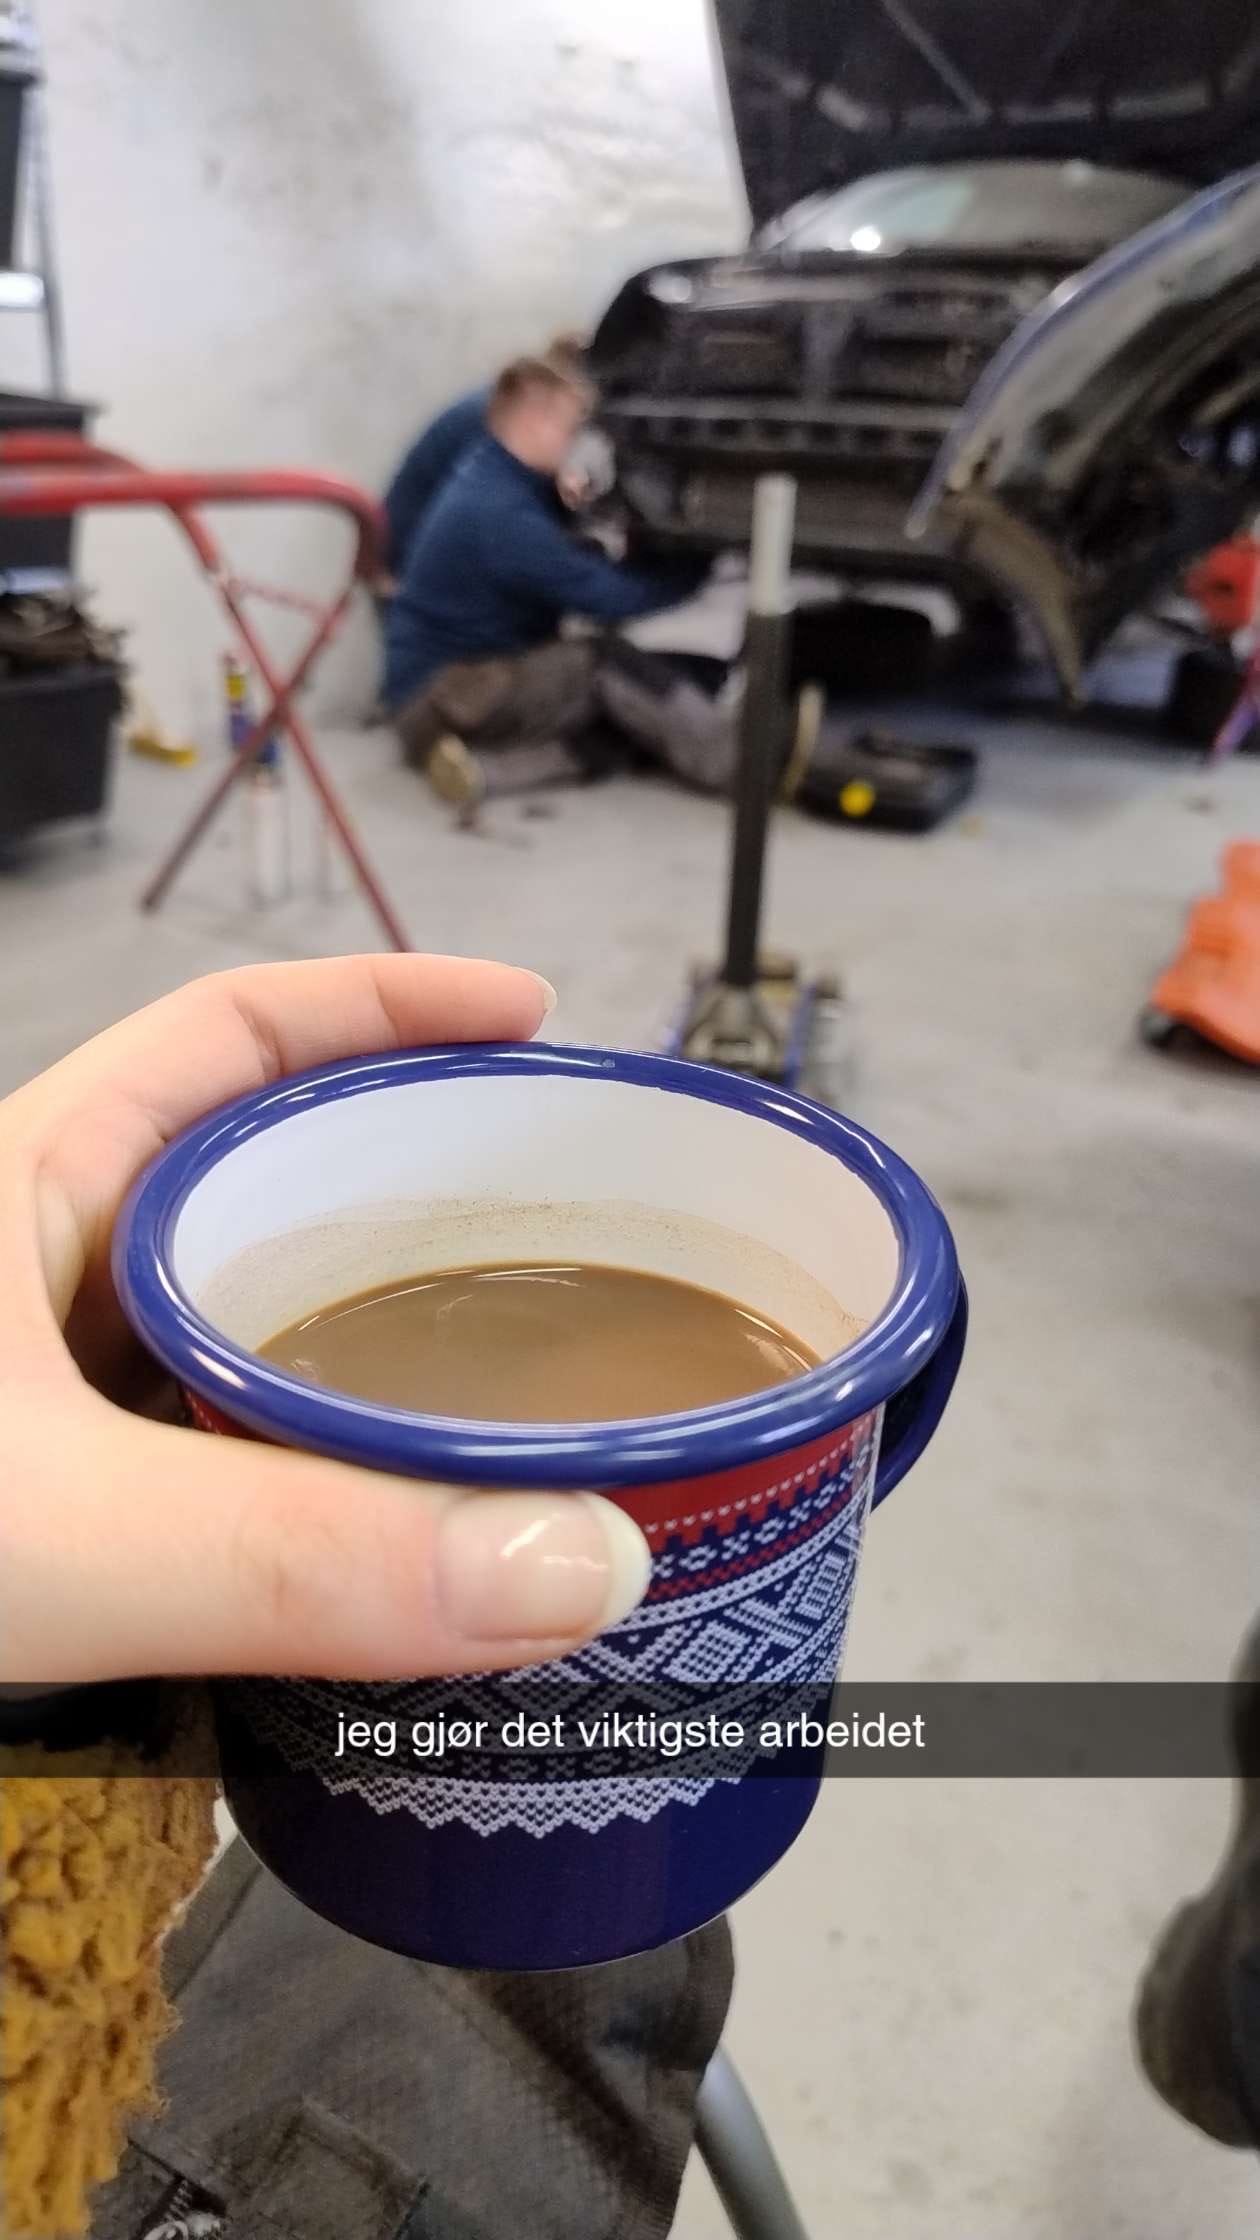
And of course, workshop days are always a bit better when there’s something warm to drink involved.
Other than the rust, the snapped bolts, and the broken AC lines, the engine removal itself actually went very well. No major surprises, no real nightmare moments, and overall a much smoother job than I expected.
Tomorrow we’ll start disassembling the engine and checking its condition properly. That should give me a better idea of what parts still need to be ordered and how deep this overhaul is really going to go. Hopefully we won’t find anything catastrophic — although I wouldn’t be surprised if the cylinders need attention.
We’ll see.
Stay tuned for the next post.