Smooth Drive with "New" Injectors
After a journey of repairs and new injectors, the GTI is finally road-ready—here’s a look at what went into getting it back on track and the results from its first test drive
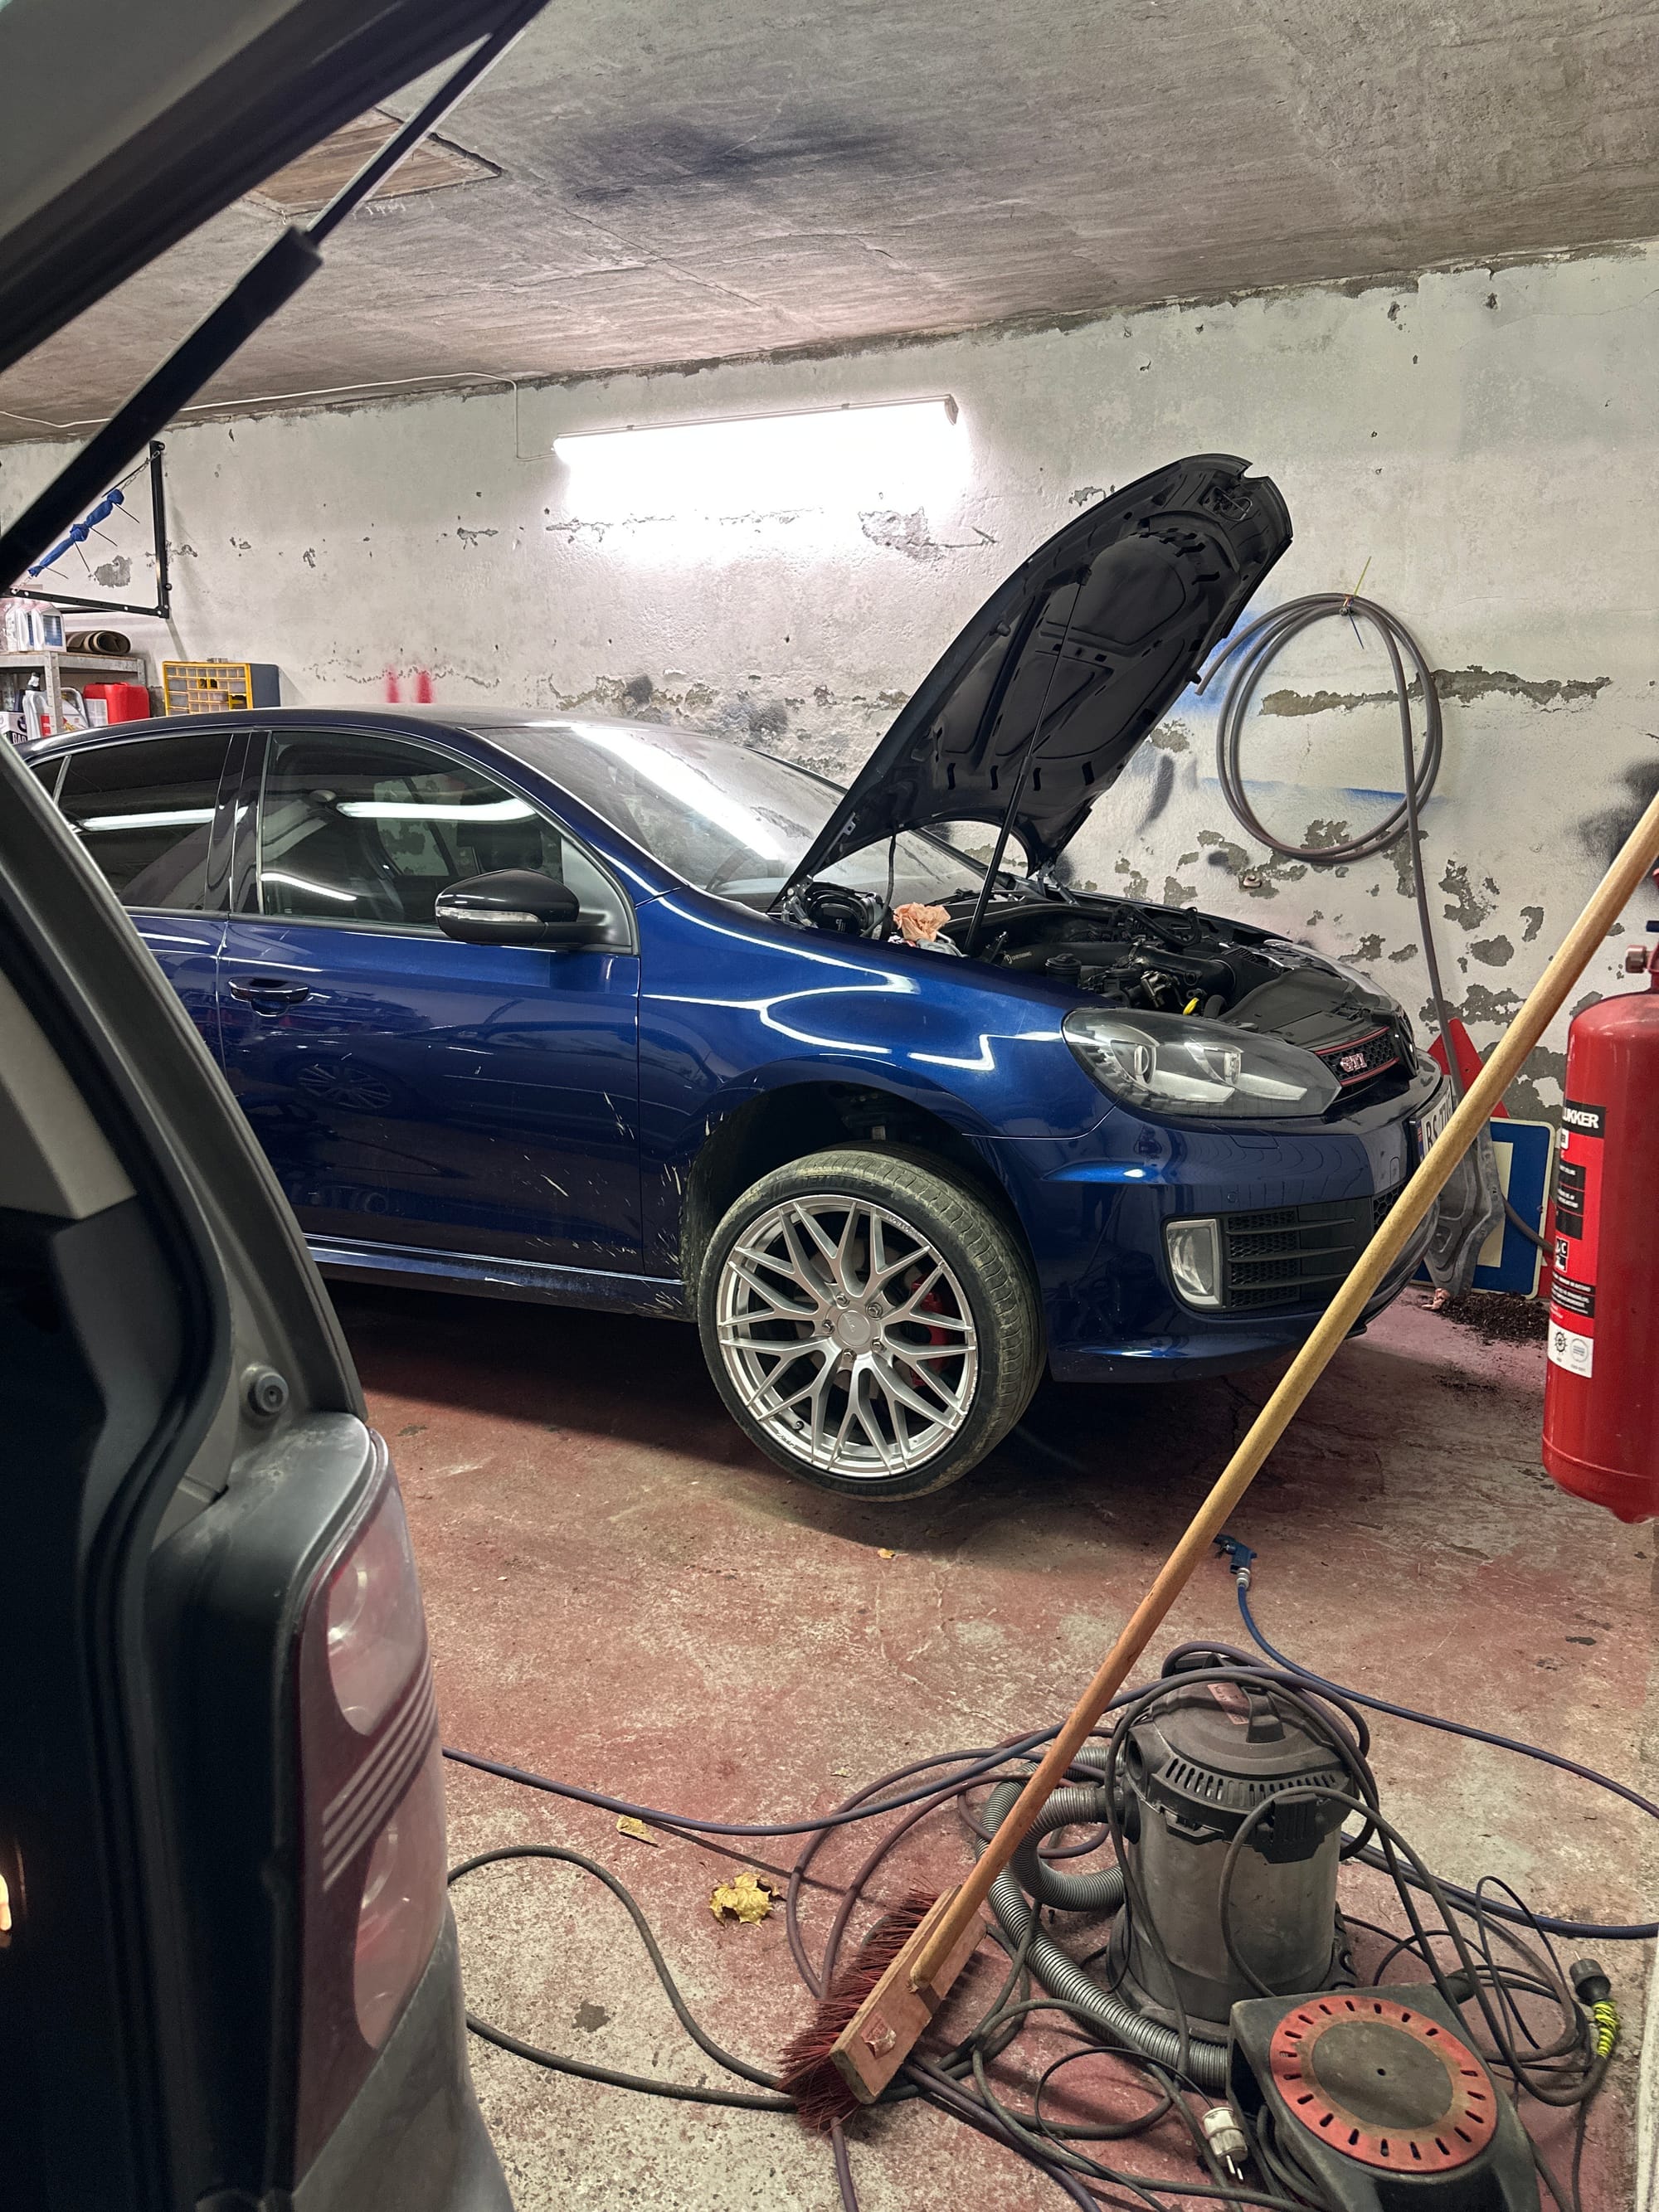
As the title suggests, the car is now running. However, it's not been an easy task. Before we share the details of how healthy it's running, let's go through the process of putting it all back together.
First and foremost, we received the injectors from BAR-TEK in Germany, and with them came a report of their performance.
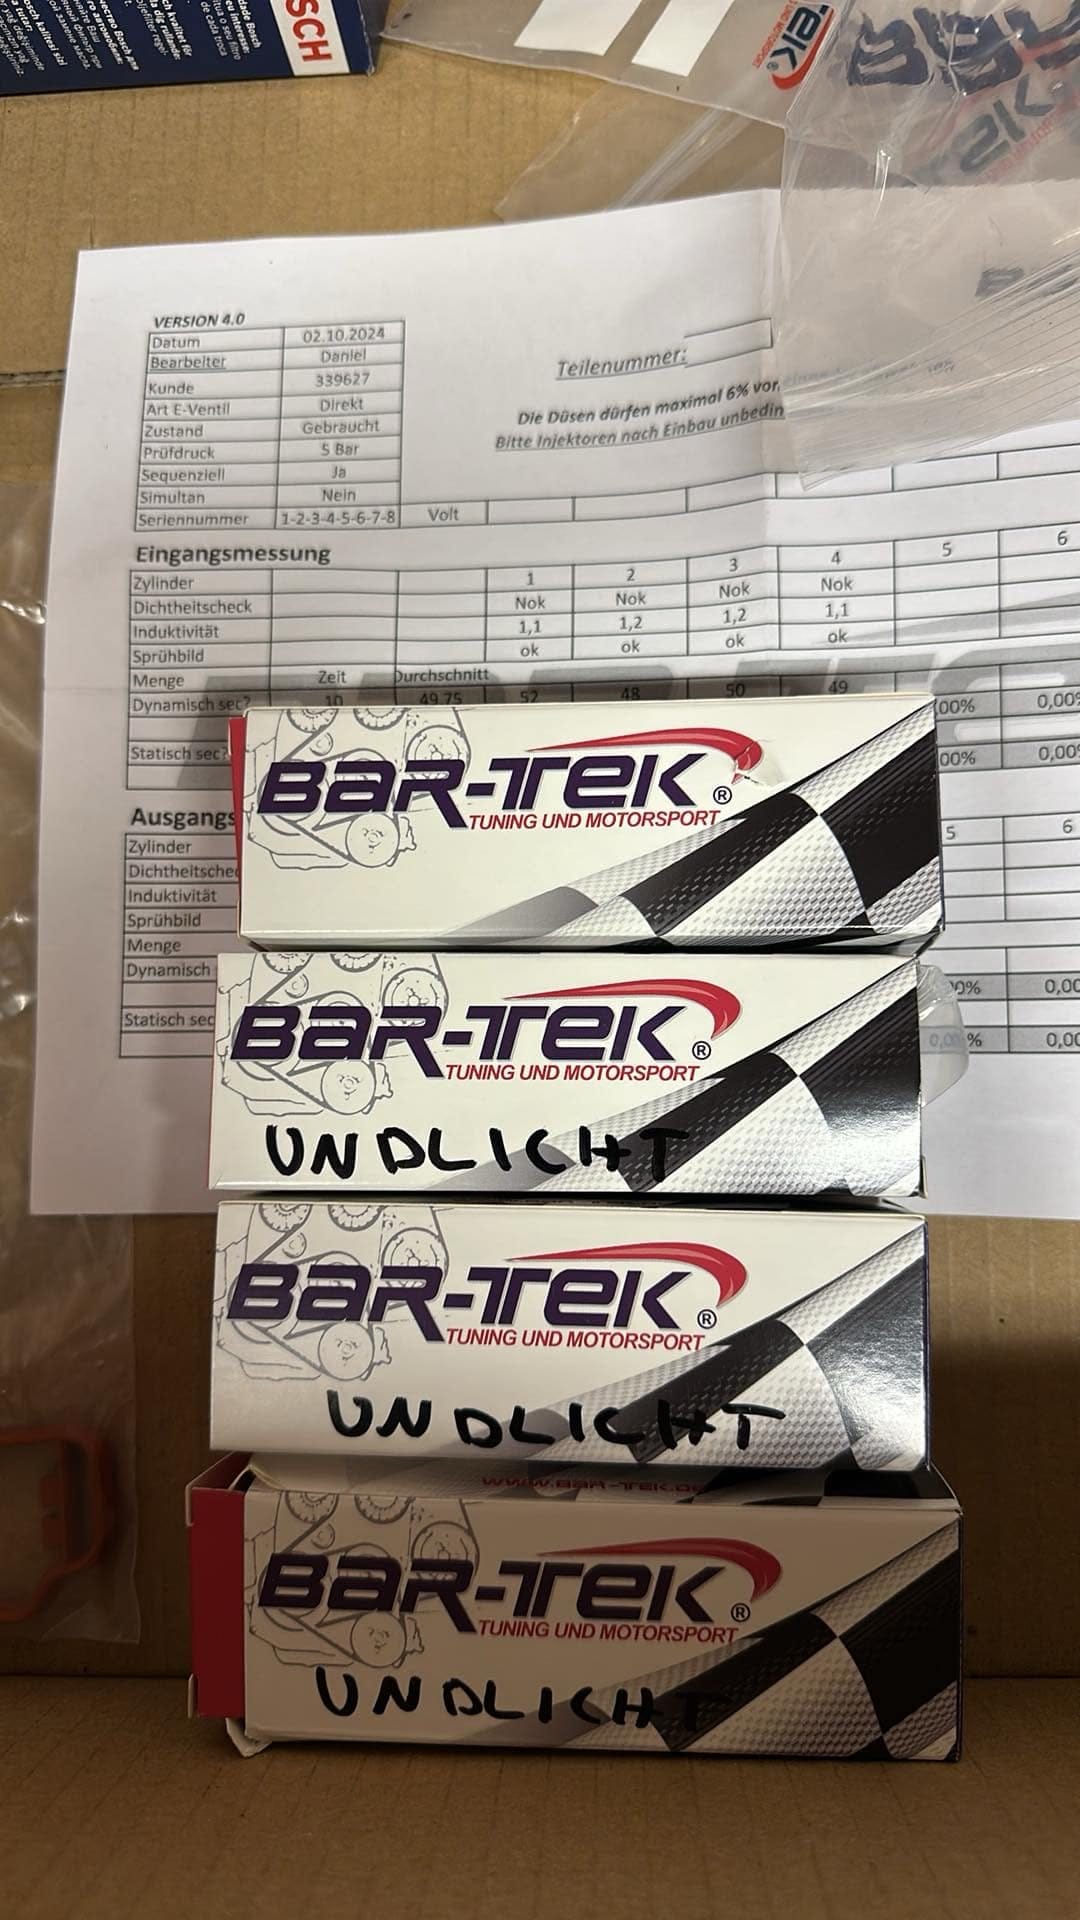
As you can see, three of the boxes have "UNDLICHT" written on them, which is quite weird as it is not even a german word? However, when we check the spreadsheet it is clear why they have been marked:
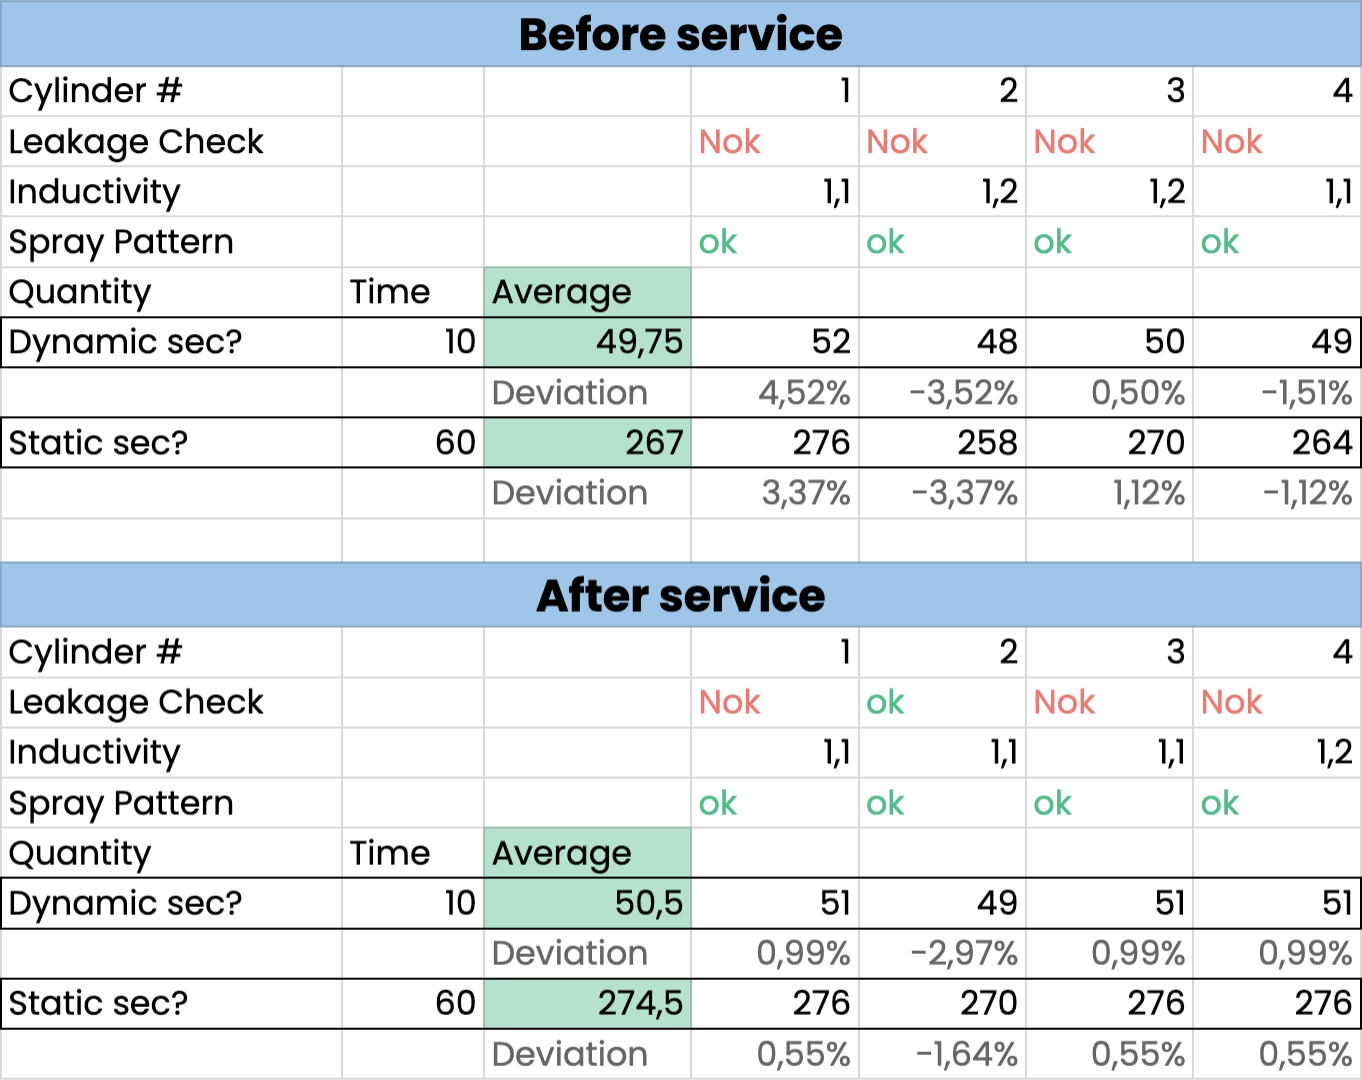
As we can see on the screenshot above, all cylinders do not pass a leakage test before service (indicated by the red "Nok"). However, cylinder 2 appears to be ok after servicing. The rest of the injectors are sadly leaking, which could lead to some hefty engine damage over time. Therefore, it is necessary to replace them soon.
Despite three injectors leaking, the improvements from before to after is magnificent (check out the numbers in the "Dynamic sec?" row on before and after!).
I would highly recommend to test your injectors at a shop like BAR-TEK, to ensure your injectors are good to go. You could also save a few bucks, if servicing fixes any leaks (as we see with cylinder 2).
Something I do not recommend though is to use the seals that come with the injectors. Sadly, the seals we received from BAR-TEK were too thick for our intake manifold, but luckily for us, I had already ordered four sets of seals for the injectors. While trying to install the manifold, we struggled to make the injectors fit, and when we attempted to insert an injector into the manifold, we quickly realized the seals were too large. Once we swapped the seals to Elring, the injector were much easier to install.
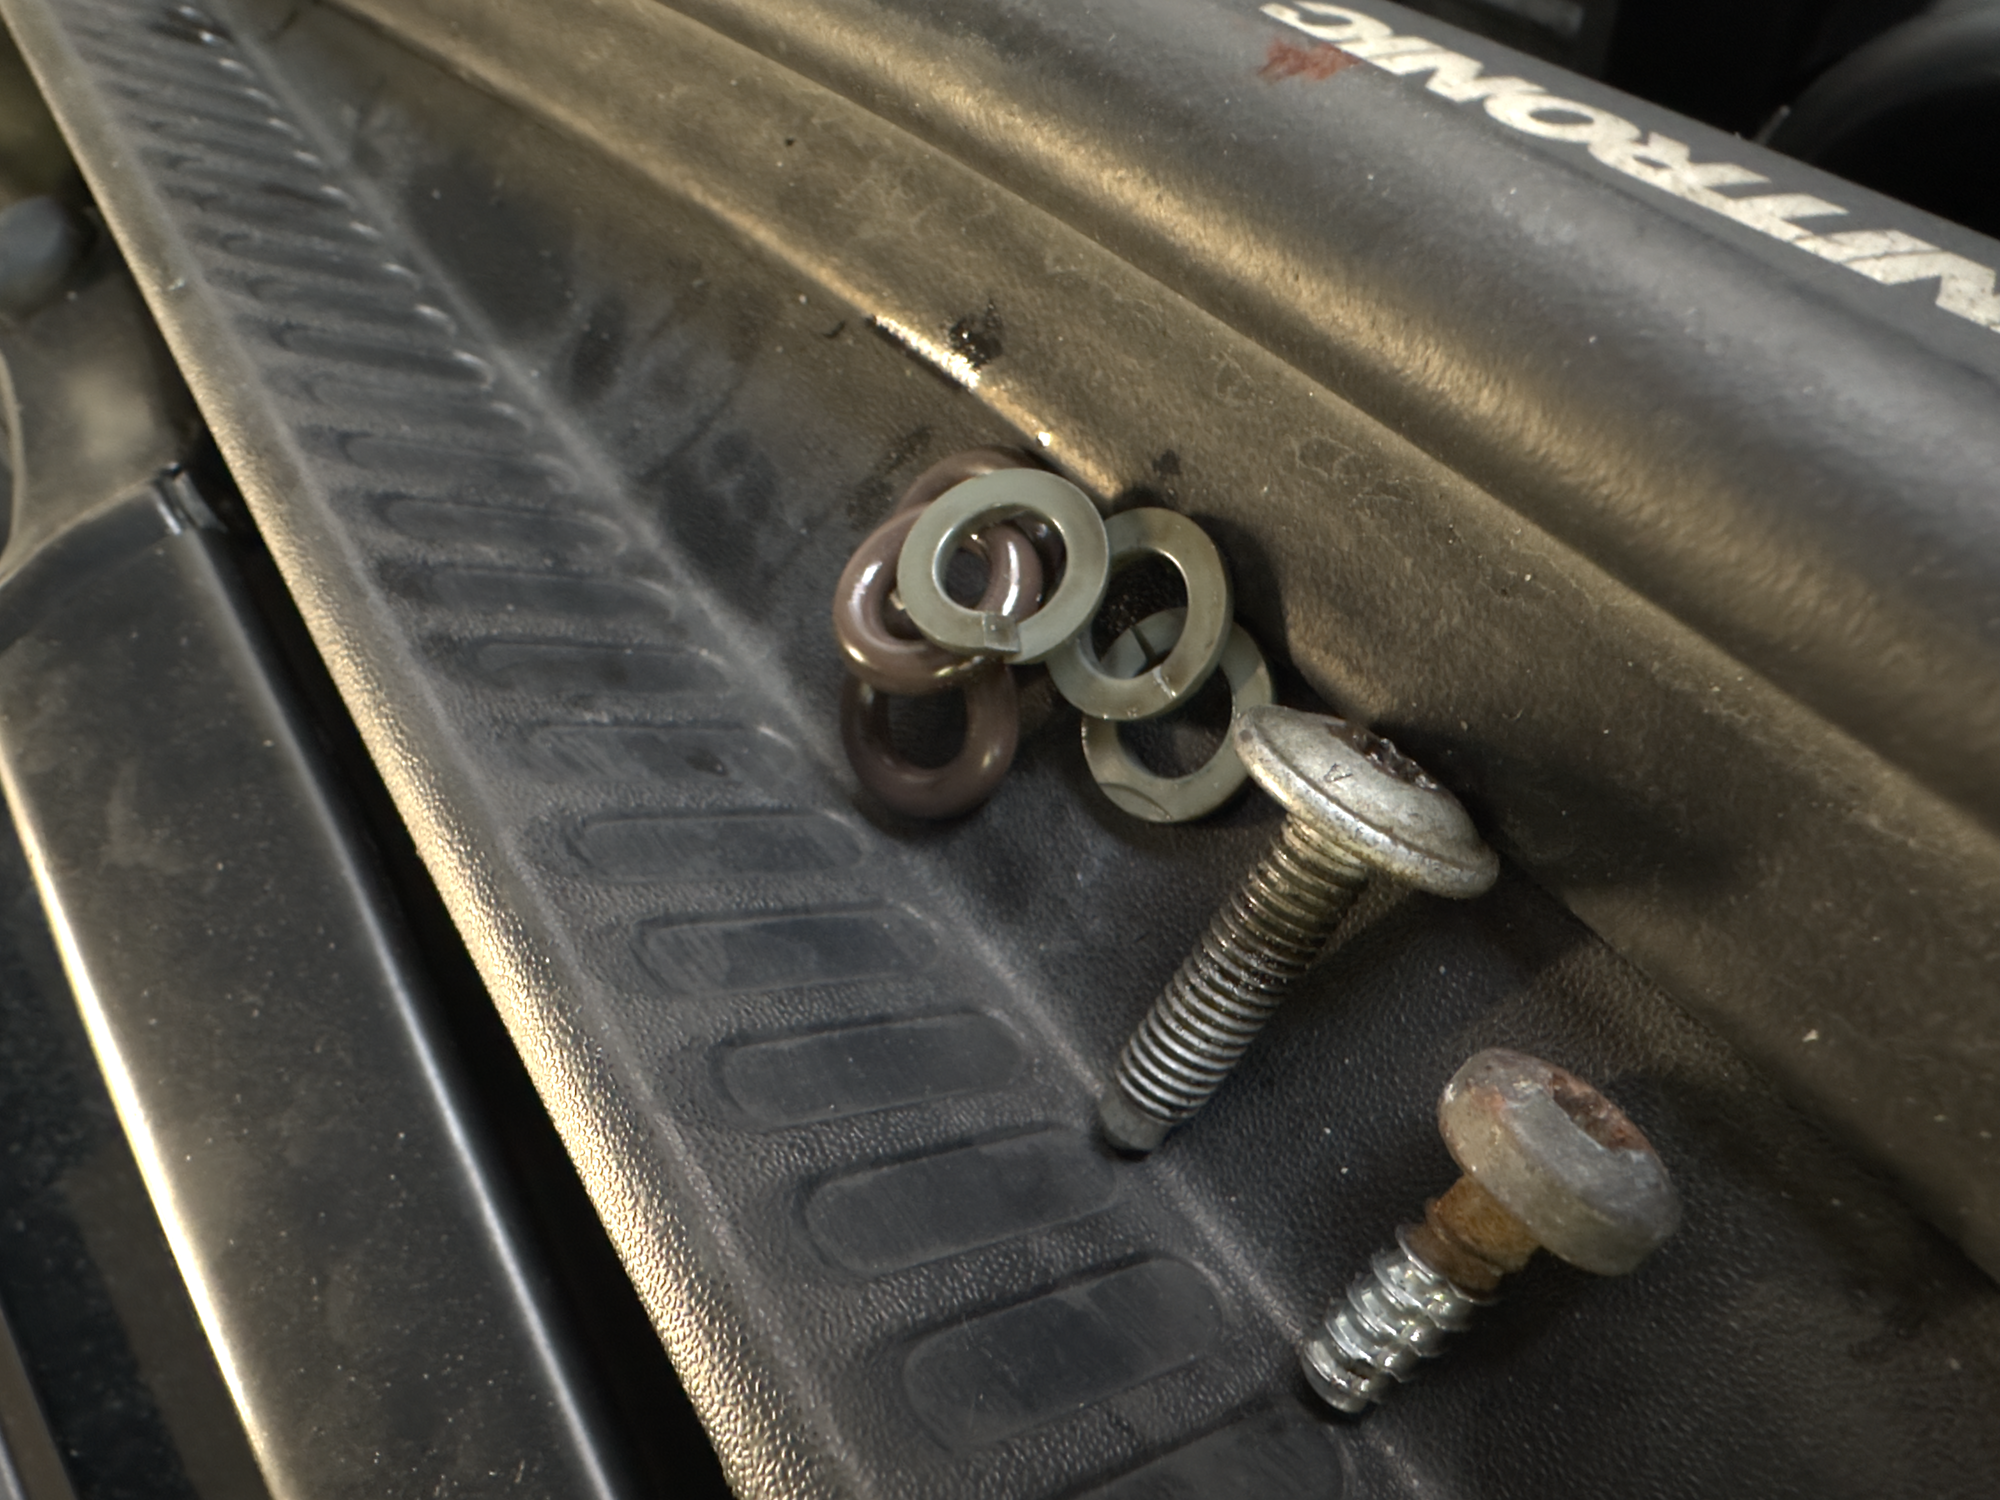
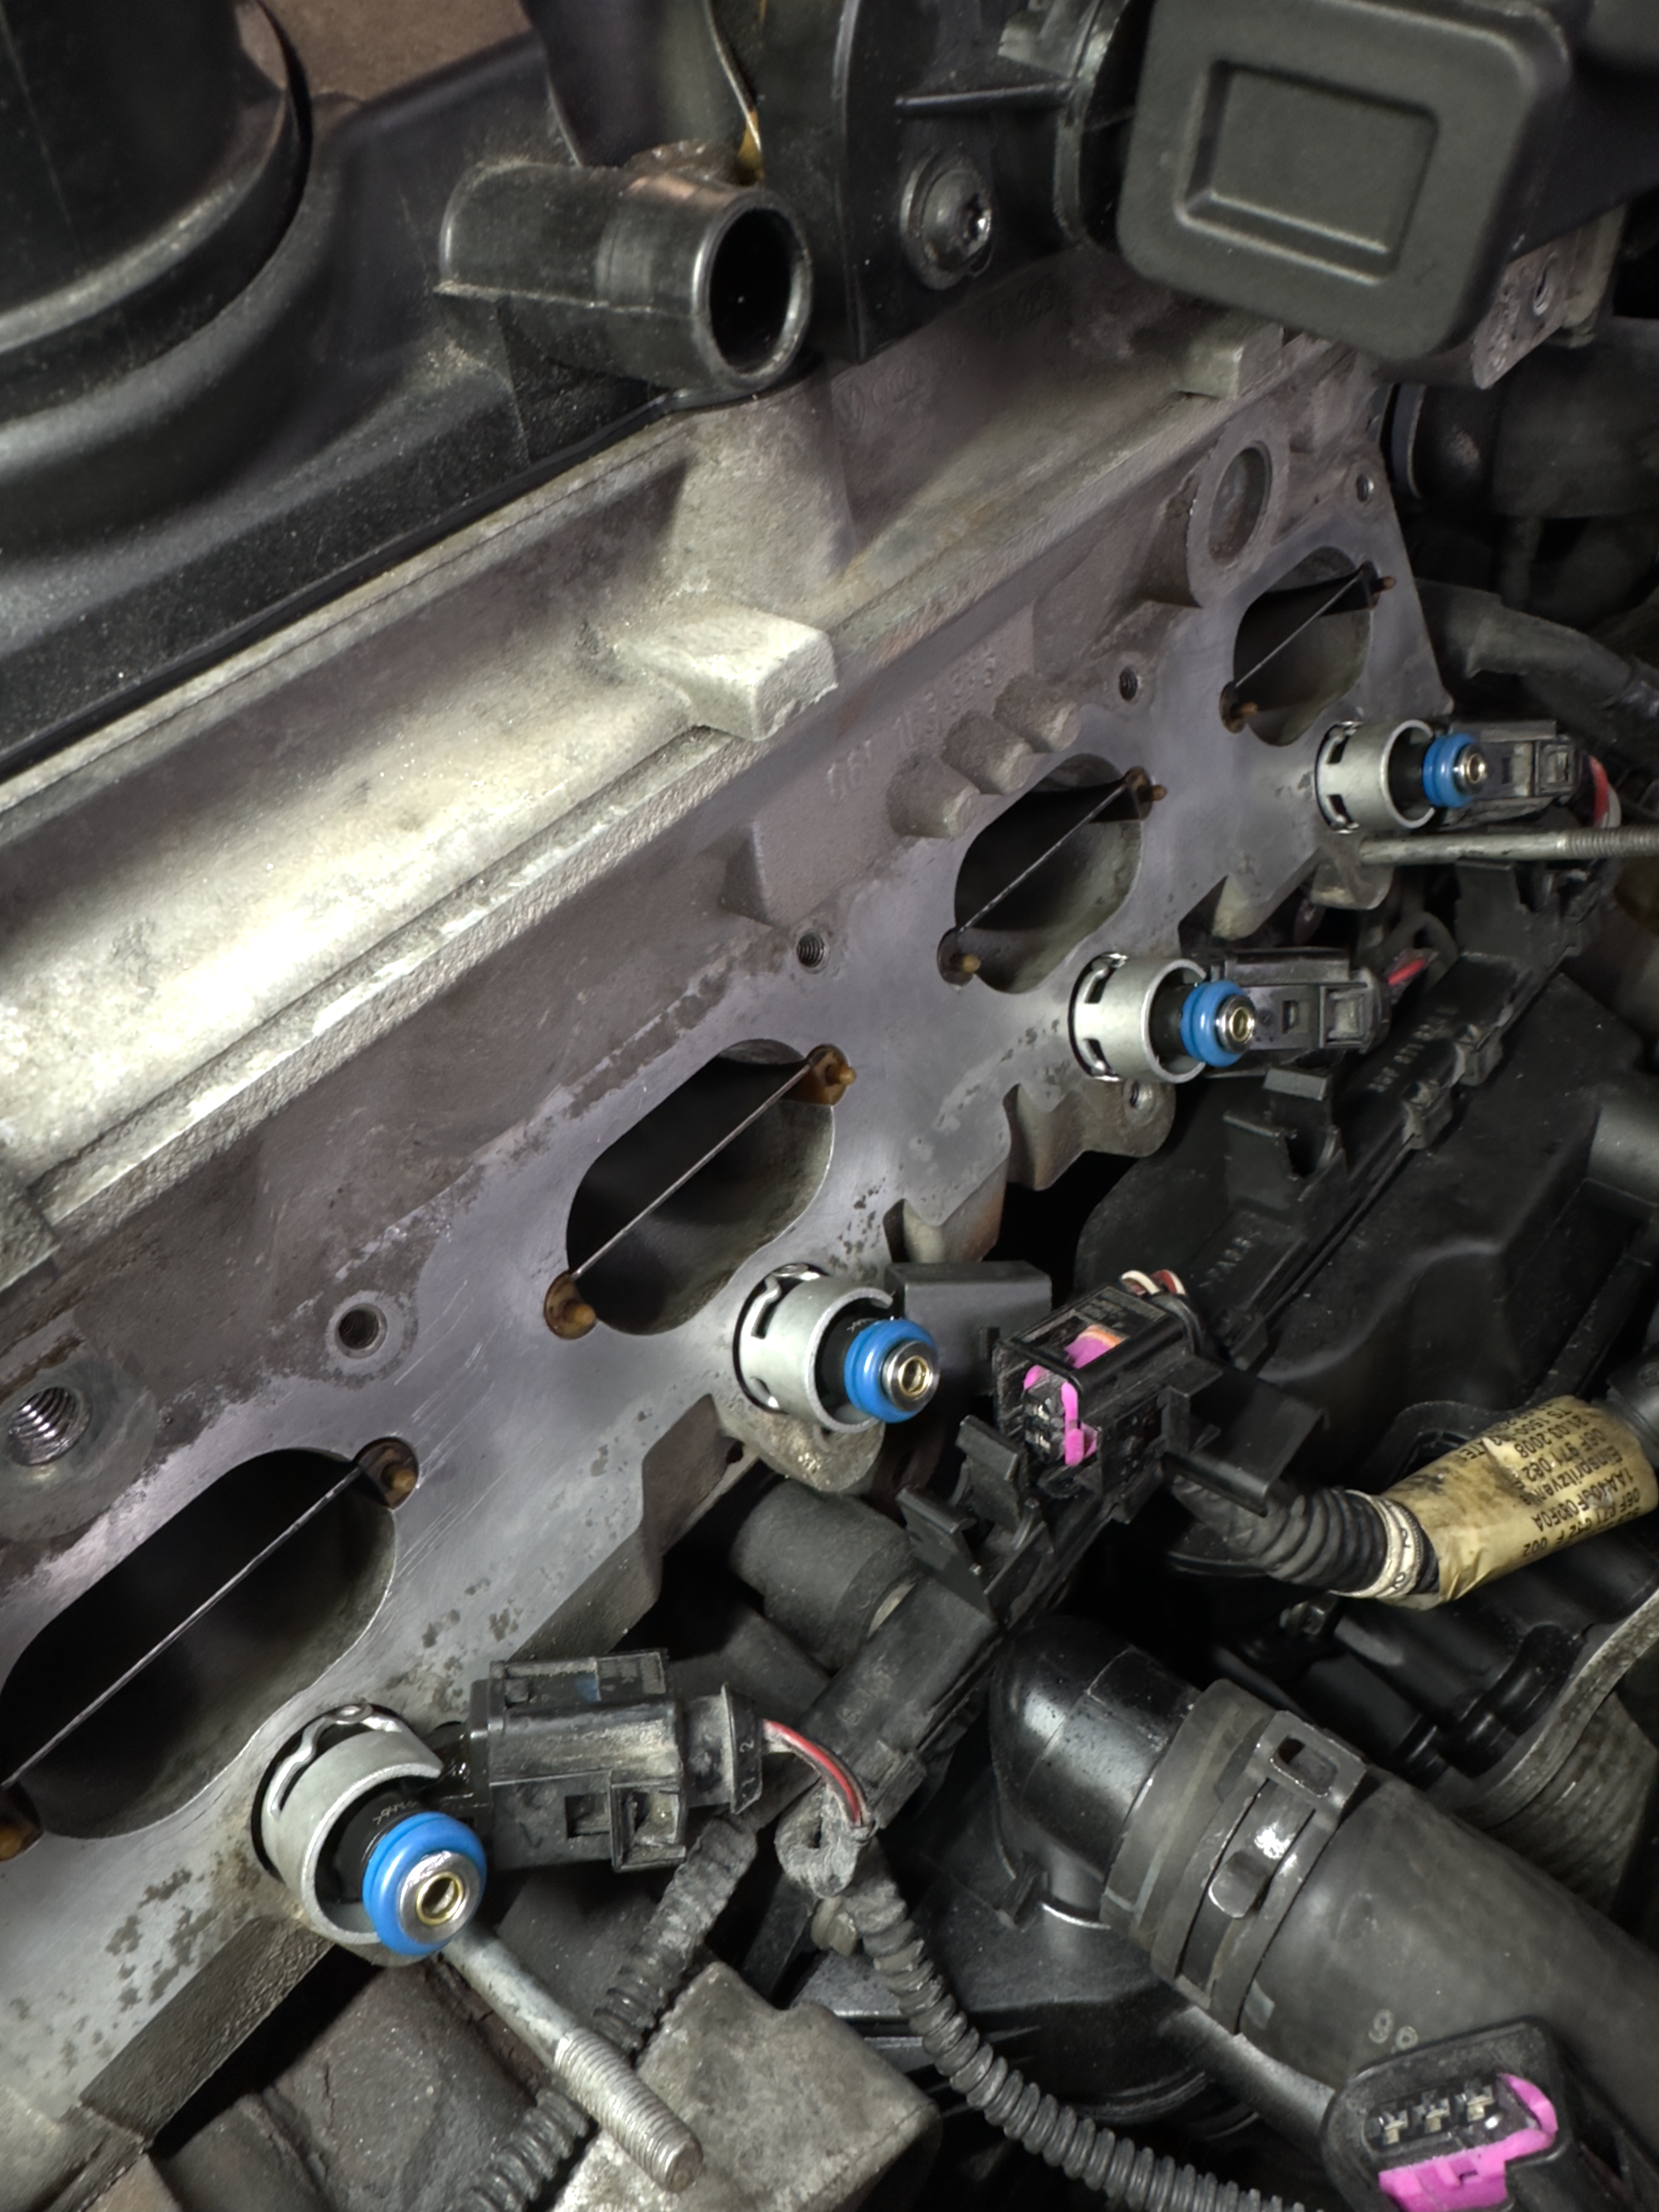
Before inserting the manifold, and as part of the carbon cleaning process, we also ended up scraping off carbon from the plates inserted into the valve openings as seen in the image above. One of the plates had considerably less carbon build-up, which leads me to believe it is related to the less leaking injector in cylinder 2.
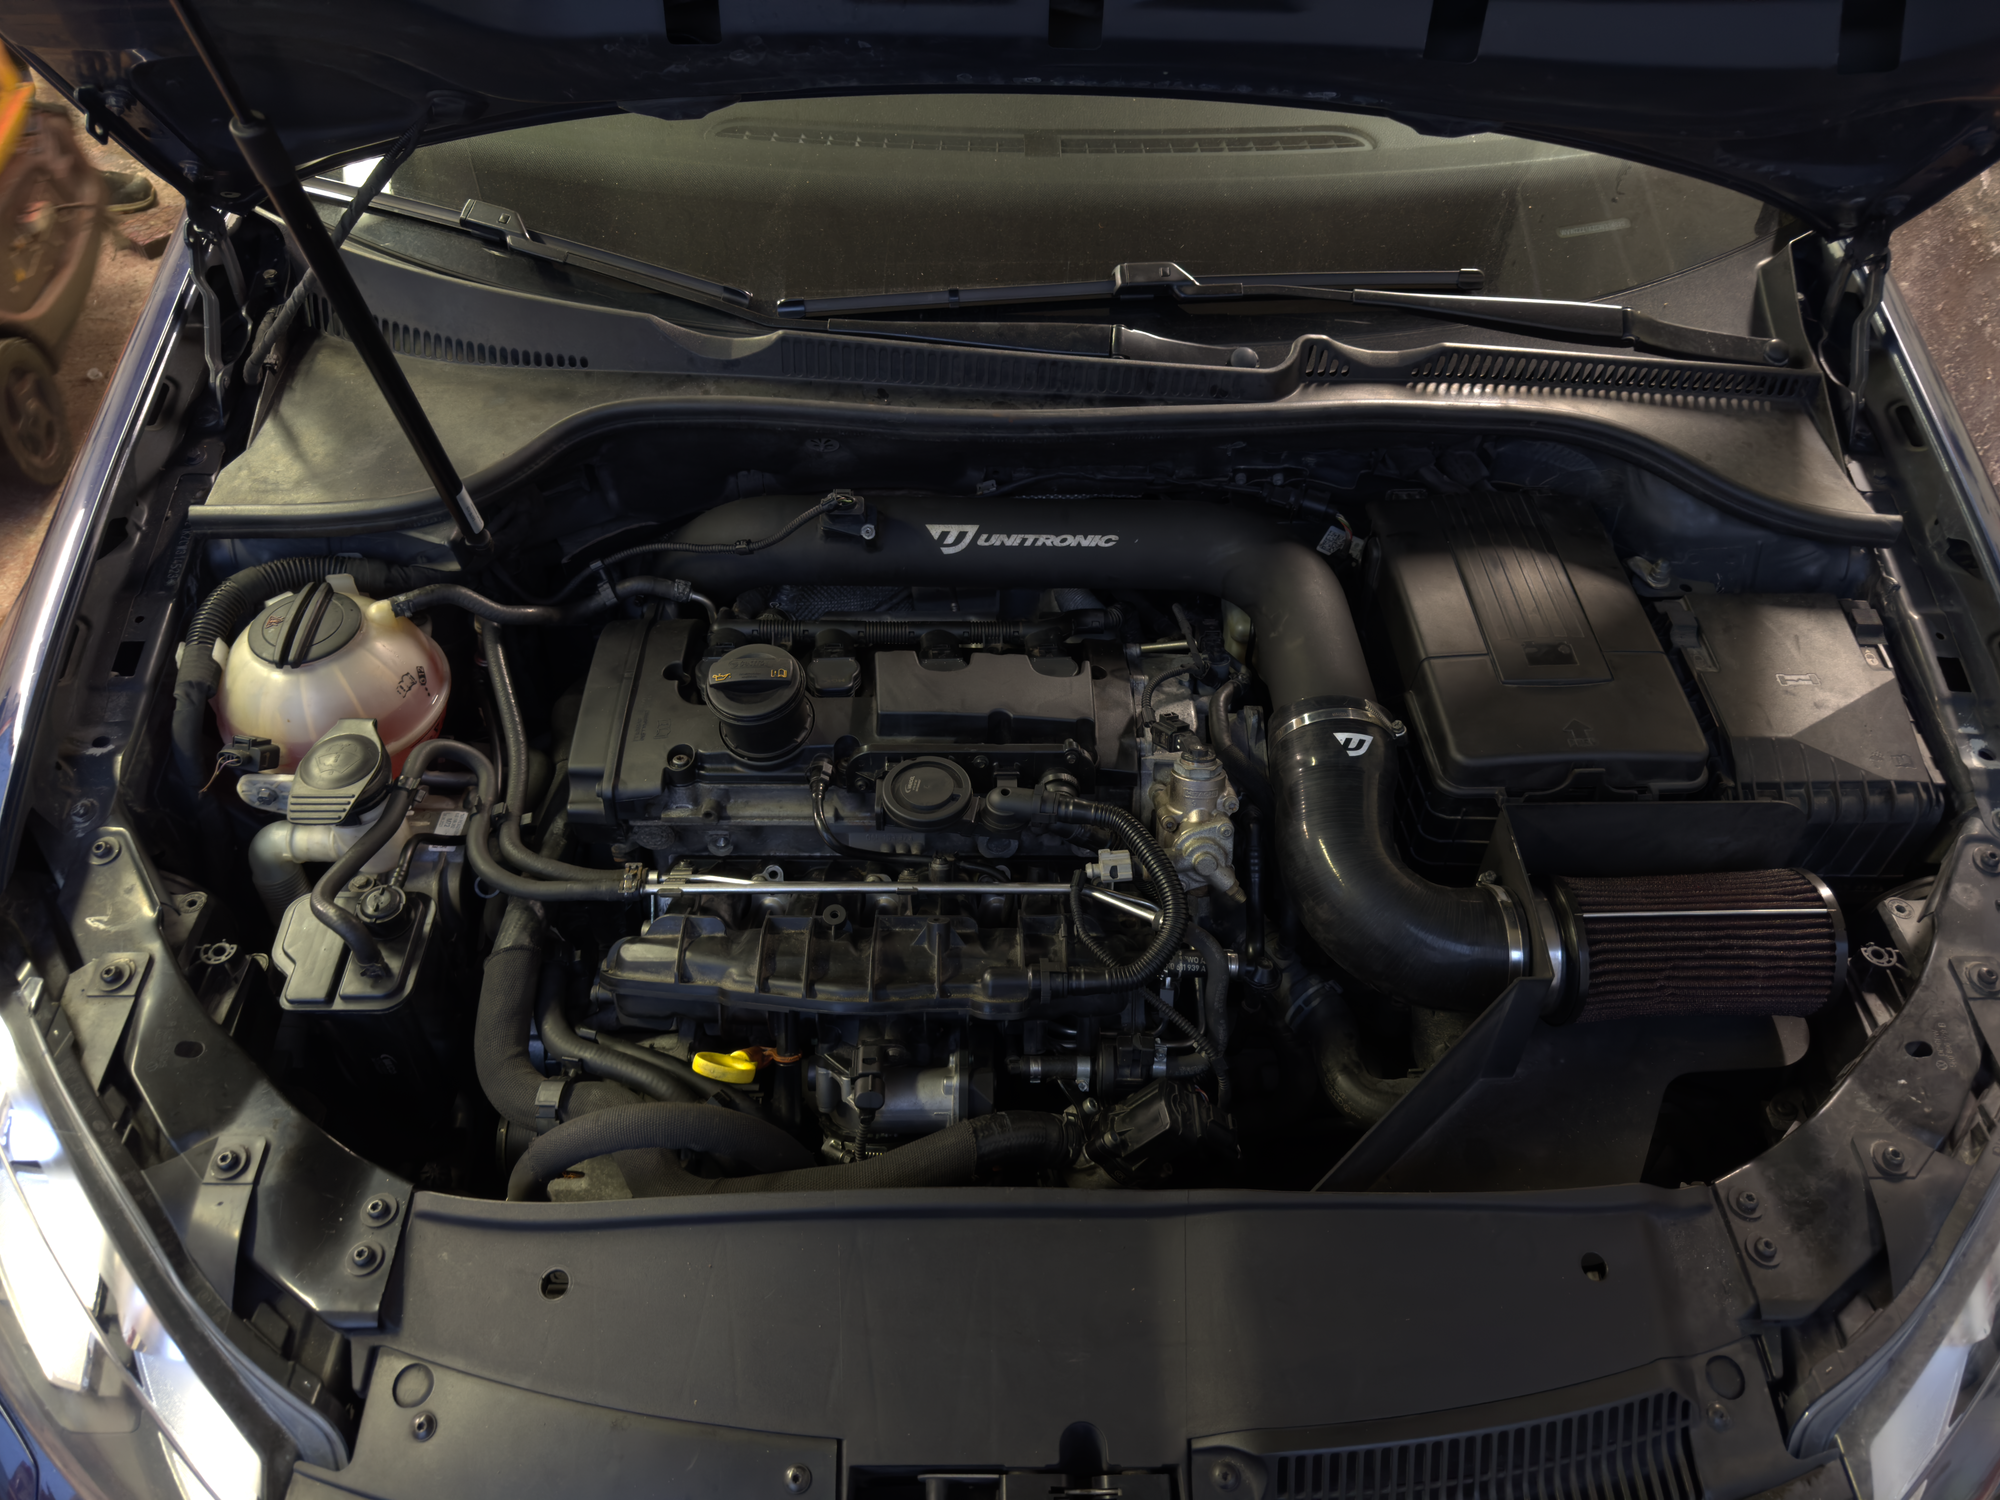
Now that the engine bay is completed, it was time to fill it up with oil and coolant. We used LIQUI MOLY's Top Tec 4100 (5W-40, 5L). I've read countless places that the ea113 engine appears to burn more oil once it has reached a higher odometer, so it is generally recommended to switch to 5W-40, as opposed to 5W-30. While this engine requires 4.6 liters of oil, we ended up filling it with the entire 5 liters. The car was completely dry of oil, as we had replaced the oil filter house. When we added about 90% of the oil, the dip-stick had oil up until about 50% of maximum, which is ideal. Therefore we added the remaining oil to the car.
Once everything was ready and settled, we turned the ignition and cranked the engine. While cranking the engine, we were looking for any leaks inside the engine bay and on the floor below the car. At this point the car was still raised in the front, so we could easily spot any leaks. Cranking the engine took a good 1-2 minutes, as the car had to rebuild its fuel pressure. After about 2-3 minutes, the engine cranked and it ran very well, with no misfires. Our entire goal was to rid ourselves of the misfires and improve the state of this car, which we had successfully achieved.
Next up was to take the car for a spin to check how it felt driving. Bear in mind the exhaust was still leaking like crazy at this moment, and it is something we have to tackle to make the car completely drivable (and legal). On the test drive, we did not notice anything unusual, and the car felt very smooth (thanks to removing the dog bone insert that stiffened up the car).
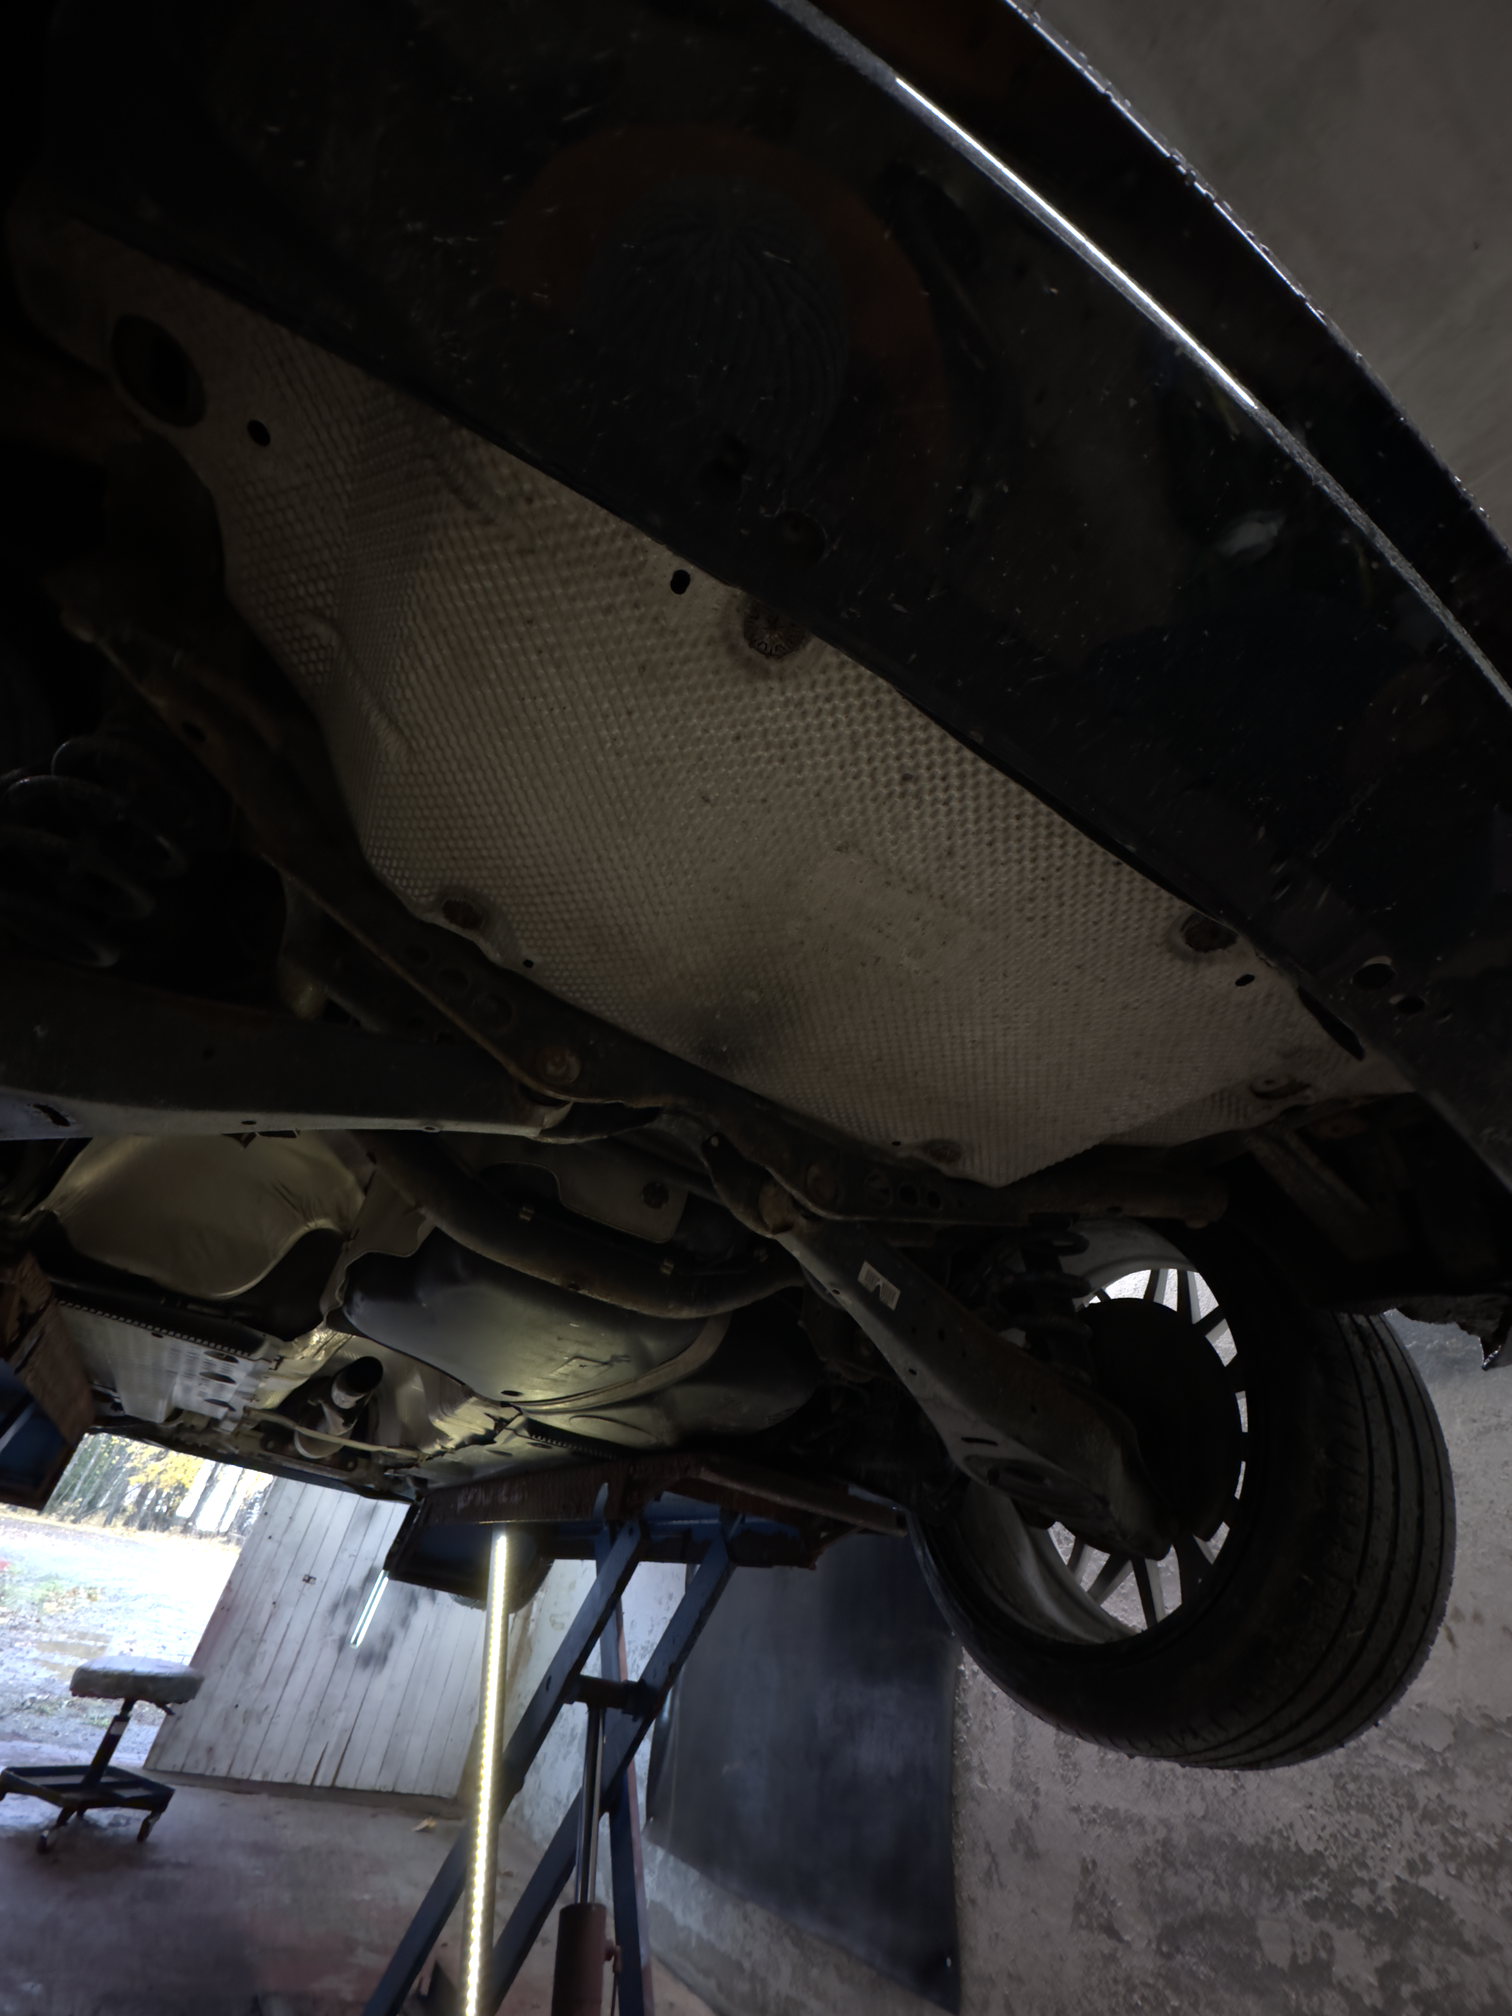
The next day, we raised the car up on our lift and took a peek underneath to finally reveal the damage the previous owners had caused this car.
While peeking at the exhaust, we learned the previous owners seem to have missed the small converted that comes with the milltek exhaust, more specifically this tiny piece:
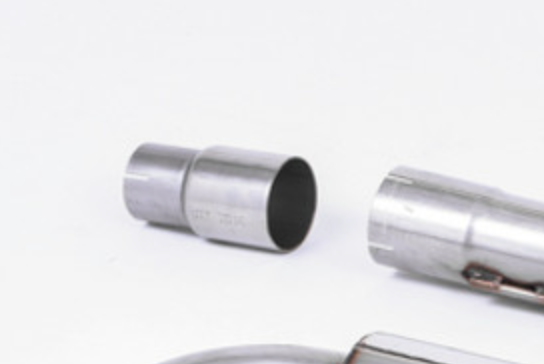
With this piece missing, connecting the two exhaust proves very difficult, and it makes total sense that the home made solution sucks. When we bought the car, the previous owners decide to create a hybrid of original exhaust and Milltek exhaust, splicing a piece off of both and welding it. We decided it would be best to revert their mistakes, and rebuild the original exhaust first to fit on the car.
While removing the exhaust we discovered some troubling things (shocker), one of them being a very rusty hanger:
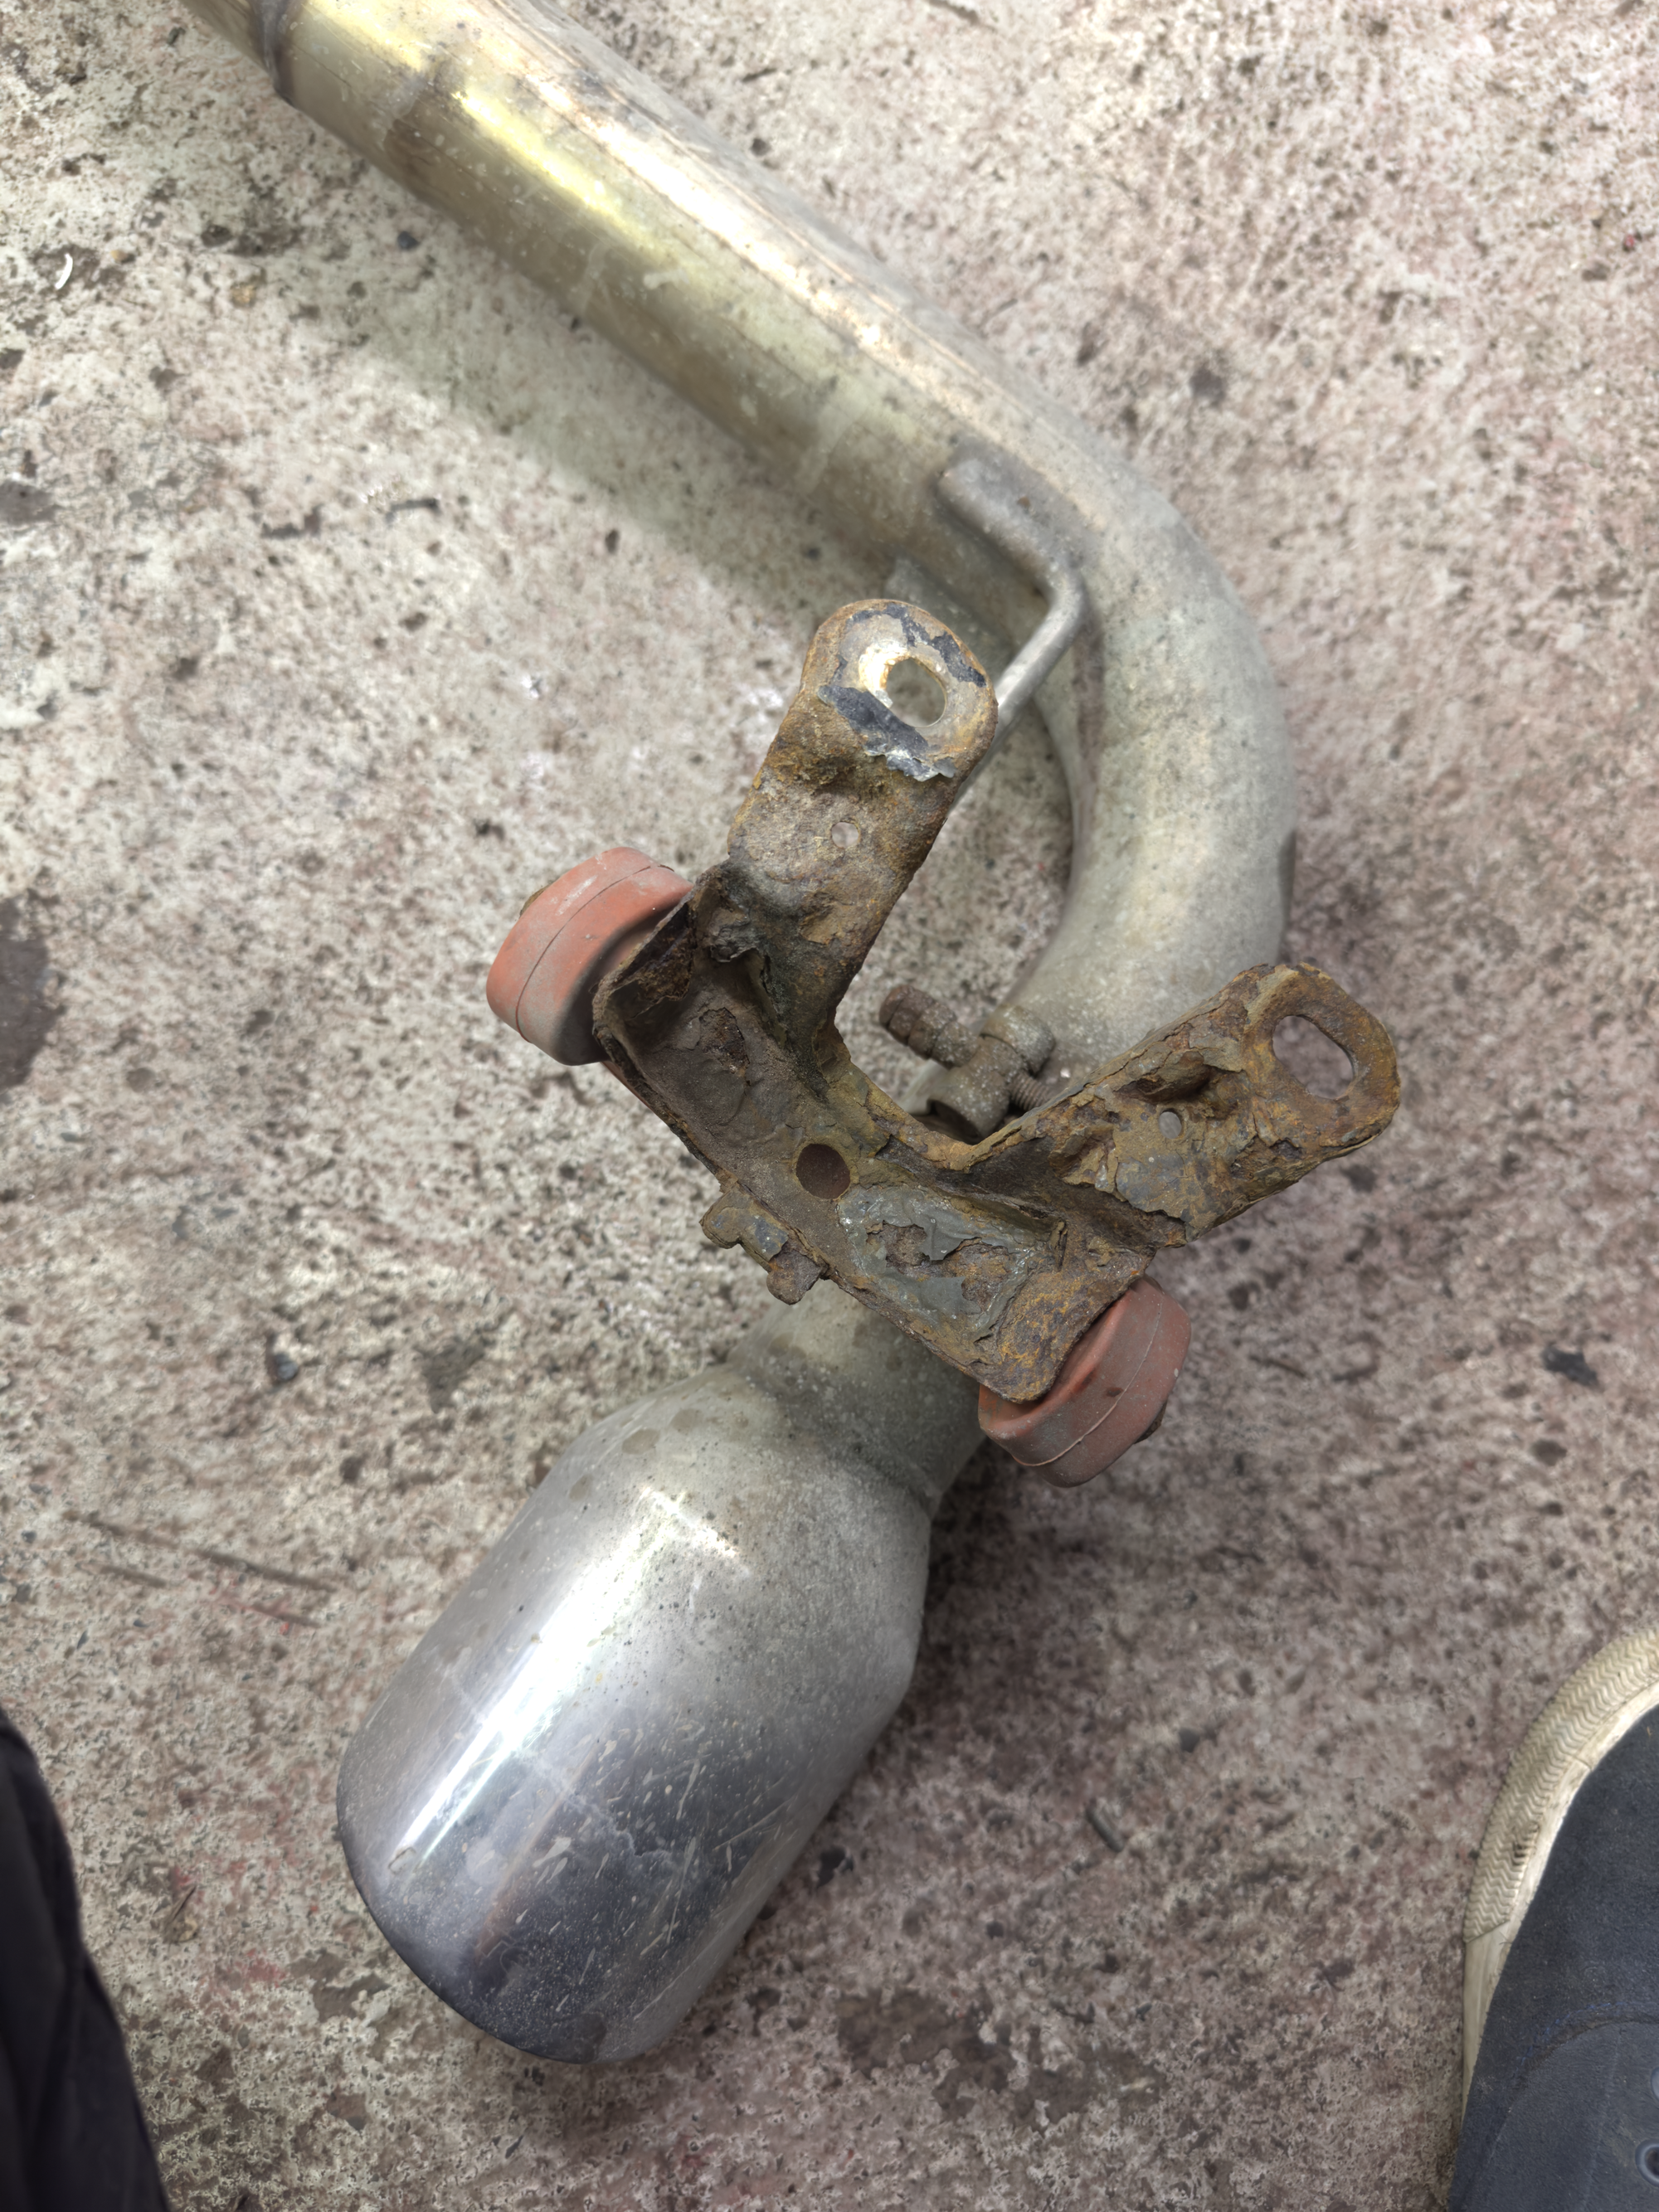
This hanger, along with the left side exhaust rubber hanger mount need to be replaced, to ensure the exhaust doesn't sag on one side. Sadly, we did not discover this until after we had already completed the original exhaust. We mounted it, tested it for leaks, and then realizing the entire exhaust was hanging lower on the left side. Before checking the mounts, we decided to split it again and mount each part of the exhaust, to see if there were any different orientation needed to ensure it is mounted level to the rear.
As mentioned a few posts ago, the previous owners also had the bright idea of replacing the original Dynaudio woofers with what I am sure could be great woofers in the correct setup:
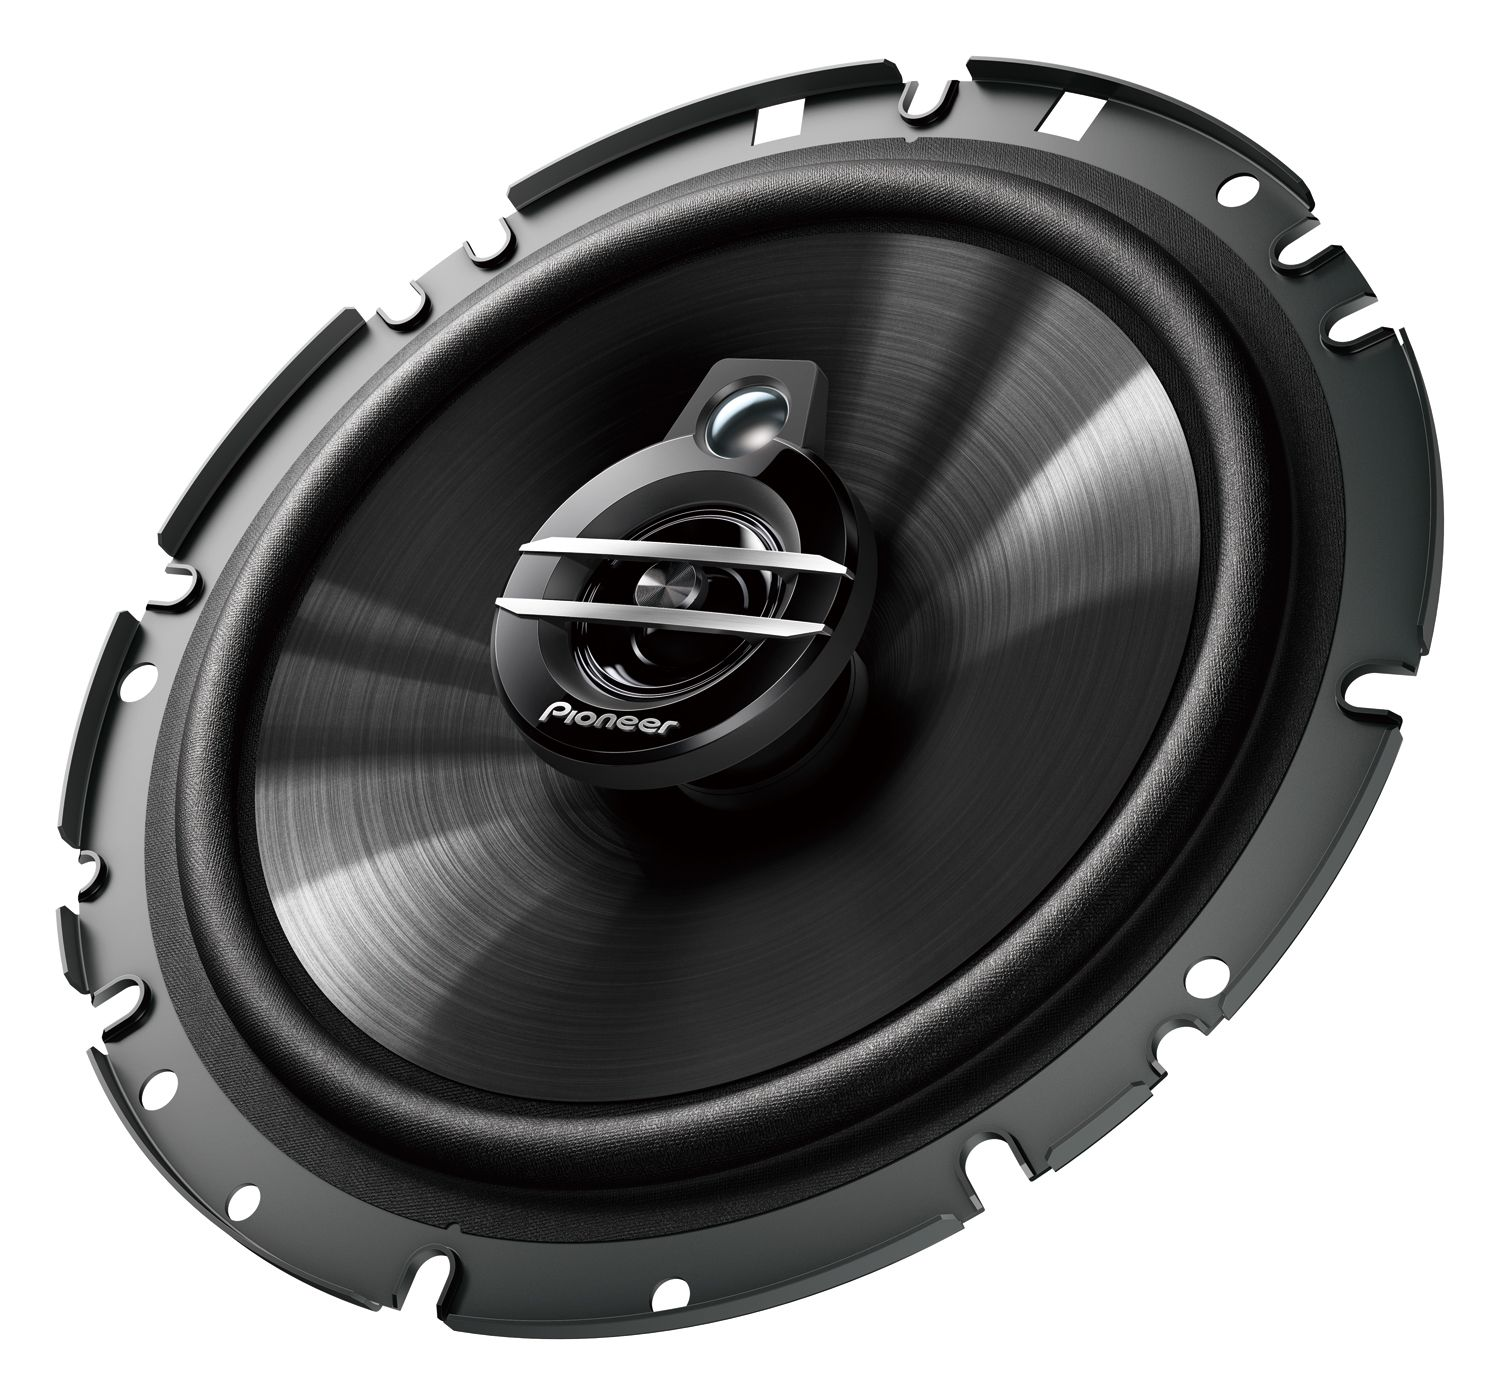
While the car originally supports 2 Ω impedance woofers, the previous owners decided 4 Ω would be much better for the car, and ditched the original woofers. Not only did they swap out great woofers with poor ones (for this setup), they decided the original connectors in the doors were useless and cut them off. Therefore, we had to go to a scrapyard and find other Volkswagen cars with the same connectors. Lucky for us, these connectors are pretty much used over the entire VW range, so finding connectors was easy as pie.
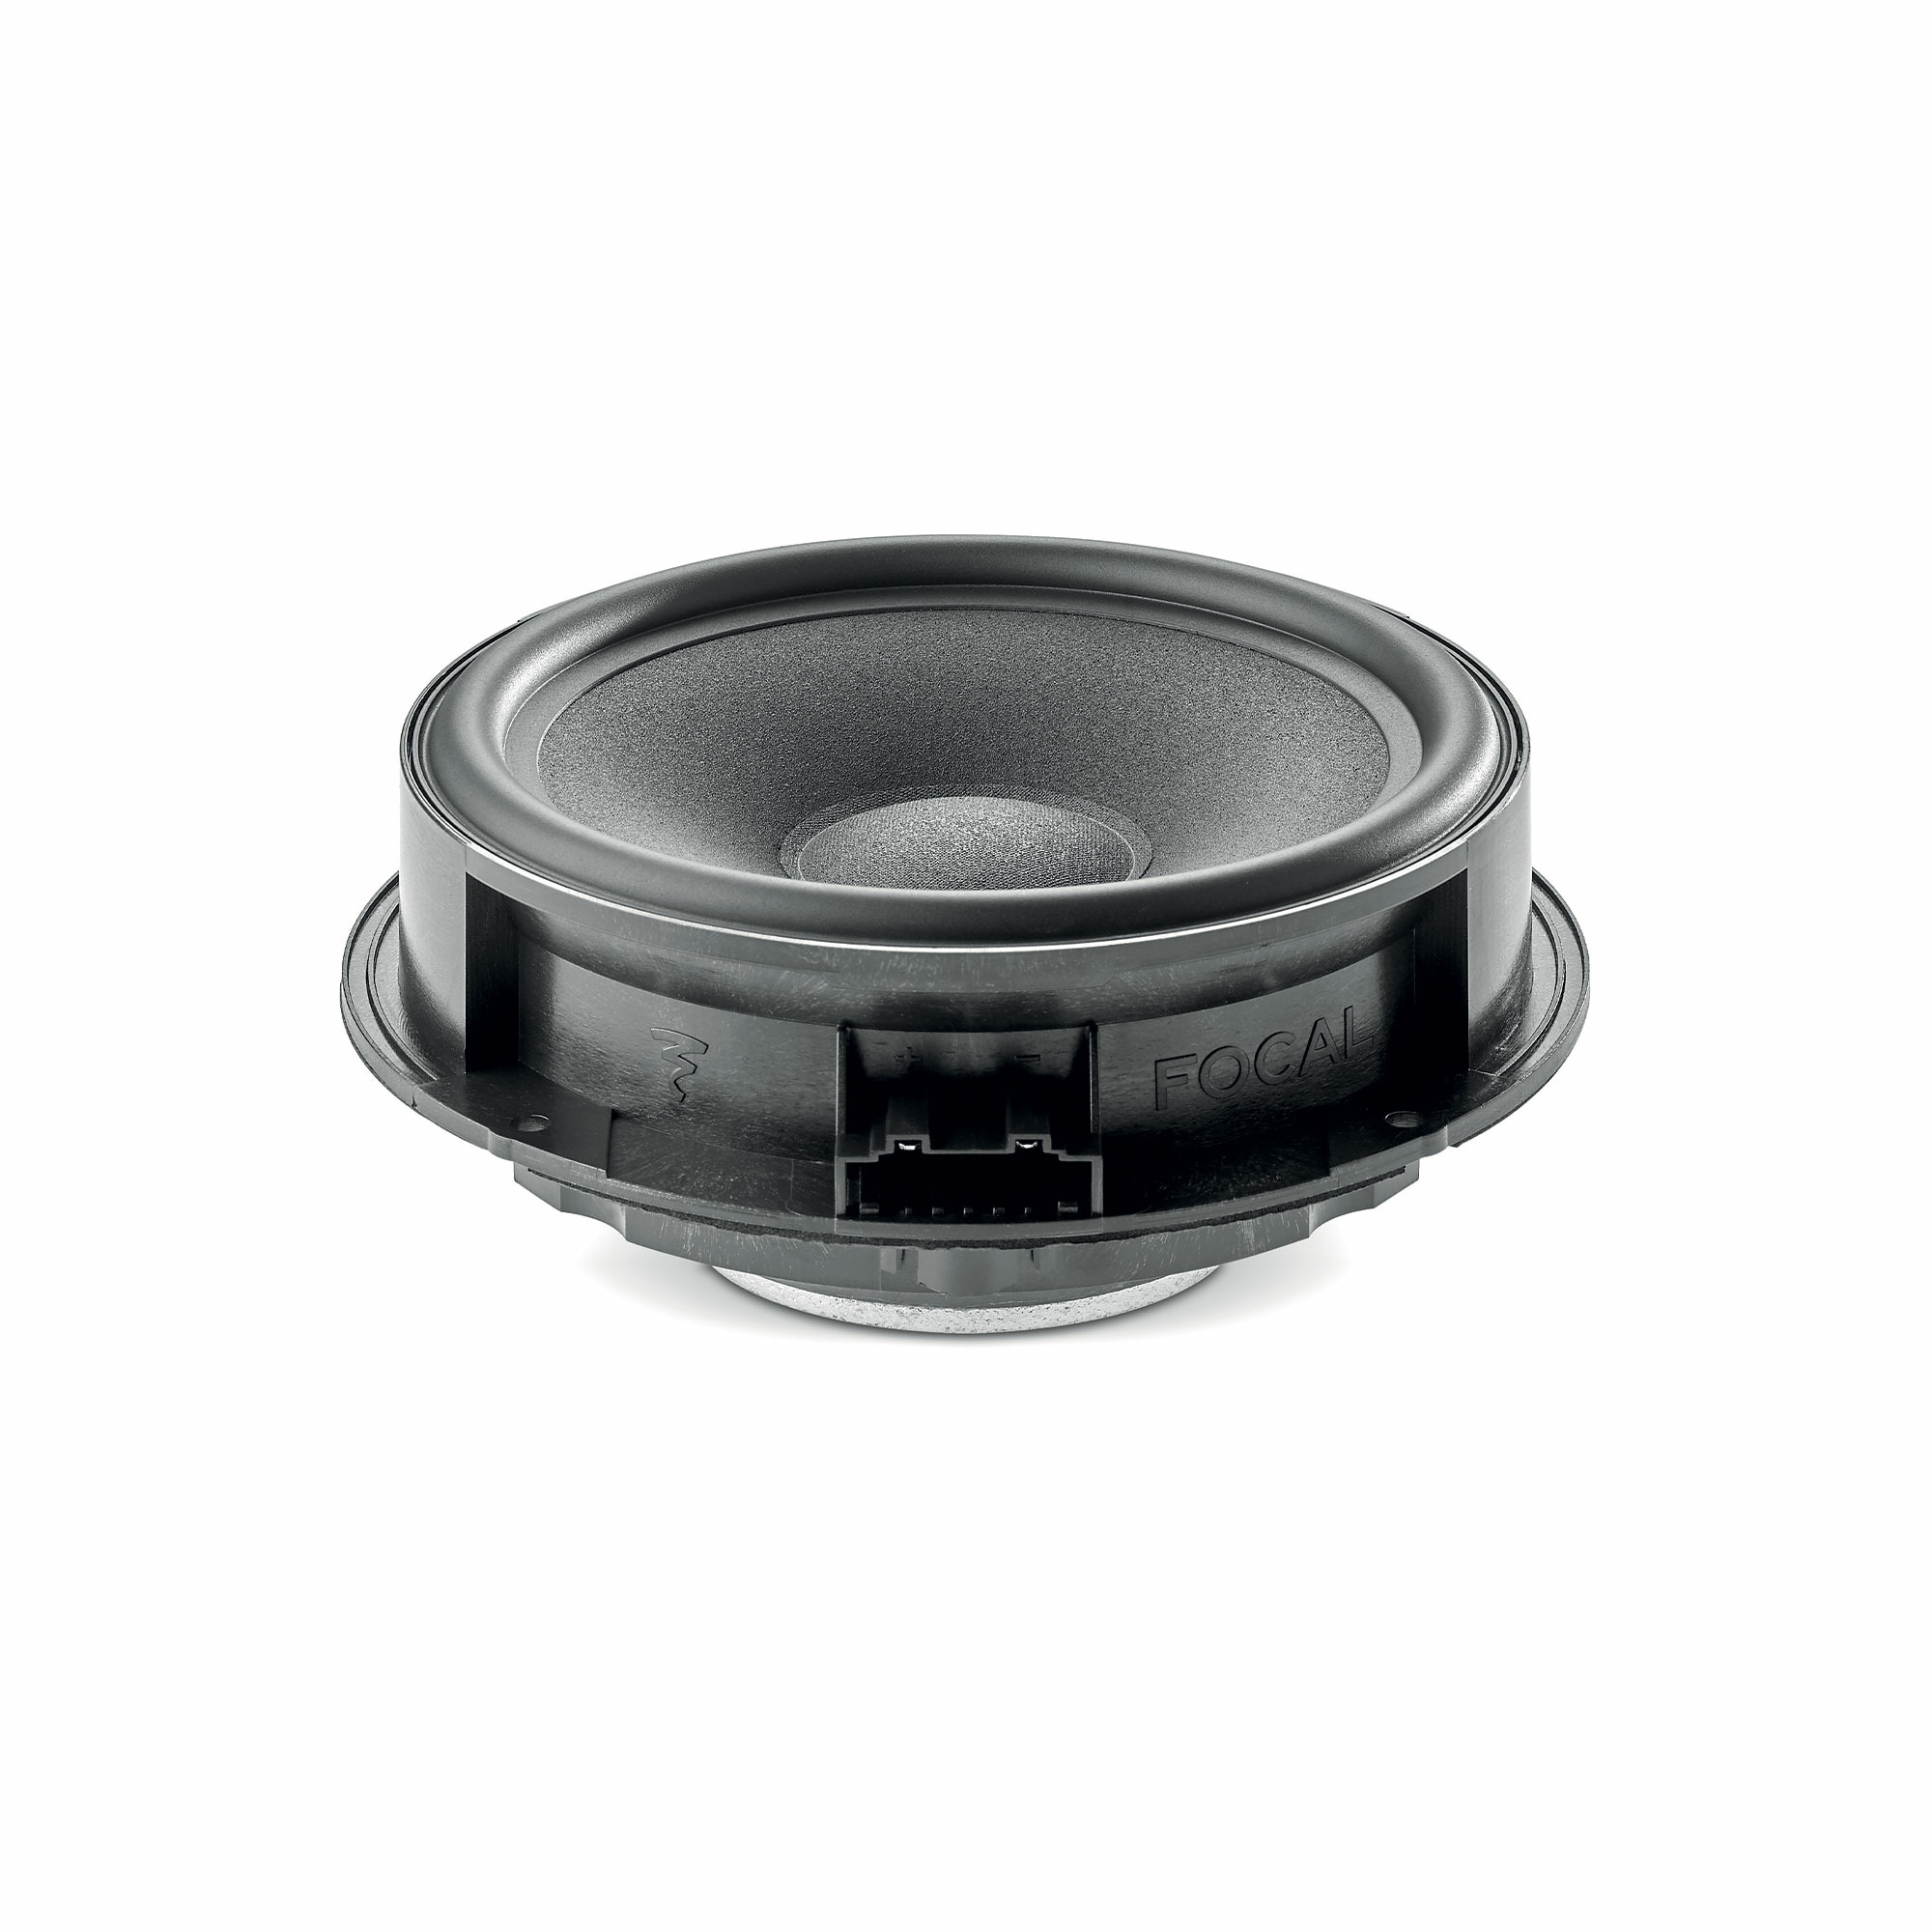
The new woofers we installed are from Focal, and after testing them with this car, we give them a score of 8/10. Why not a 10/10 has nothing to do with Focal, the speakers themselves are great, however with the original head unit we would have liked for the rear speakers to produce some more bass. Therefore, the plan is to switch out the head unit with a newer one, namely the RCD 330+.