What I Found Under the Hood
Replaced the cheap battery and cleaned the intake valves with soda blasting to improve performance and tackle misfires
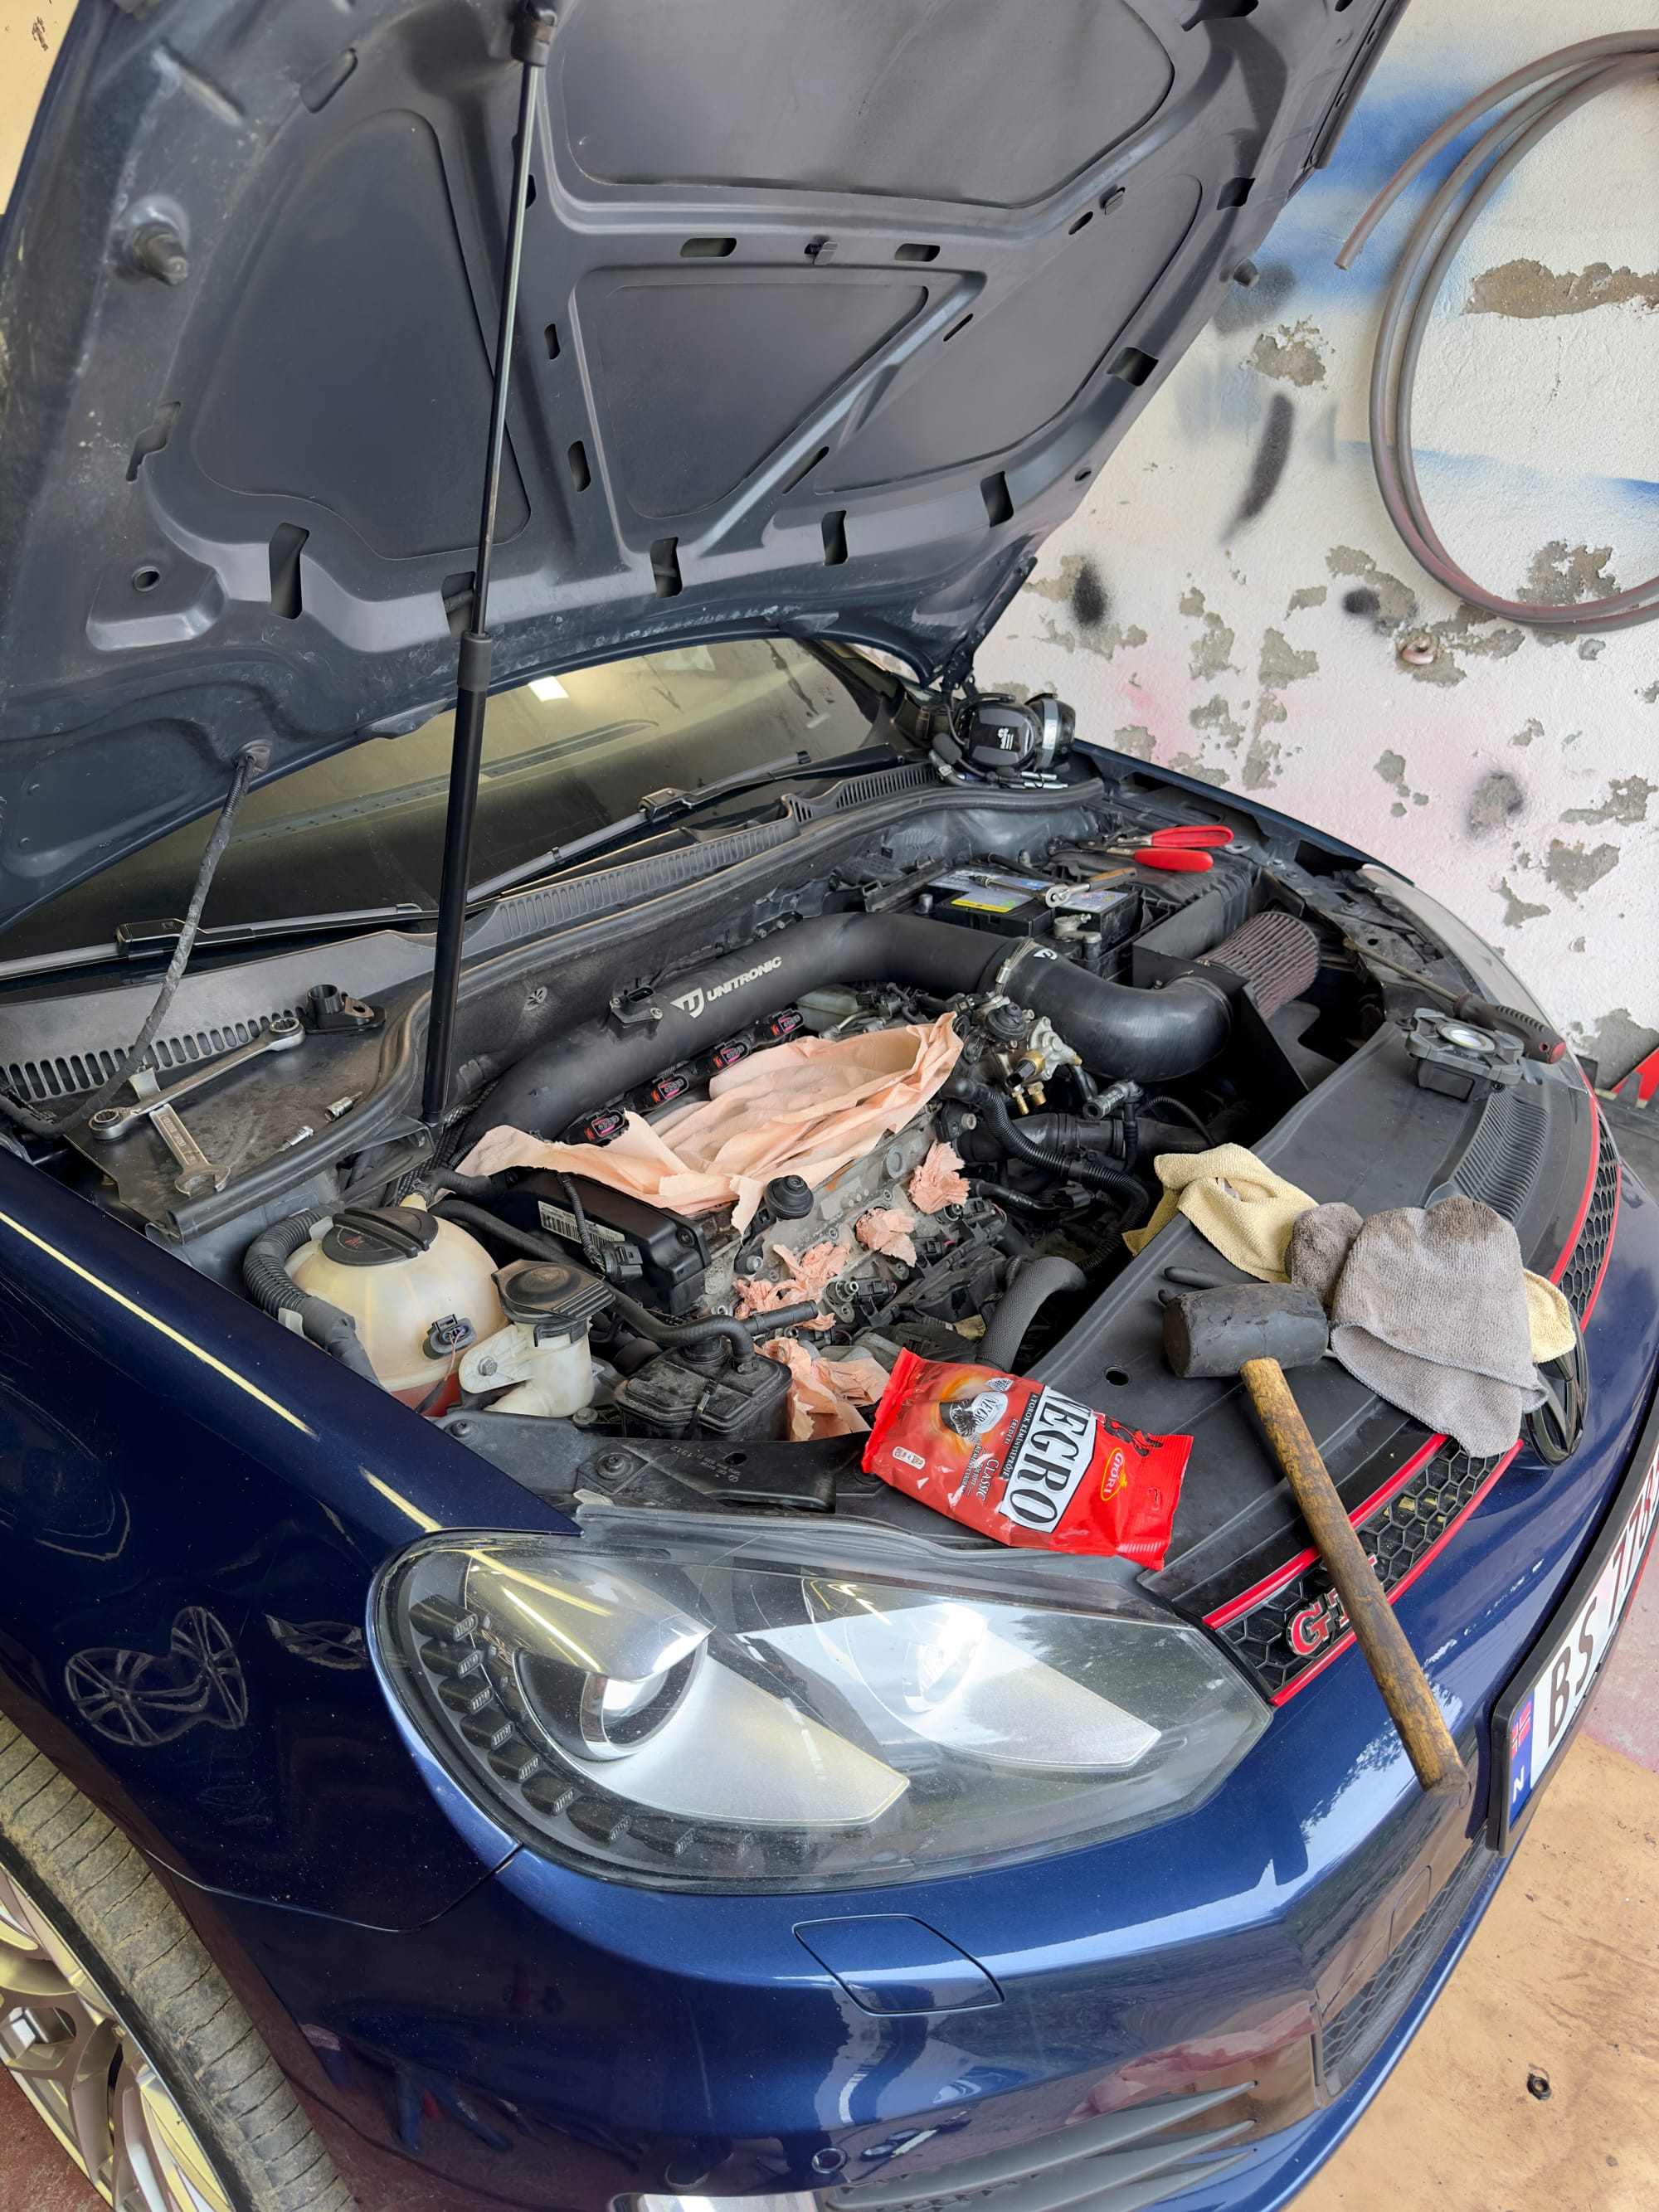
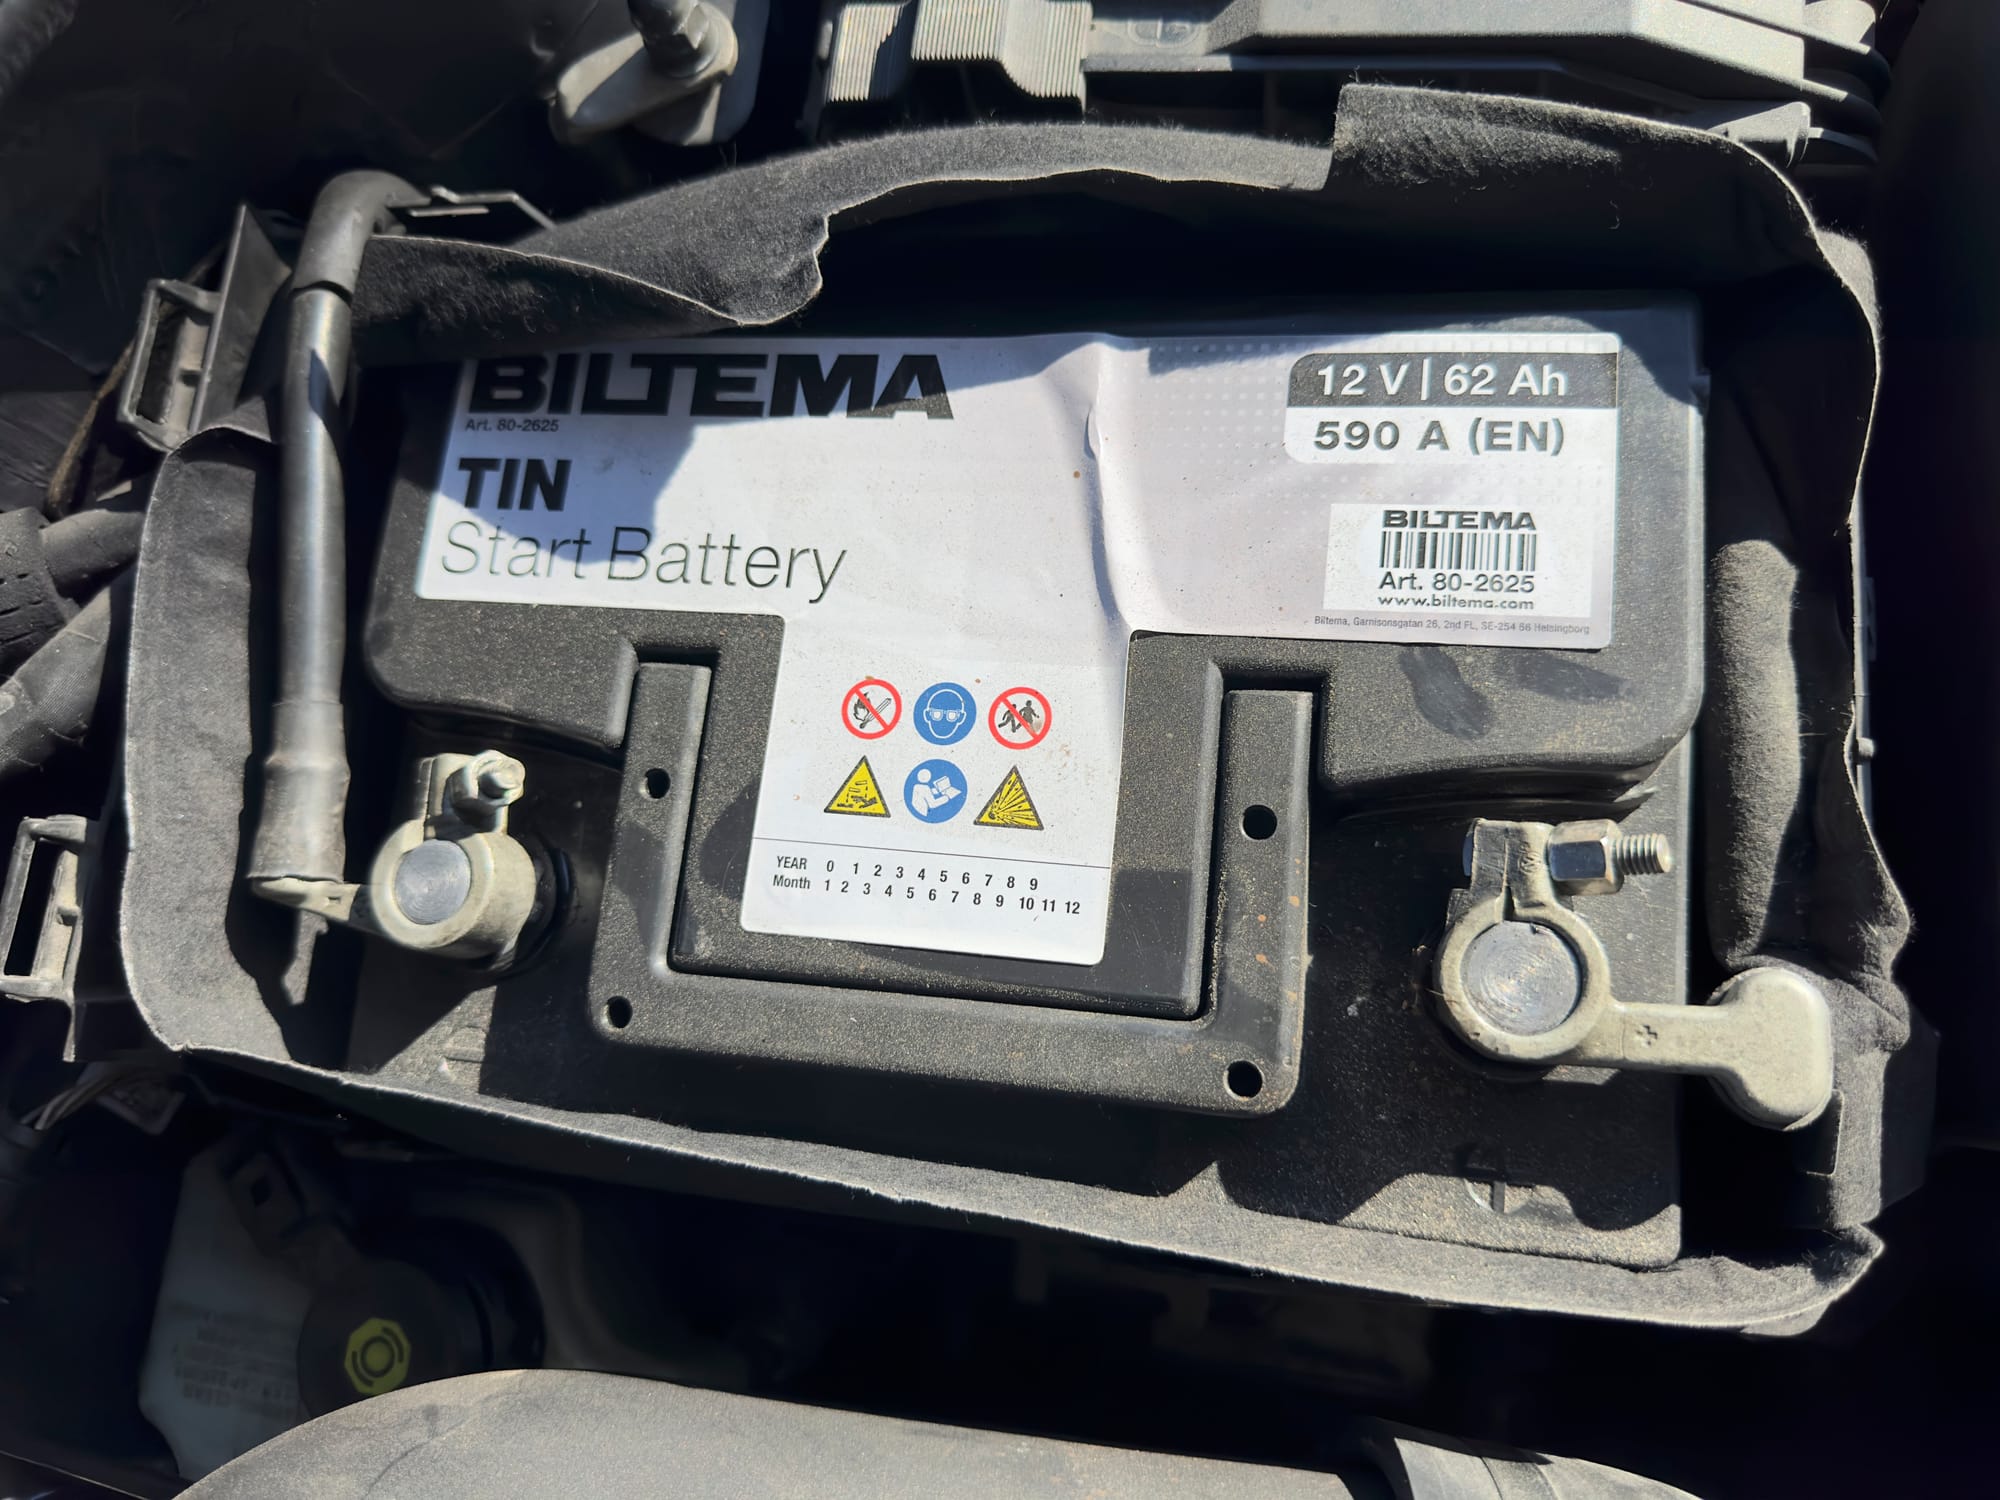
With the hood open, we got a closer look at the engine bay, and the first thing we noticed was the cheap, poor-quality battery installed in the car. Whoever owned this car before clearly didn’t care enough to put a decent battery in it. The result? Poor starts and inconsistent performance. The battery was the absolute cheapest model, retailing at just 899 NOK (about 75€). It’s hard to believe such a low-quality part ended up in a car like this, and who knows when it was last replaced. Needless to say, we swapped it out for a much better one to ensure reliable starts moving forward.
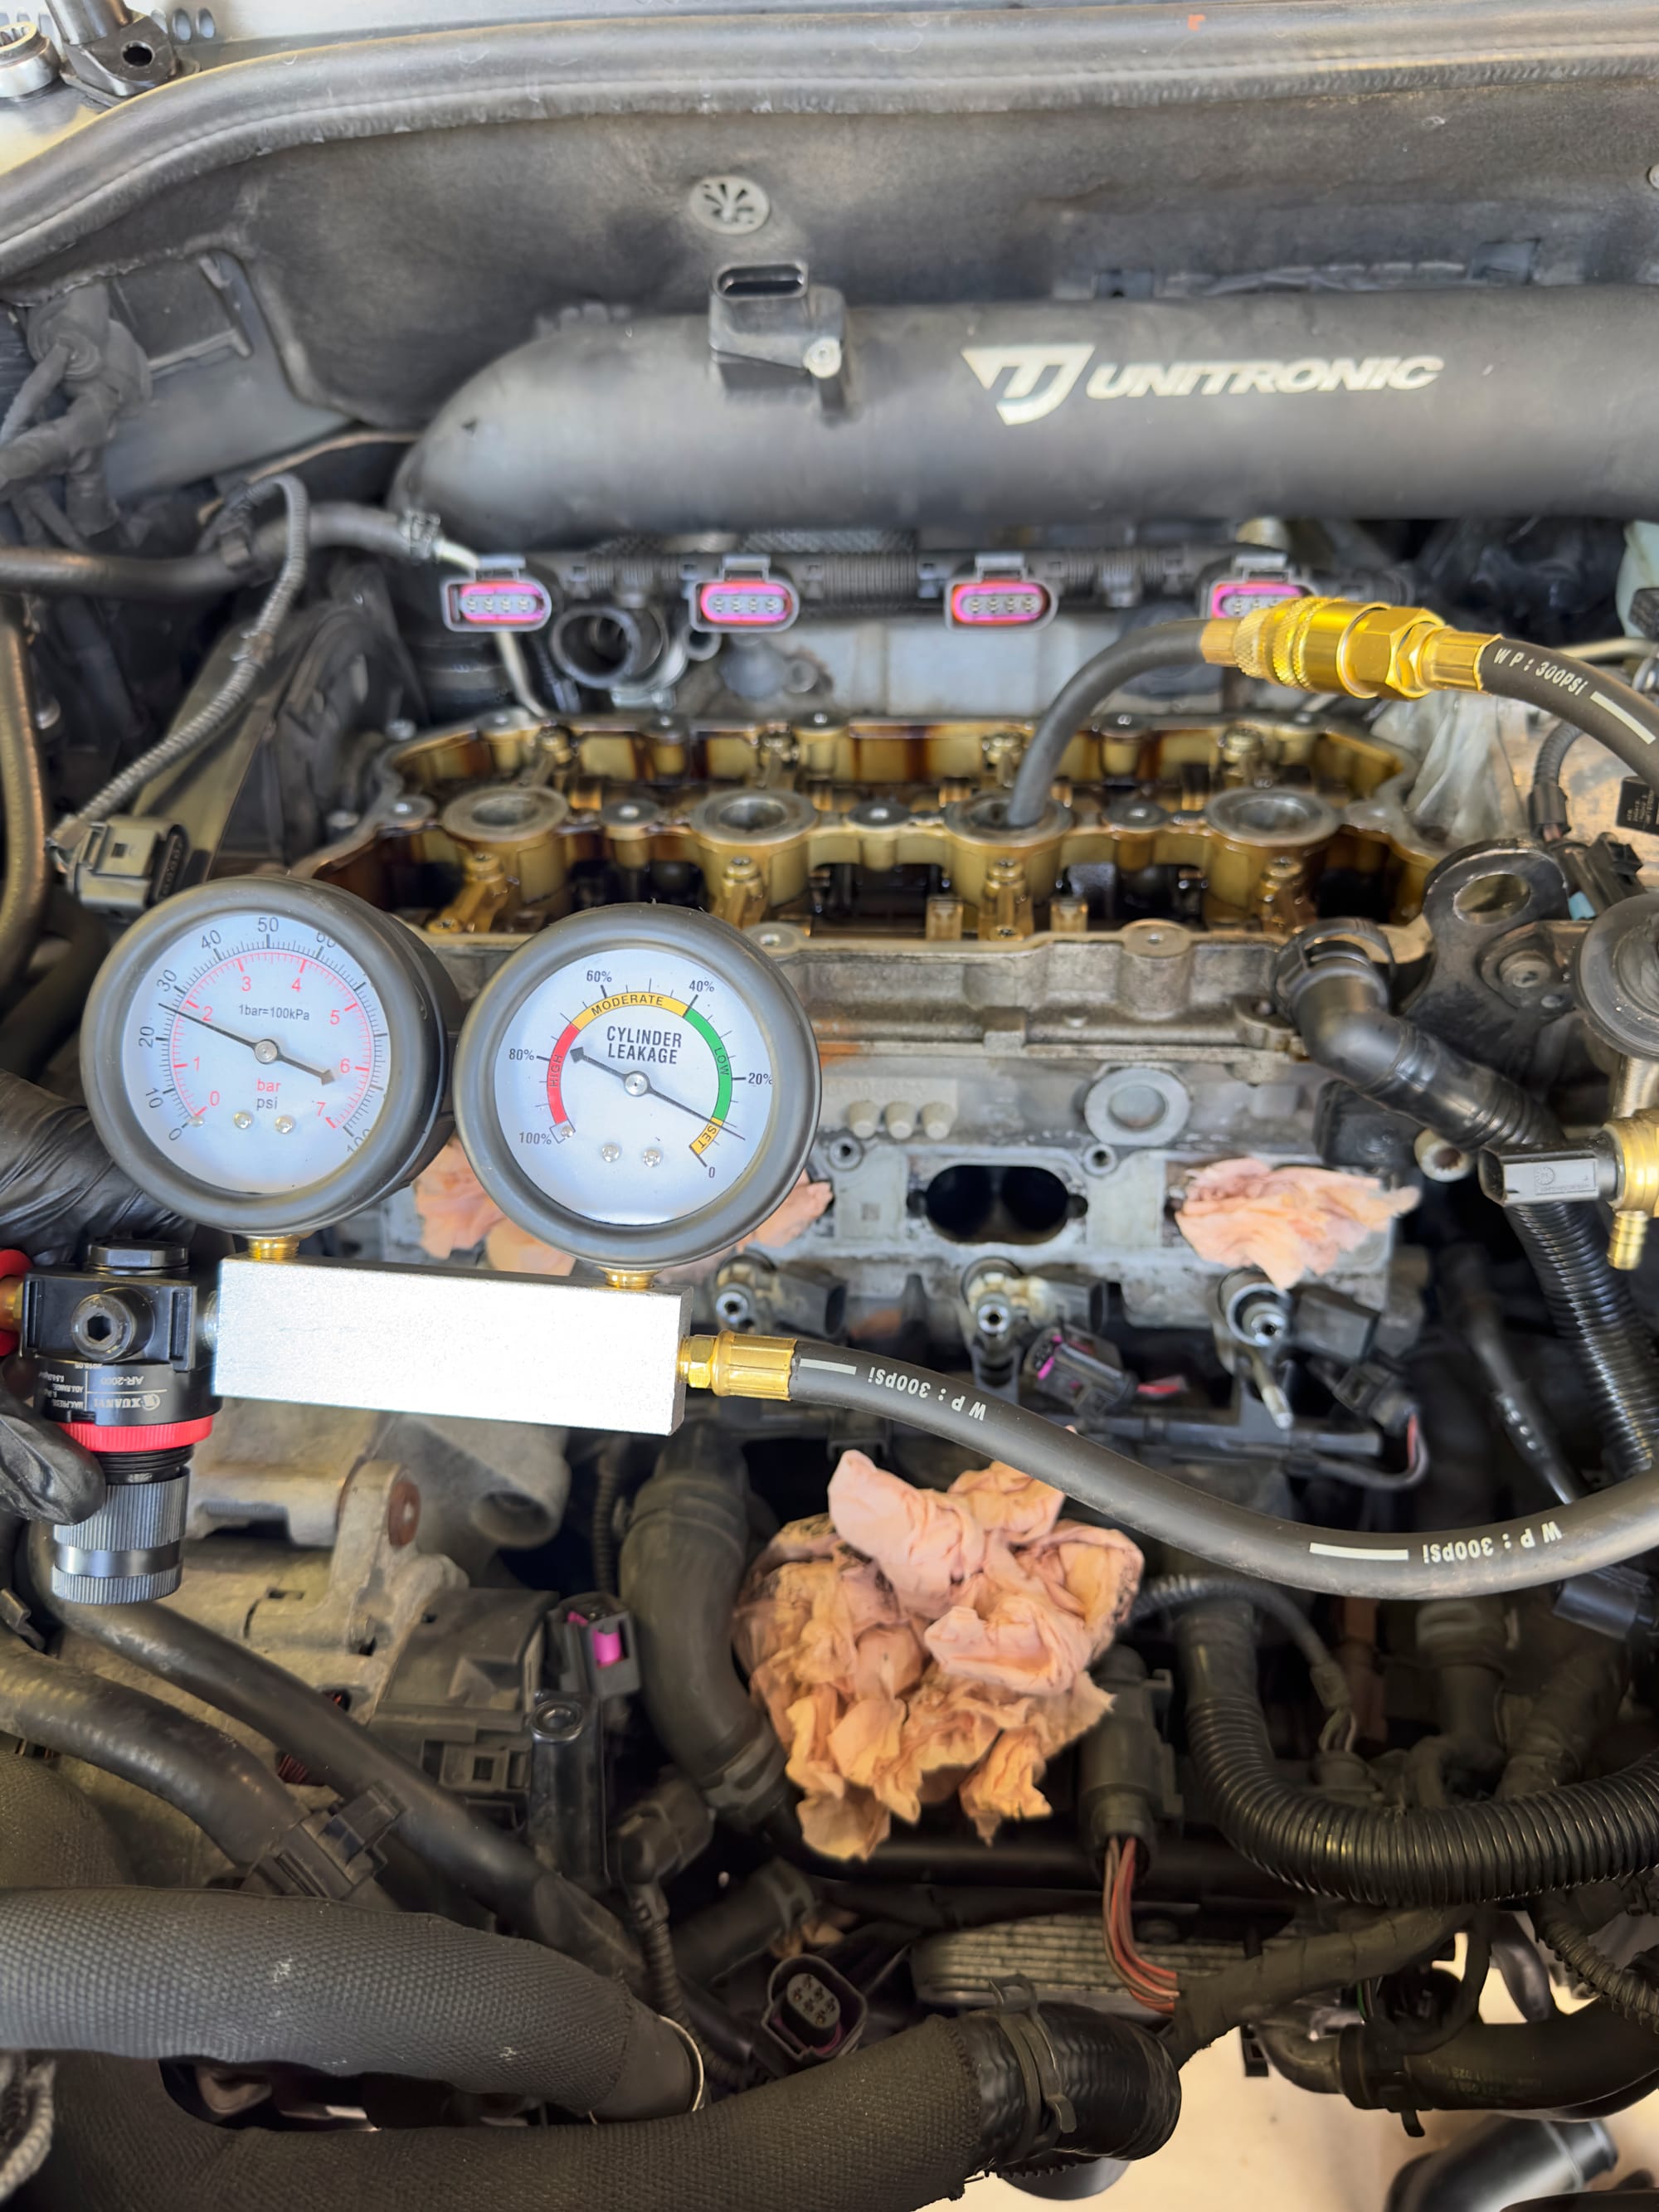
Moving on to the intake, we decided to take a deeper dive by removing the intake manifold to inspect the intake valves. As expected, the valves were incredibly dirty, and there were several lines and seals that desperately needed replacing. We also removed the cylinder head cover, and it became clear that the seals were crusty and had likely never been replaced. Thankfully, we’re doing a thorough service, so this is all part of the process.
The cylinder head cover removed, revealing worn-out seals.
We performed a leak-down test, and fortunately, there were no major issues. Cylinder 3, in particular, showed no signs of leakage.
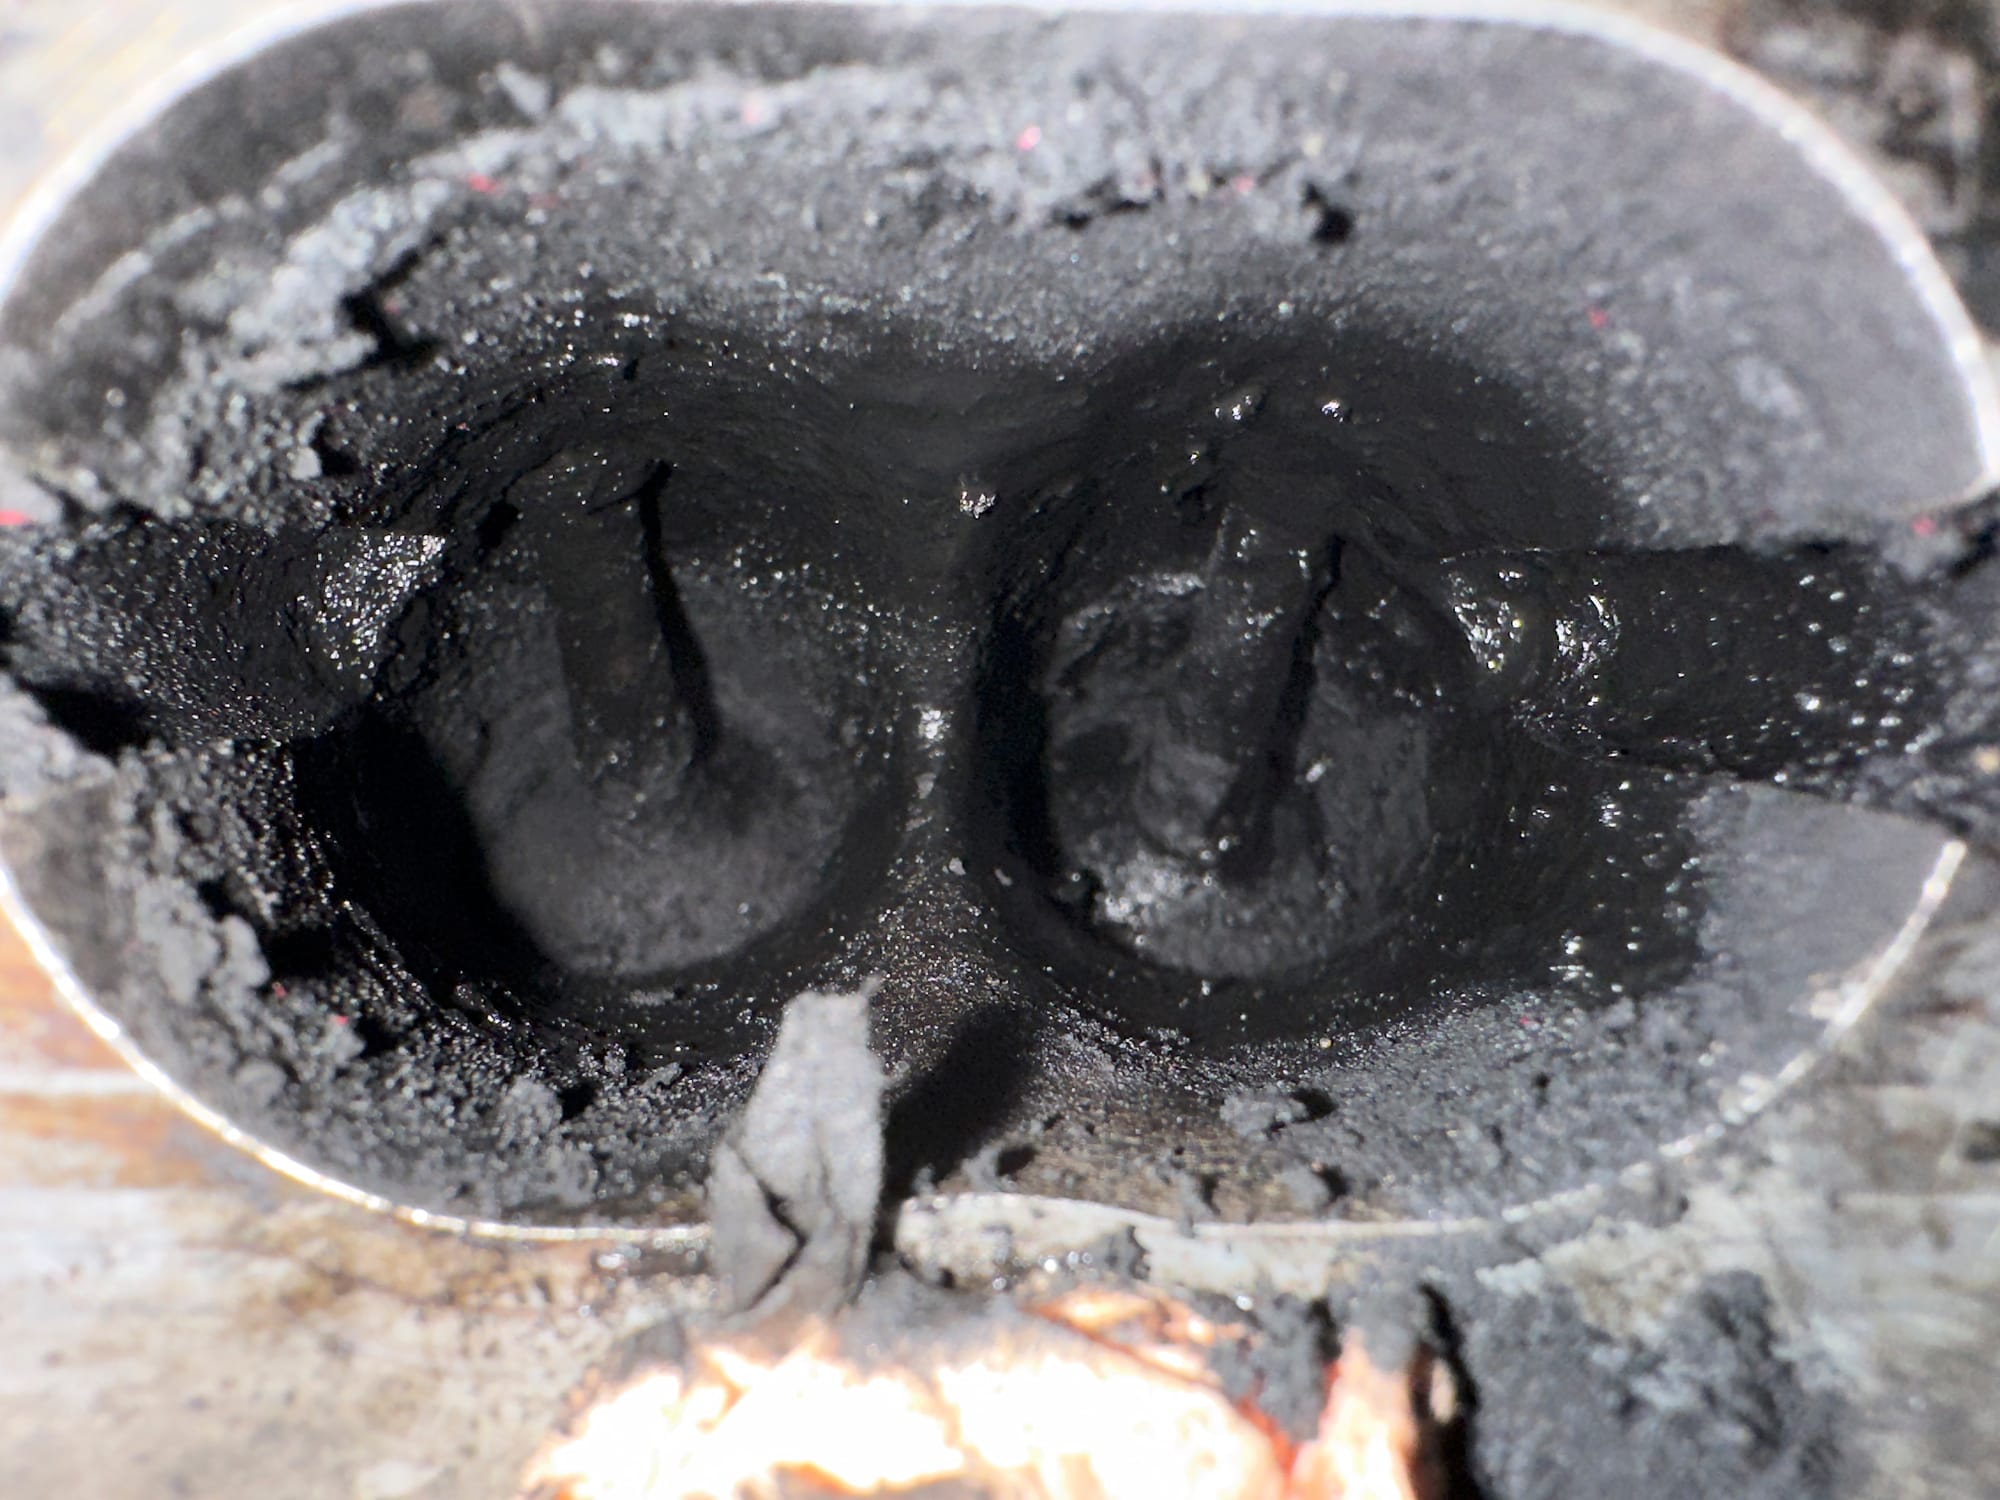
Then we turned our attention to the intake valves, which were dirty as hell. We knew cleaning them was a priority. After doing some research, we decided to use soda blasting as a method to clean the valves. Soda blasting is a mild abrasive technique using sodium bicarbonate particles to clean surfaces without causing damage.
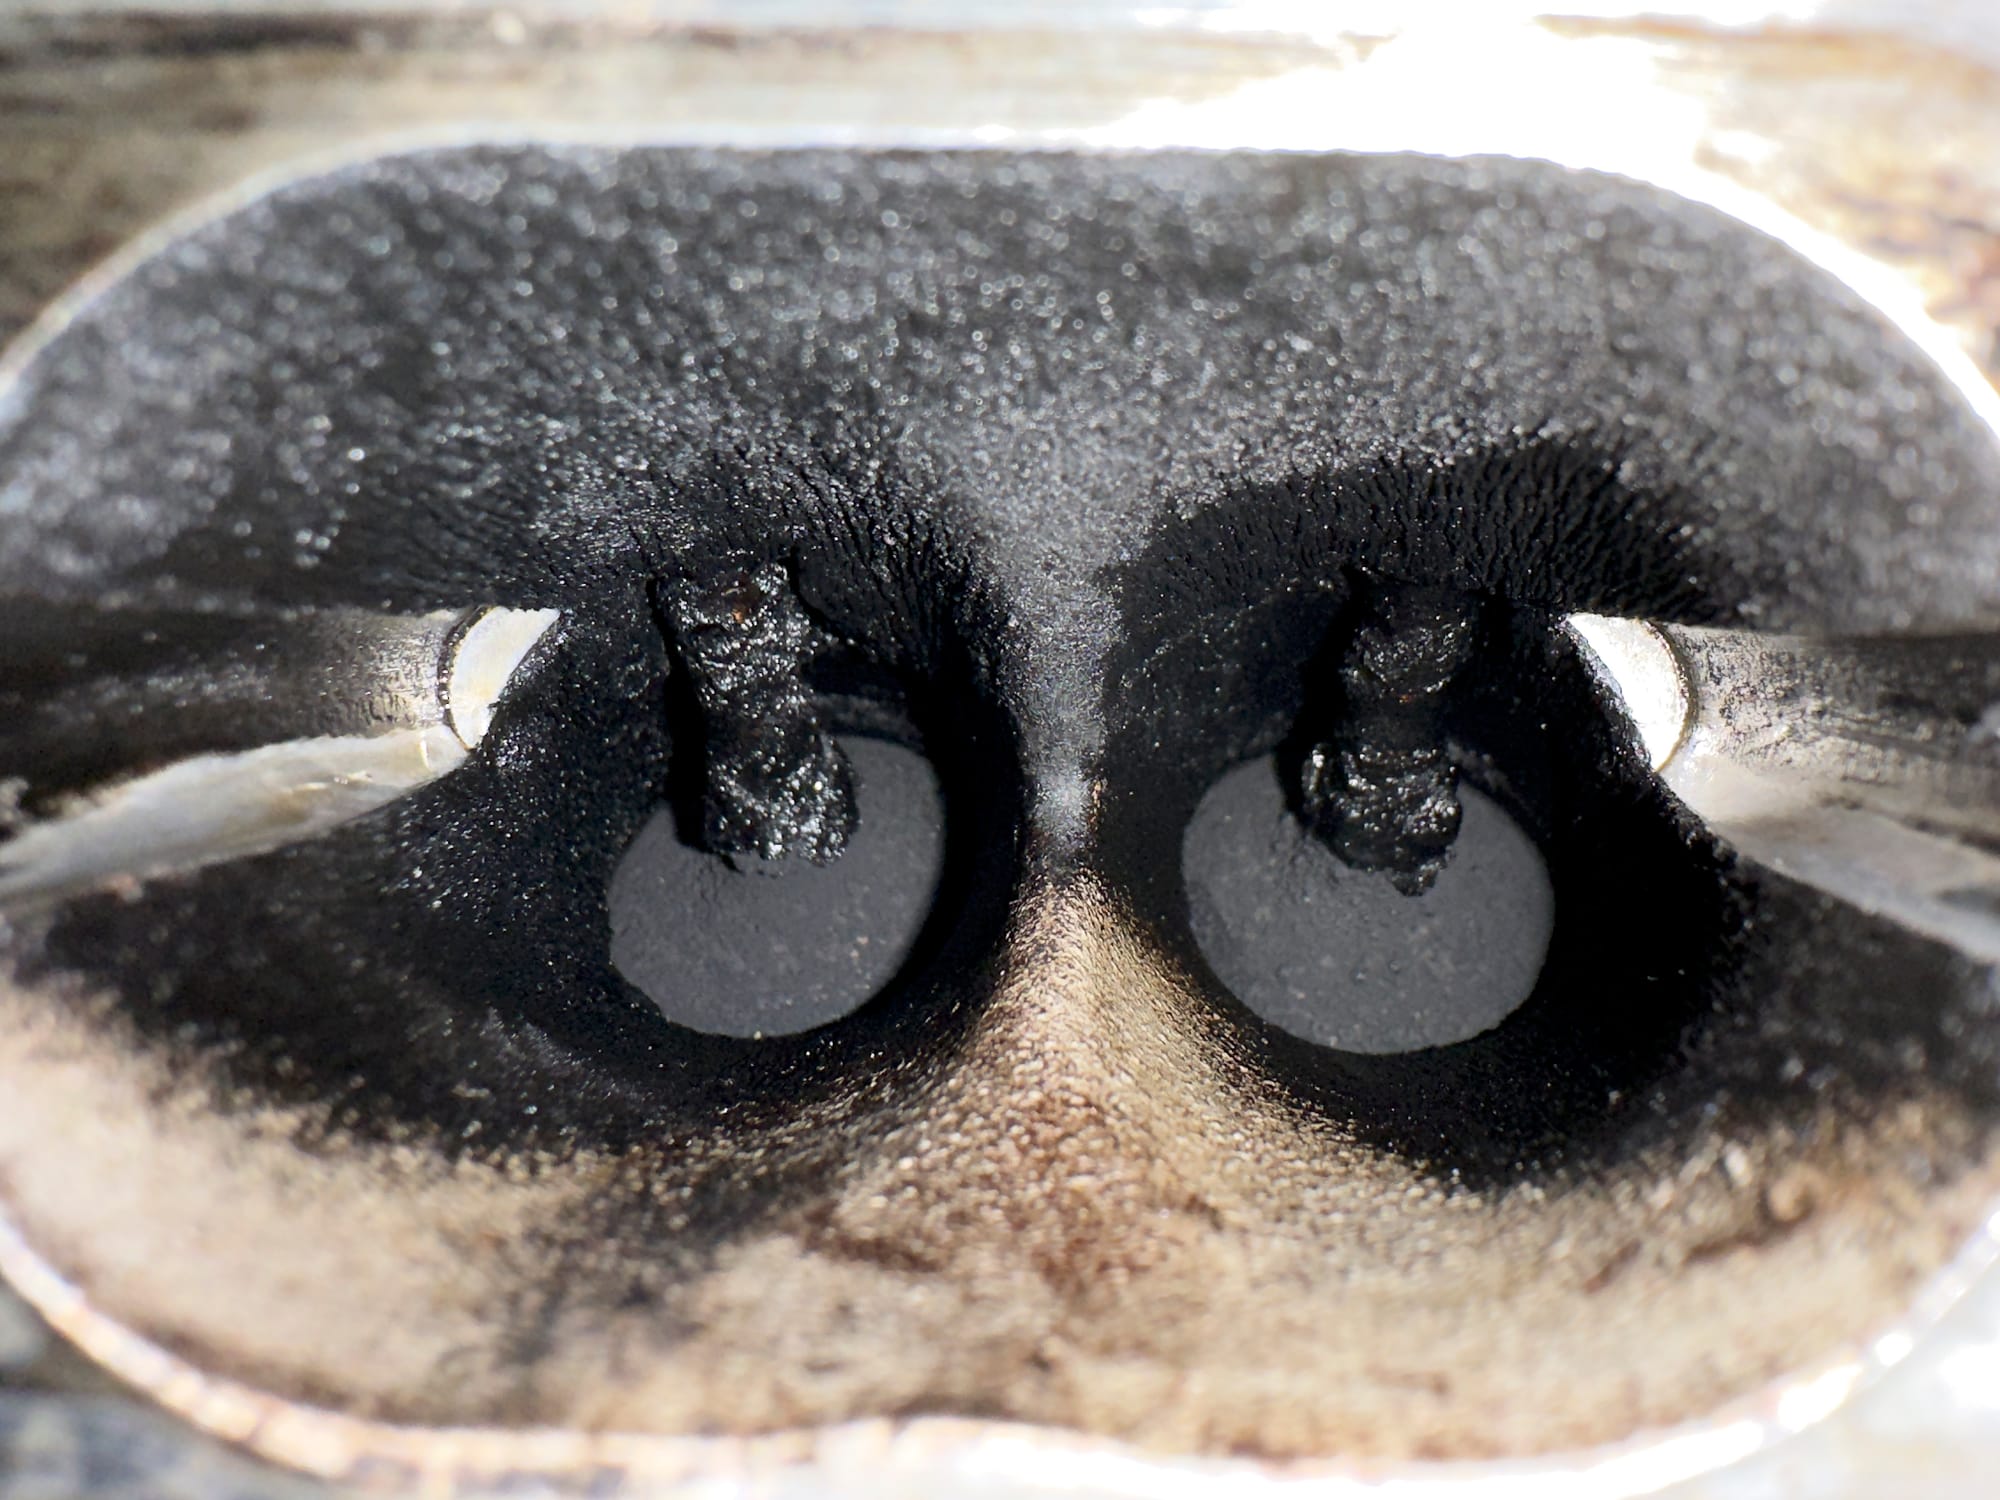
Before we could begin blasting, we made sure to close the valves properly by checking the camshaft lobes to ensure both were pointing upwards. We then sprayed brake cleaner into the intake valve holes, letting it pool before using steel brushes and picks to scrape off the carbon buildup. After about 10 minutes of manual cleaning, we dried the area and prepared for the soda blasting.
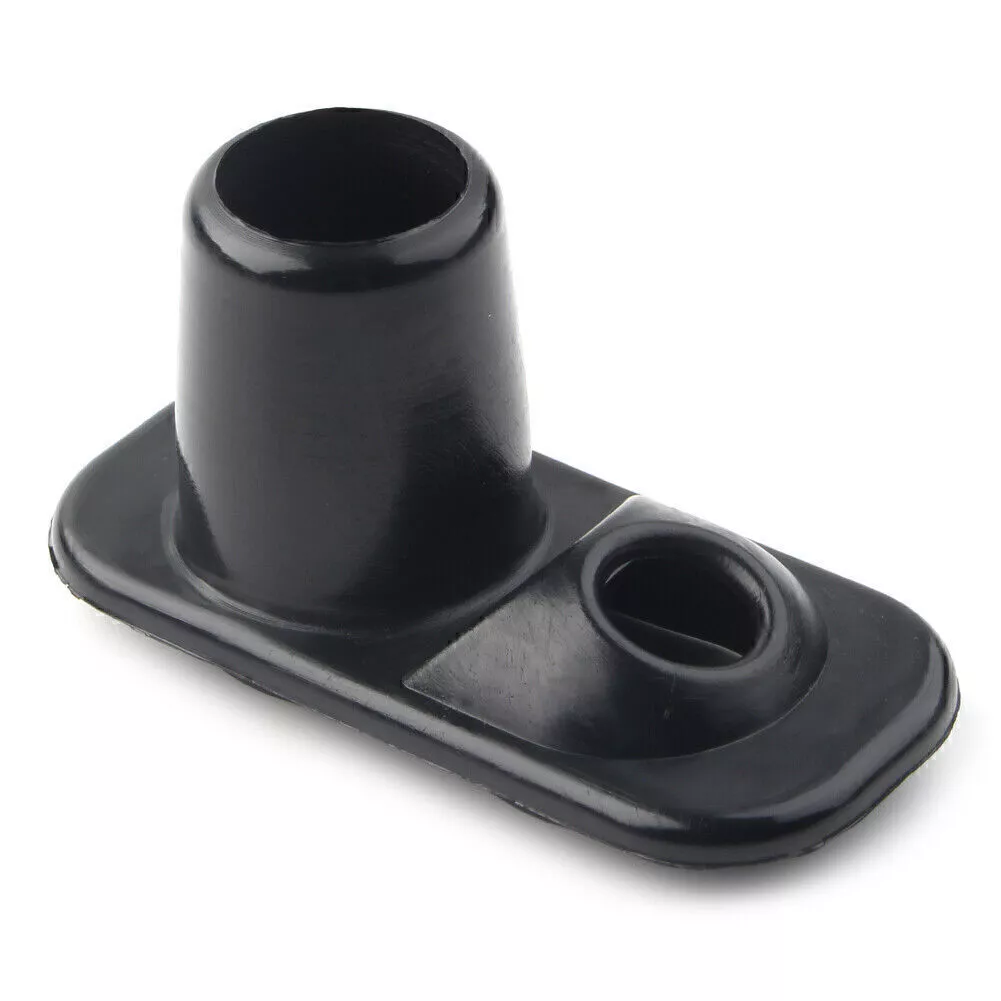
To ensure we didn't spray soda all over the engine bay, we 3d printed an adapter that connected the vacuum and the blaster:
We spent around 30-45 minutes soda blasting the intake valves. The results were fantastic, though some additional manual scraping was still required. After finishing up, the intake valves looked much cleaner, and the performance should improve once the misfires in cylinders 2 and 4 are resolved.
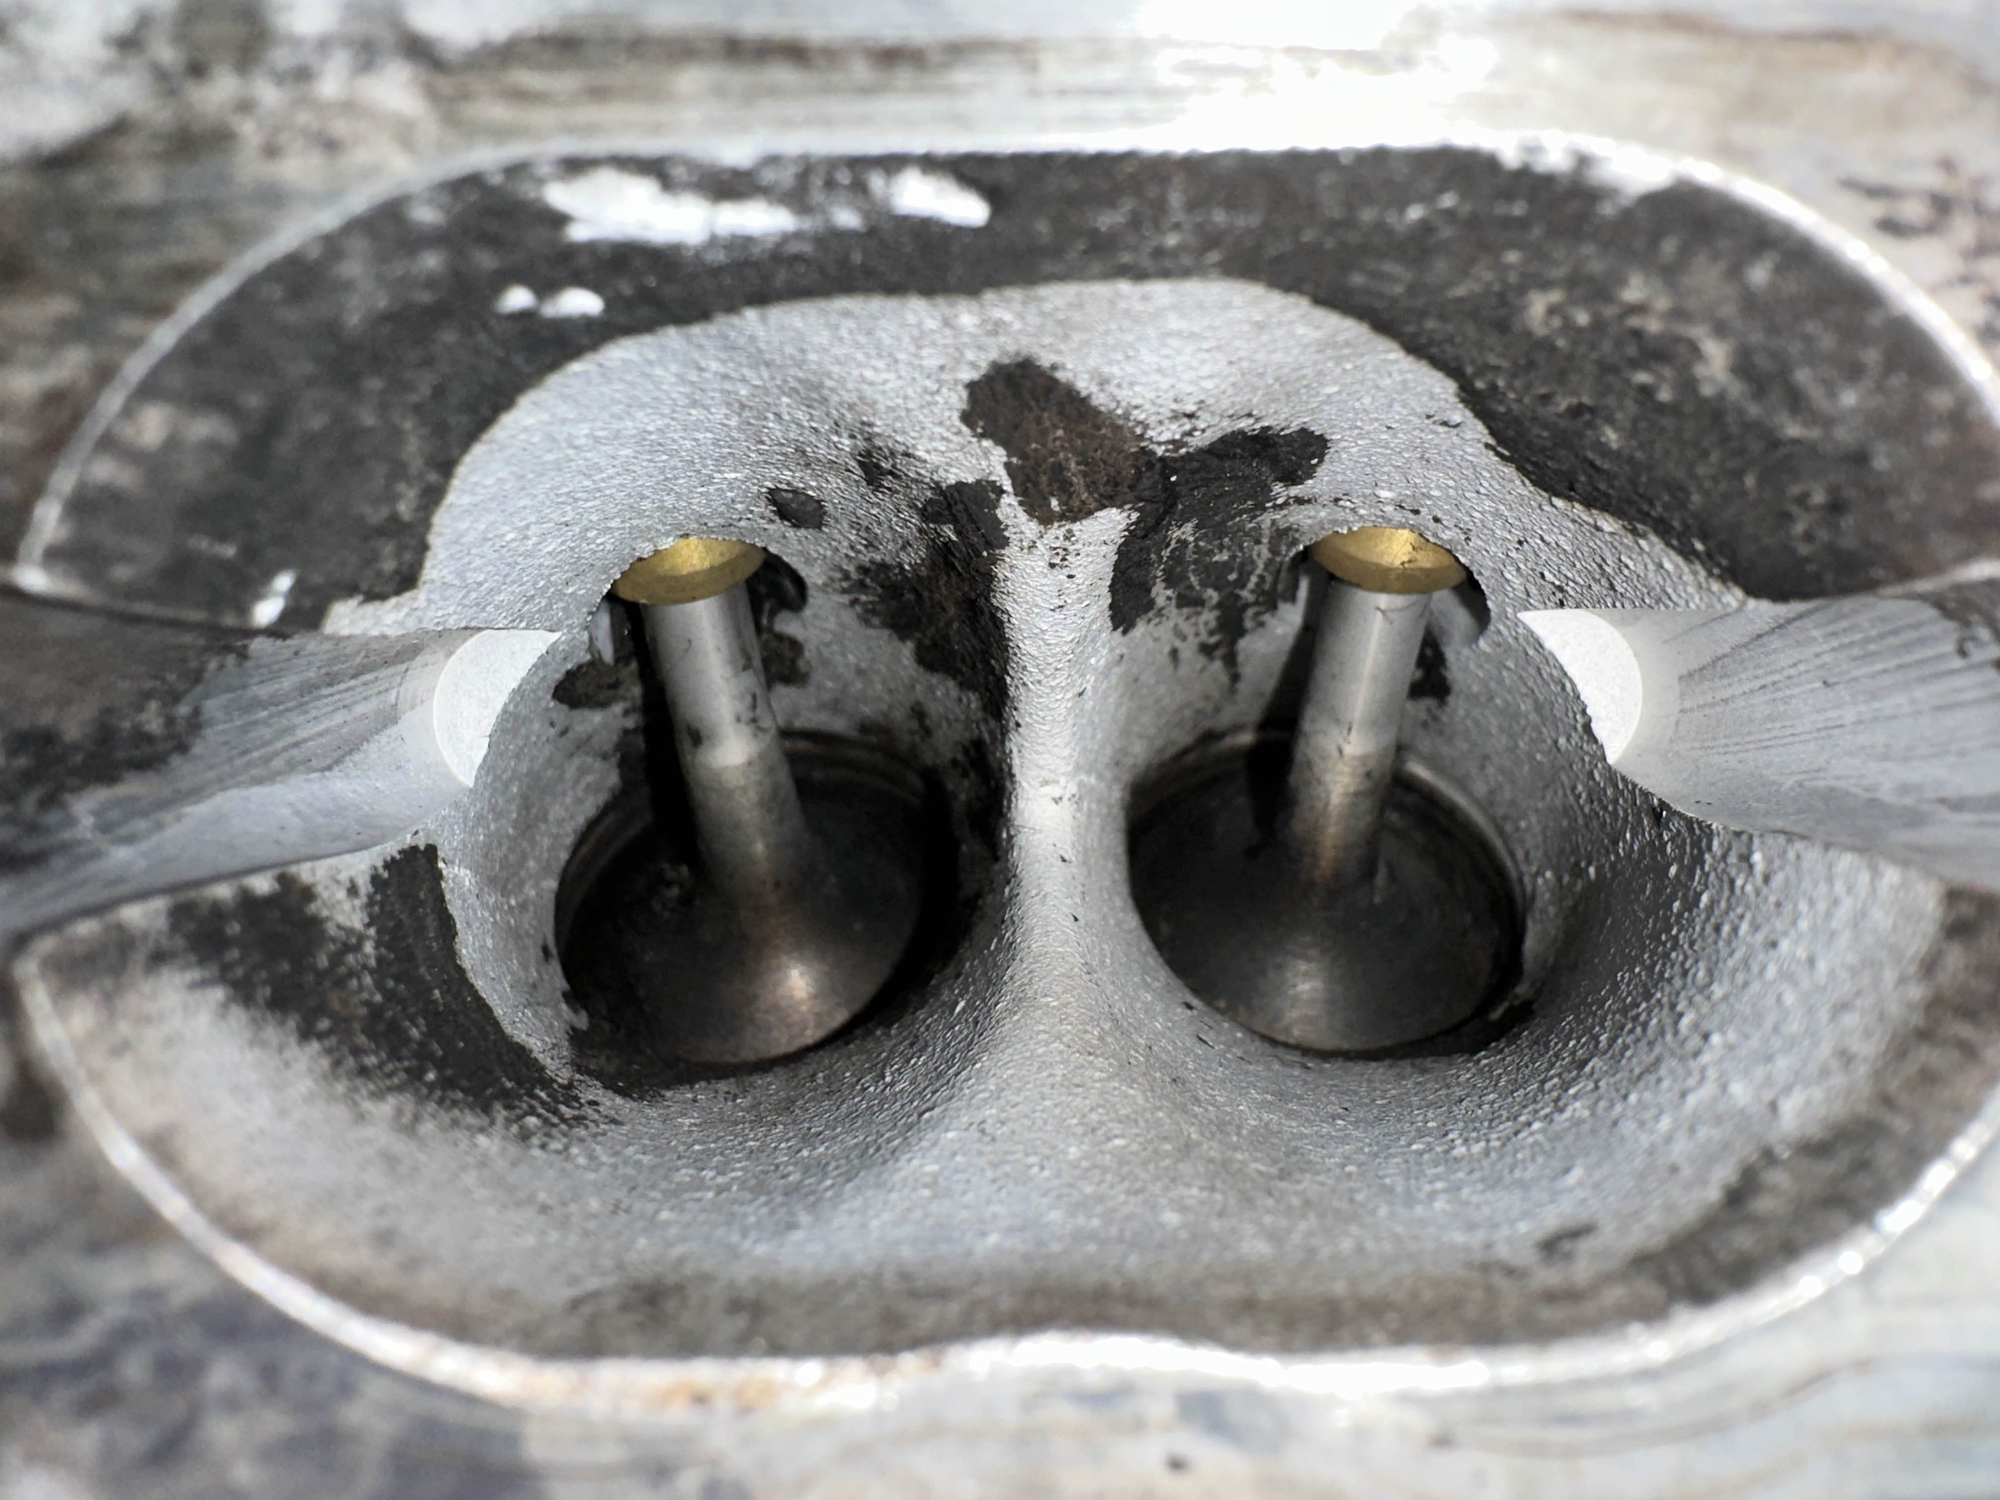
With this cleaning, we’re hoping to resolve the misfire issue and improve performance during compression tests. It’s a small step, but every bit counts in getting this car back to stock condition.
Stay tuned for more updates!