It Runs Again
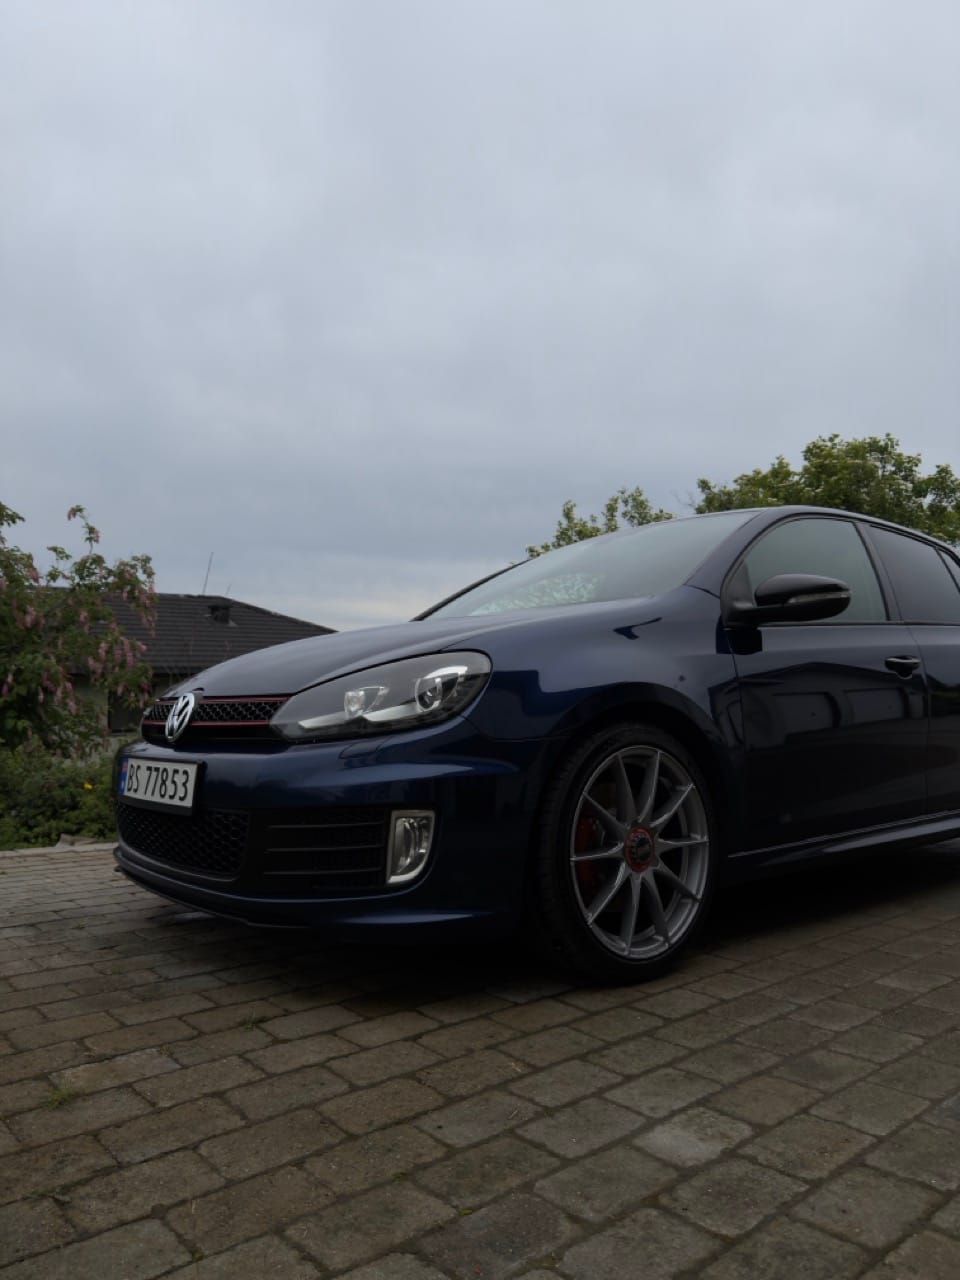
Three days after writing about getting scammed, the engine is finally back in the car.
That feels pretty good to write.
After finishing the engine, the next job was getting it installed, and connecting everything again. Once it was sitting where it belongs, I connected the wiring harness to the engine and spent a lot of time making sure nothing was missing. I probably checked the connectors four times, and I also used old photos from before the engine came out to verify that the wiring was routed correctly.
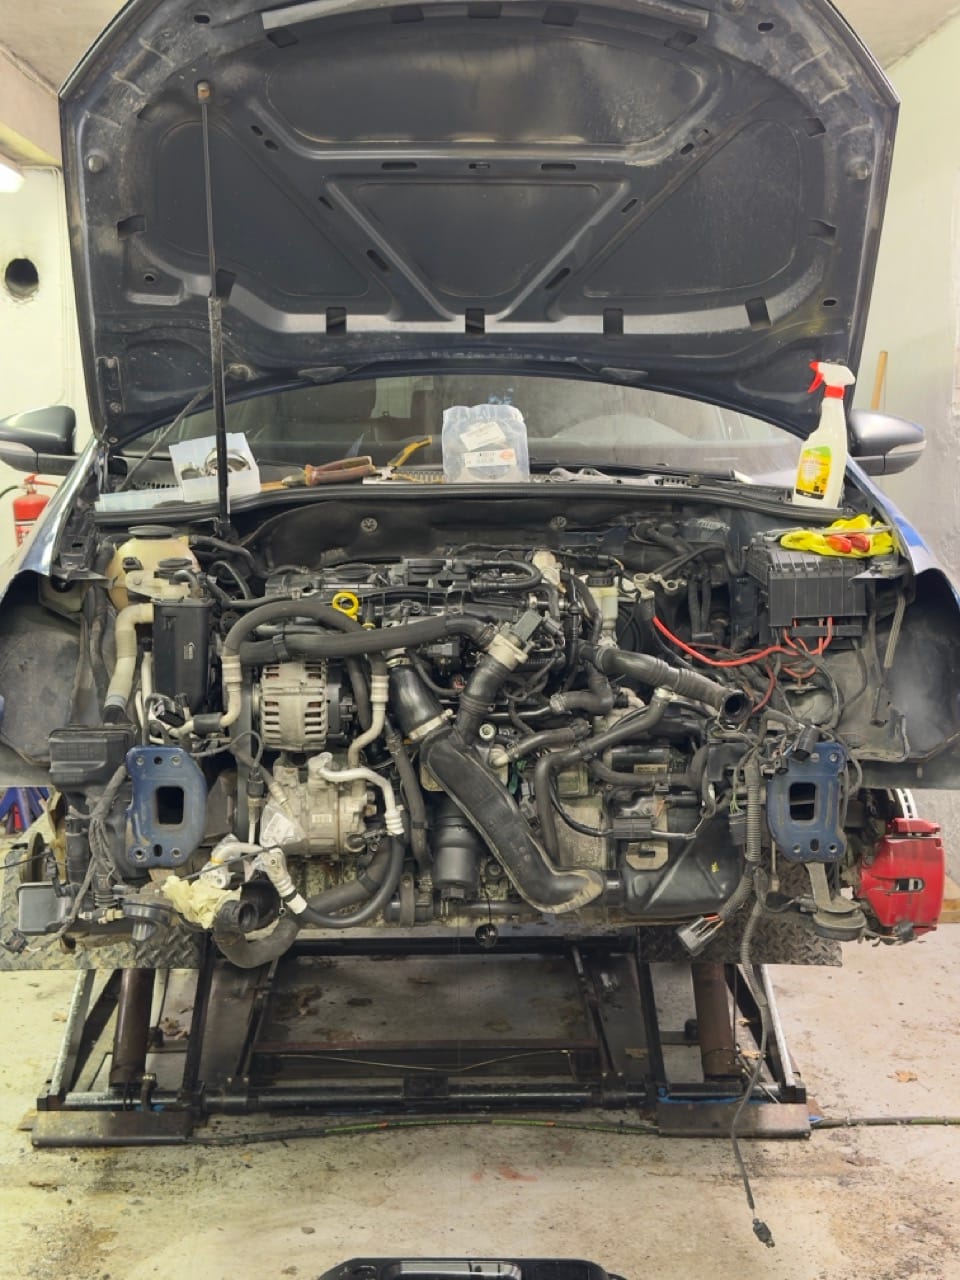
After that, we installed the front bumper reinforcement and then fitted the front bumper. We also attached the AC lines and replaced a few that were old or damaged. The AC condenser was replaced as well, since the old one was quite beat up and looked like something that would start leaking sooner or later.
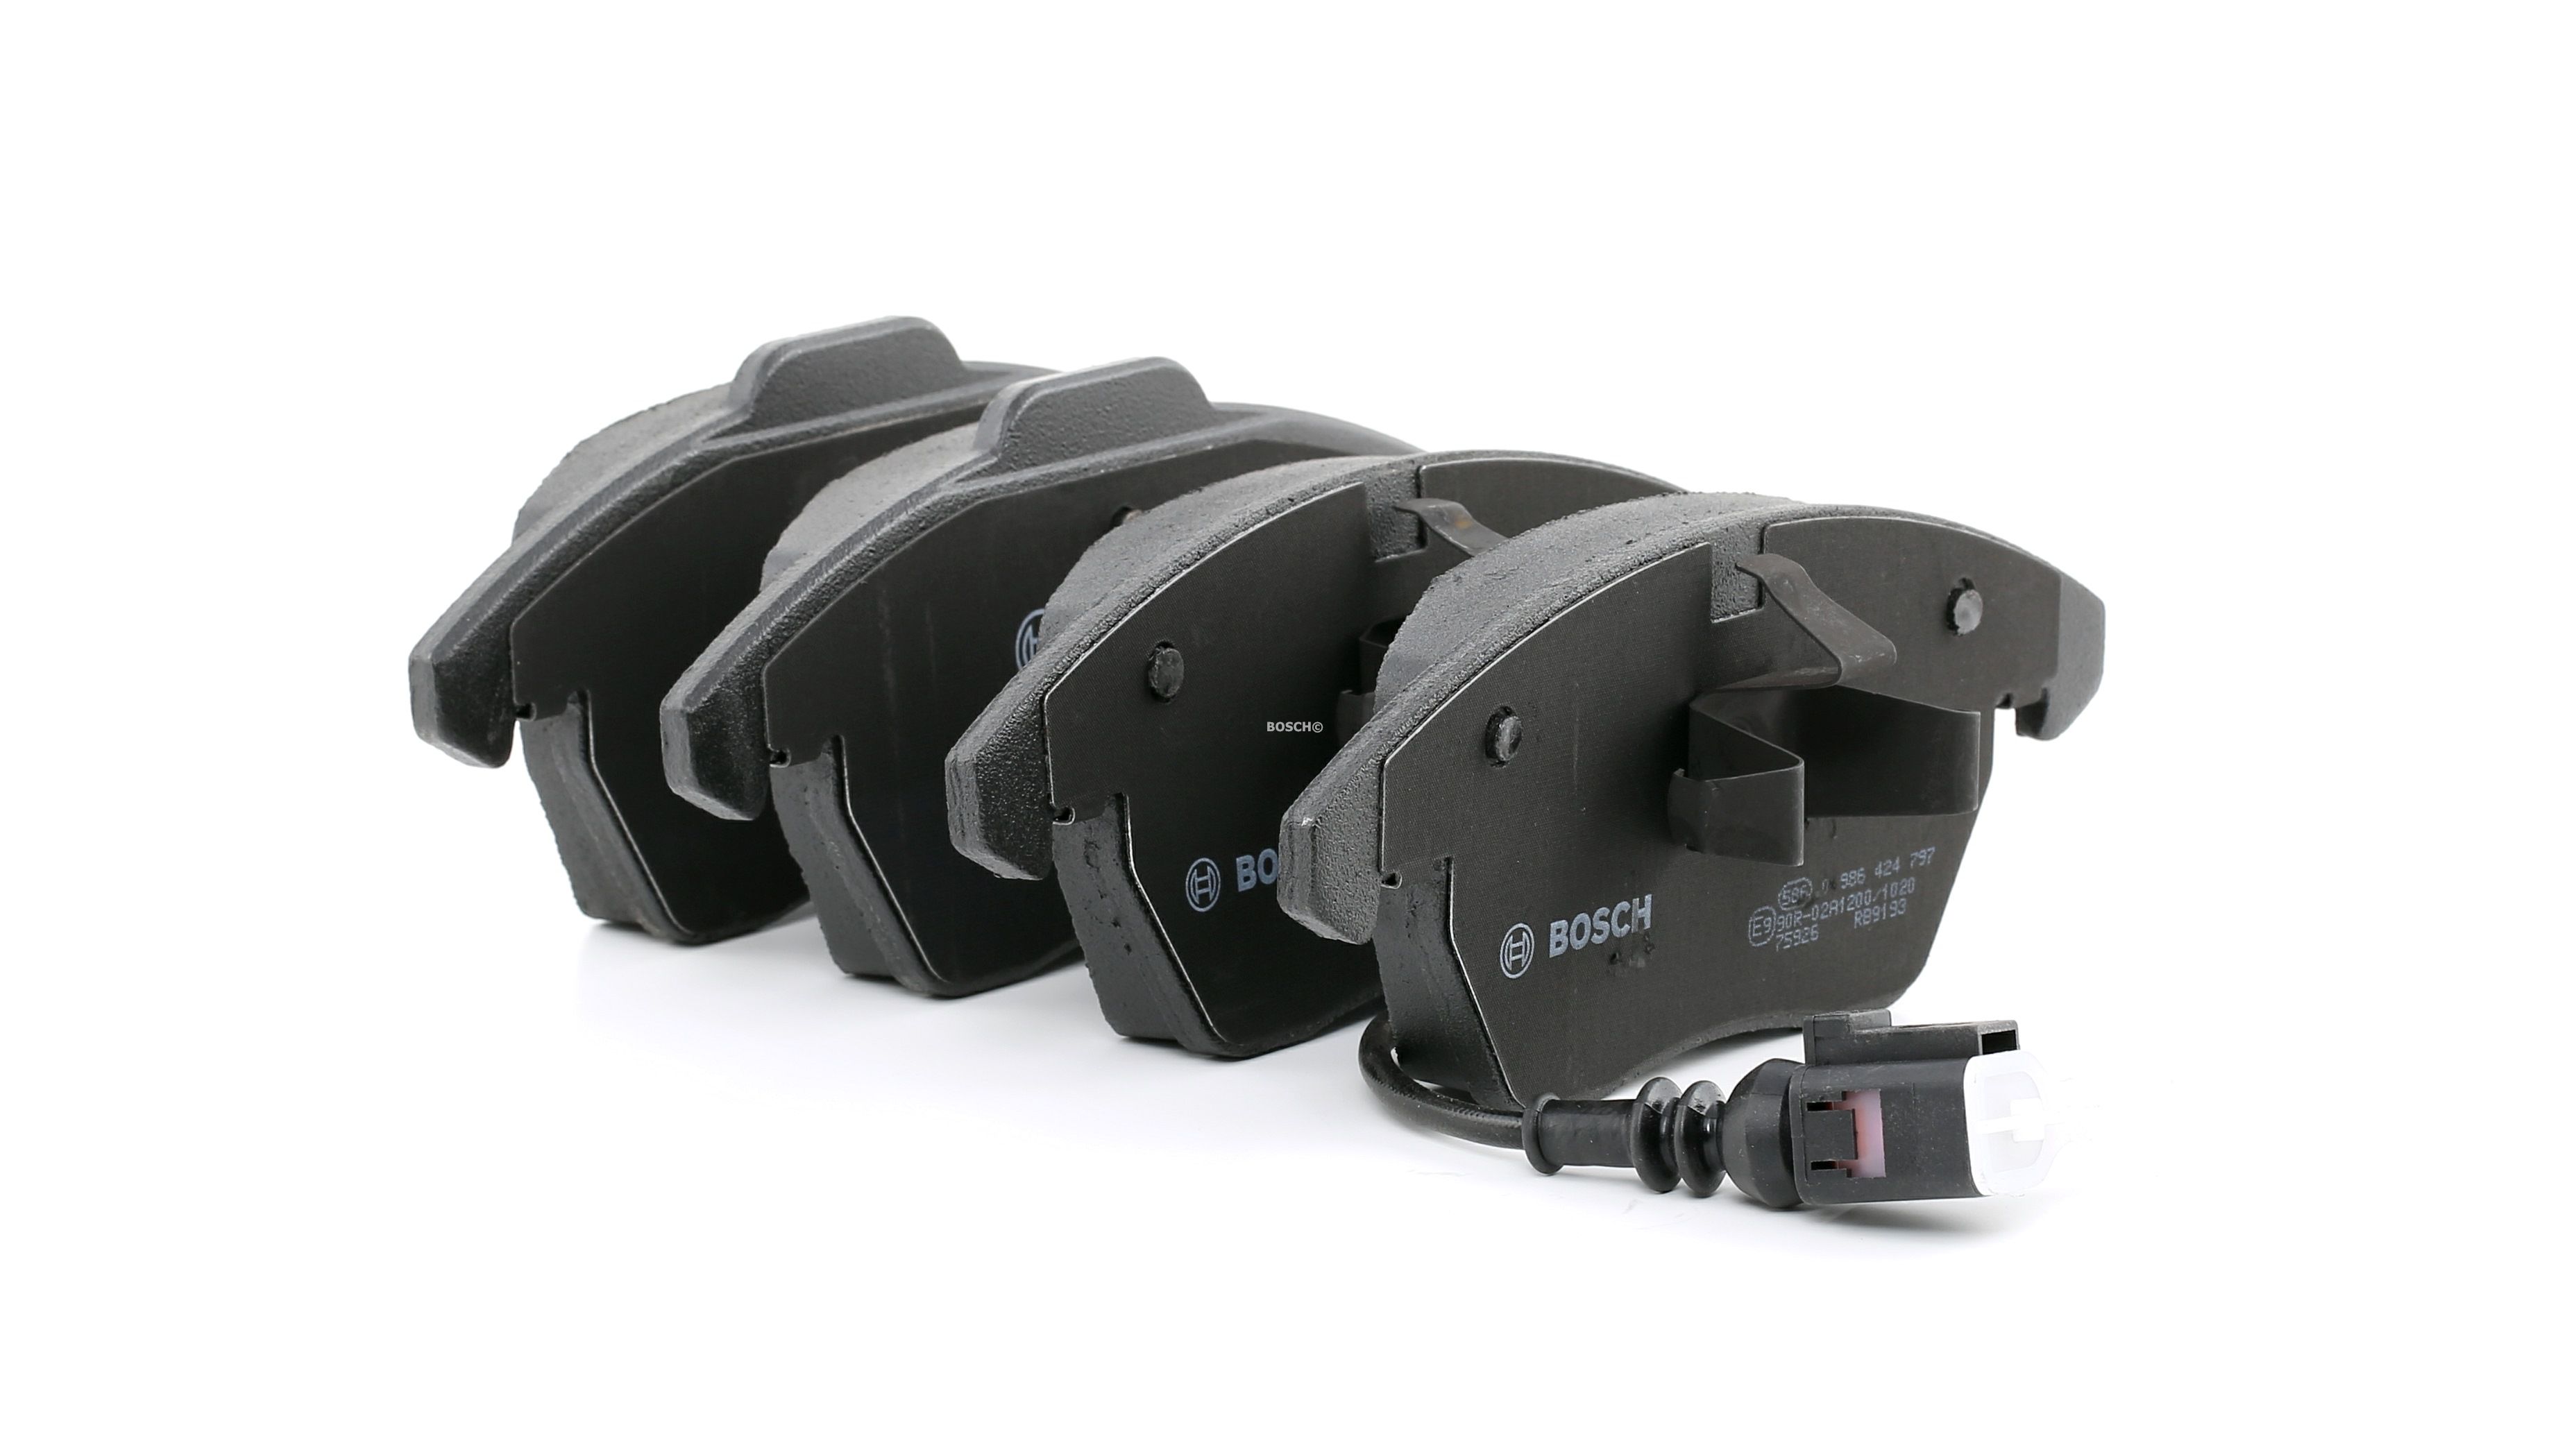
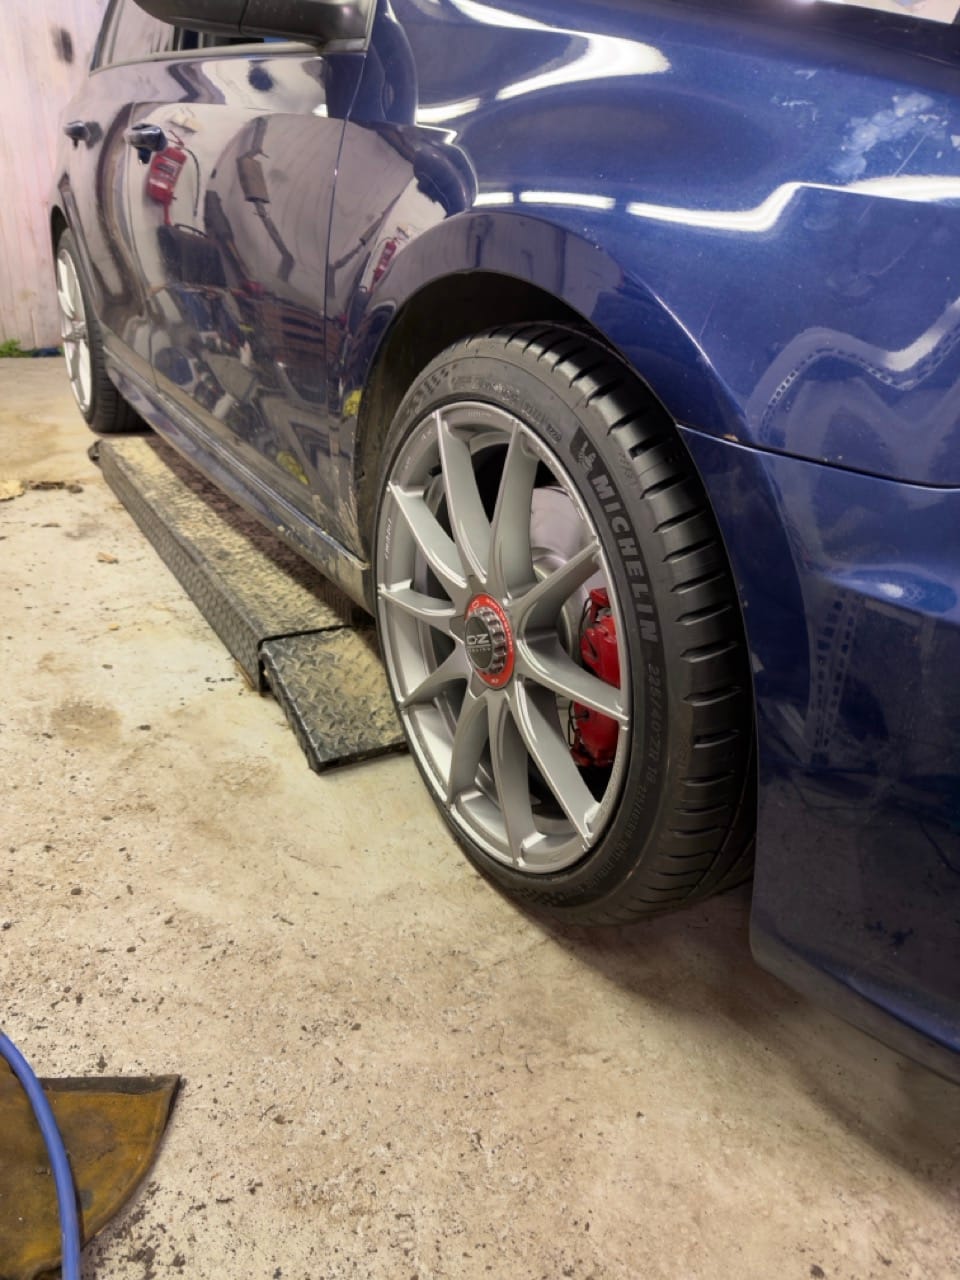
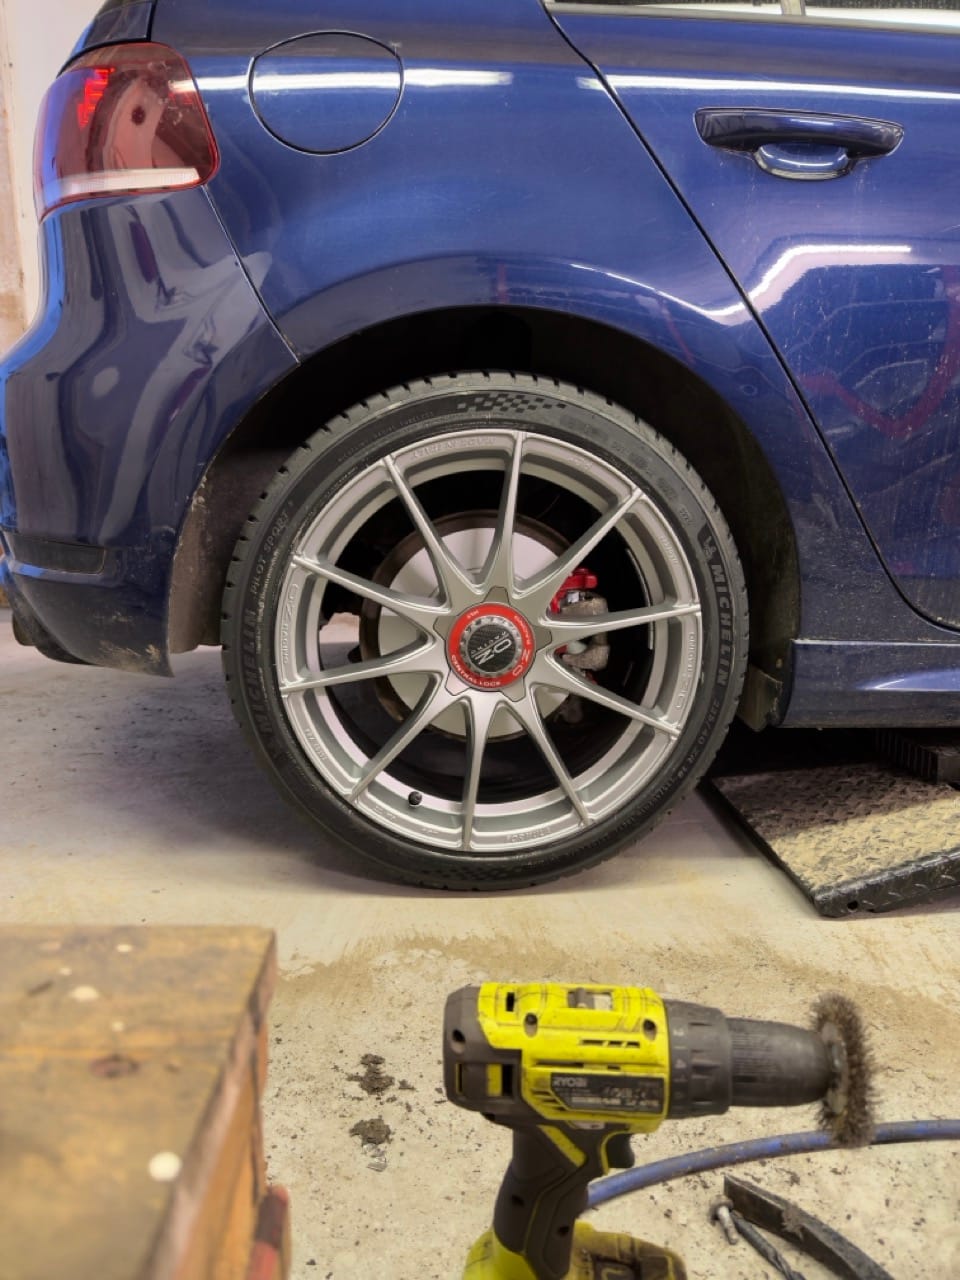
Before starting the engine, I also replaced all the brake pads and discs. I went with OE Bosch discs and pads, because I wanted something proper and quiet. I am pretty sure running Biltema brakes on a car with around 300 hp is not the best idea, but I am not here to judge the previous owner for their decisions.
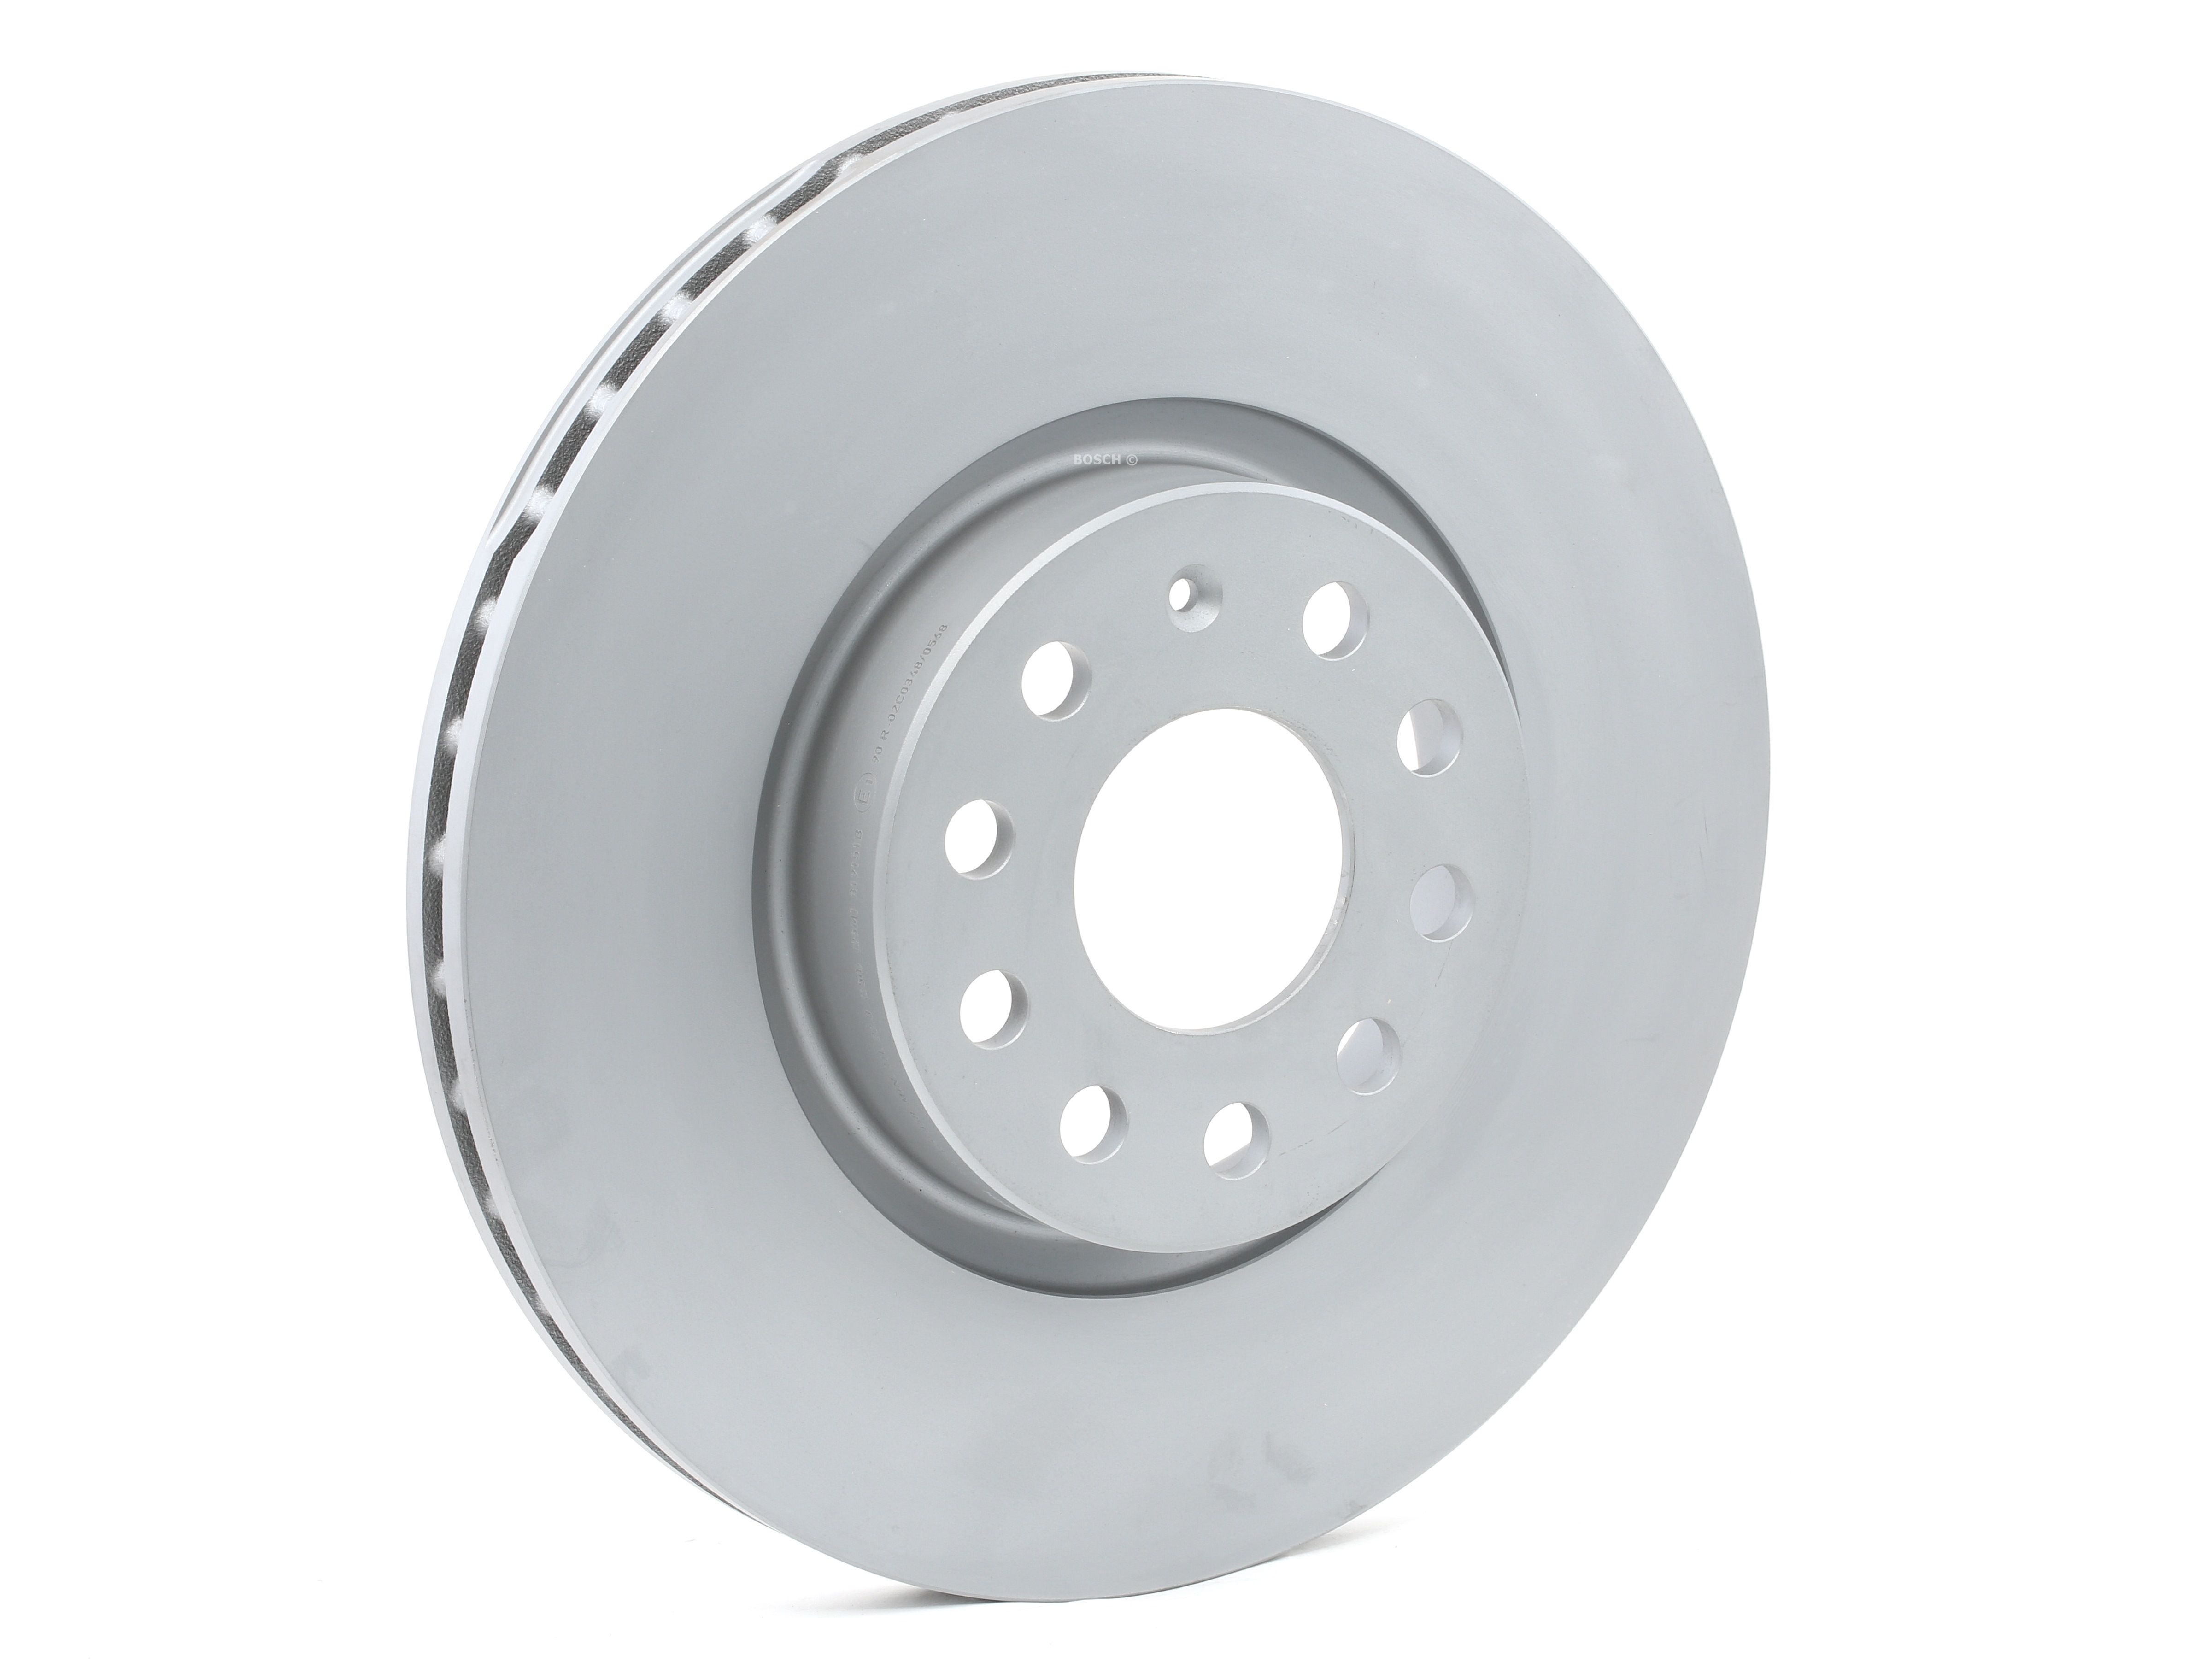
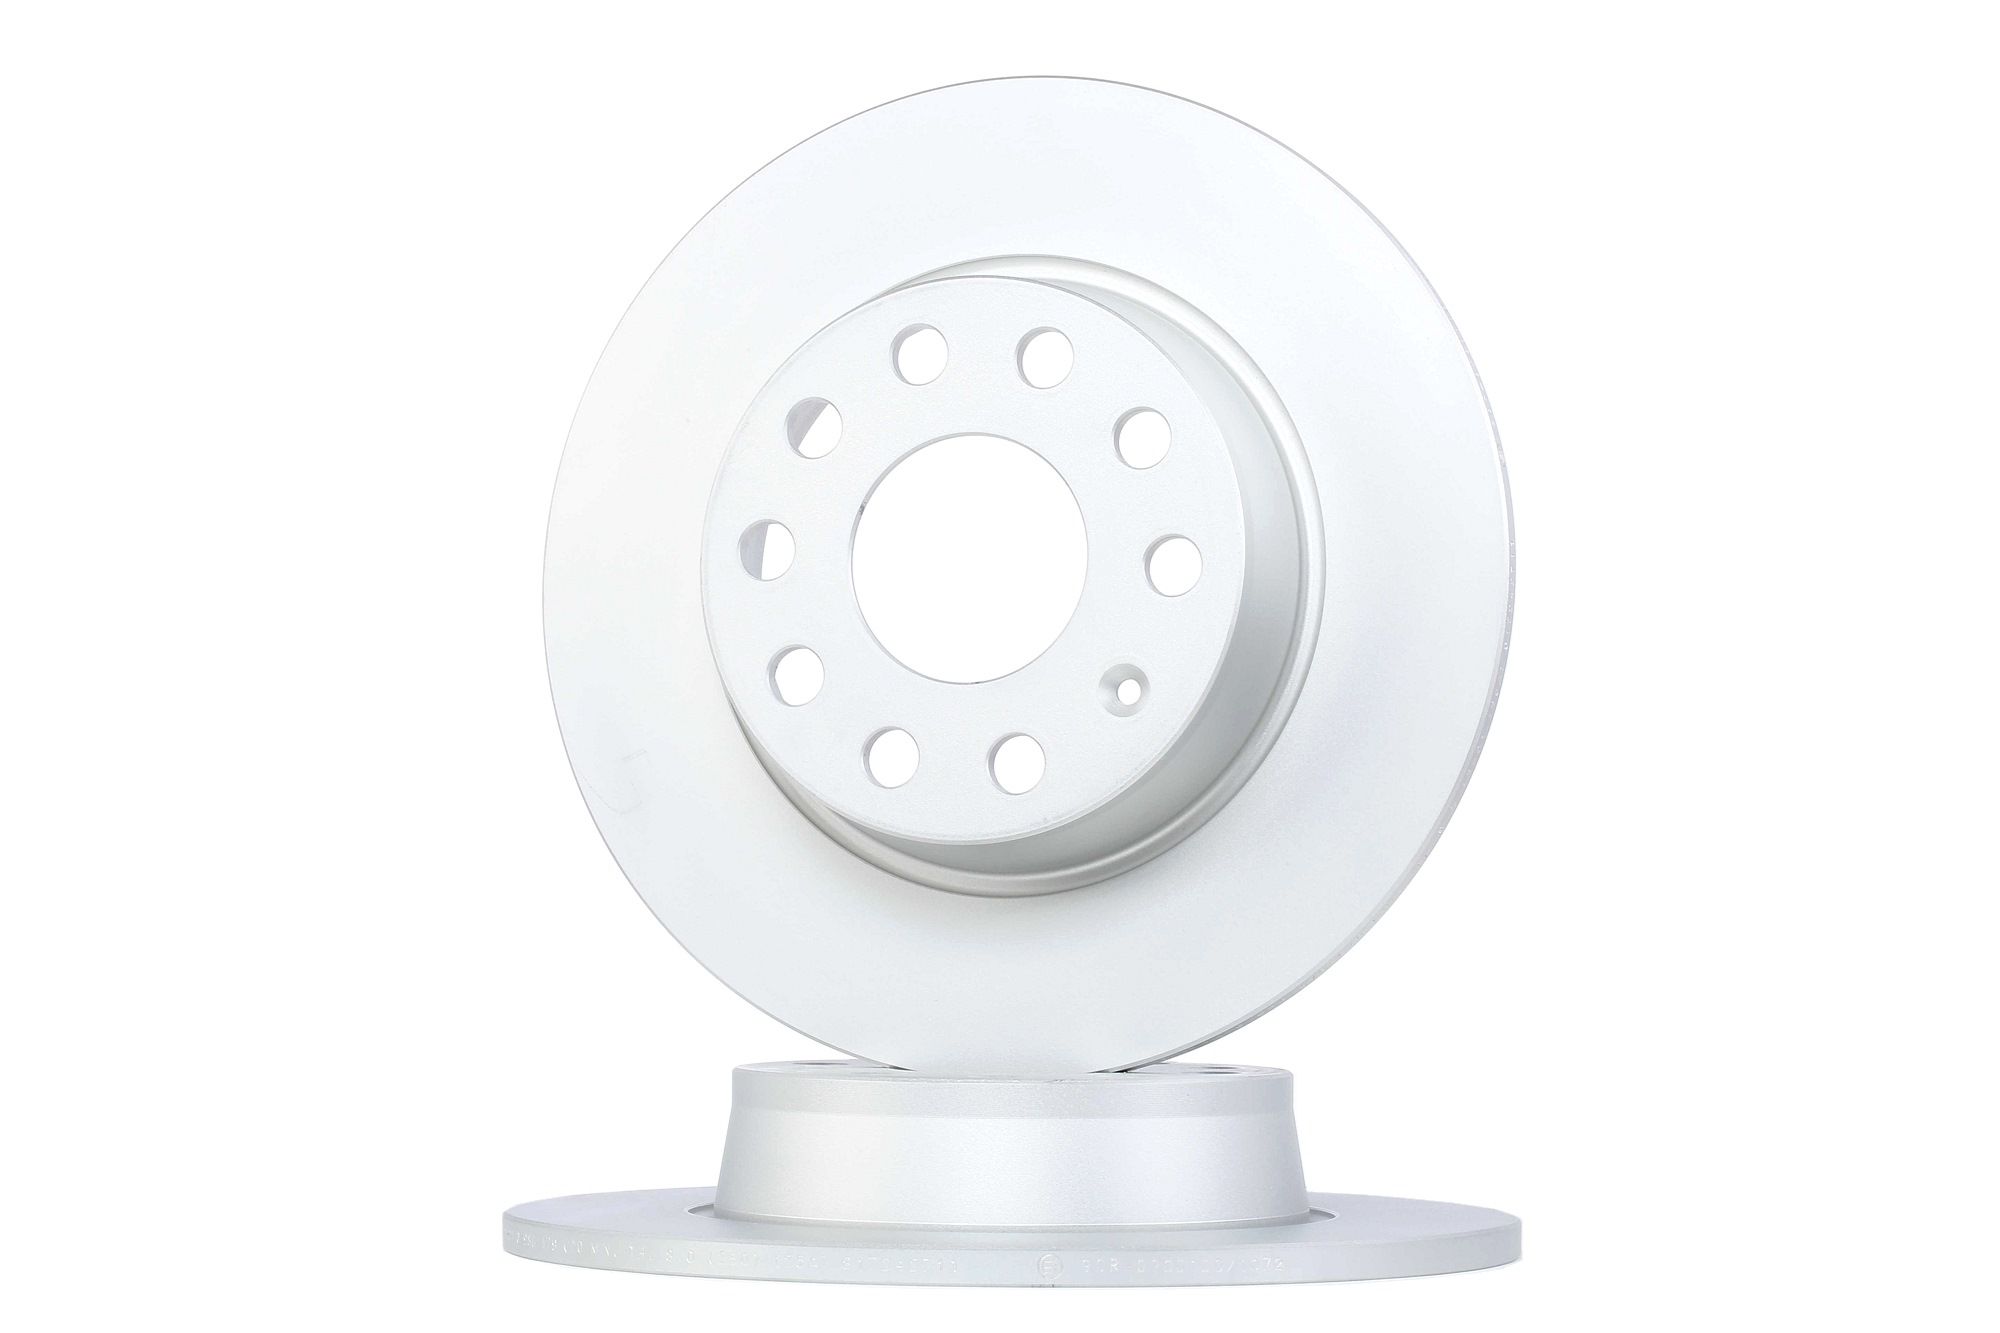
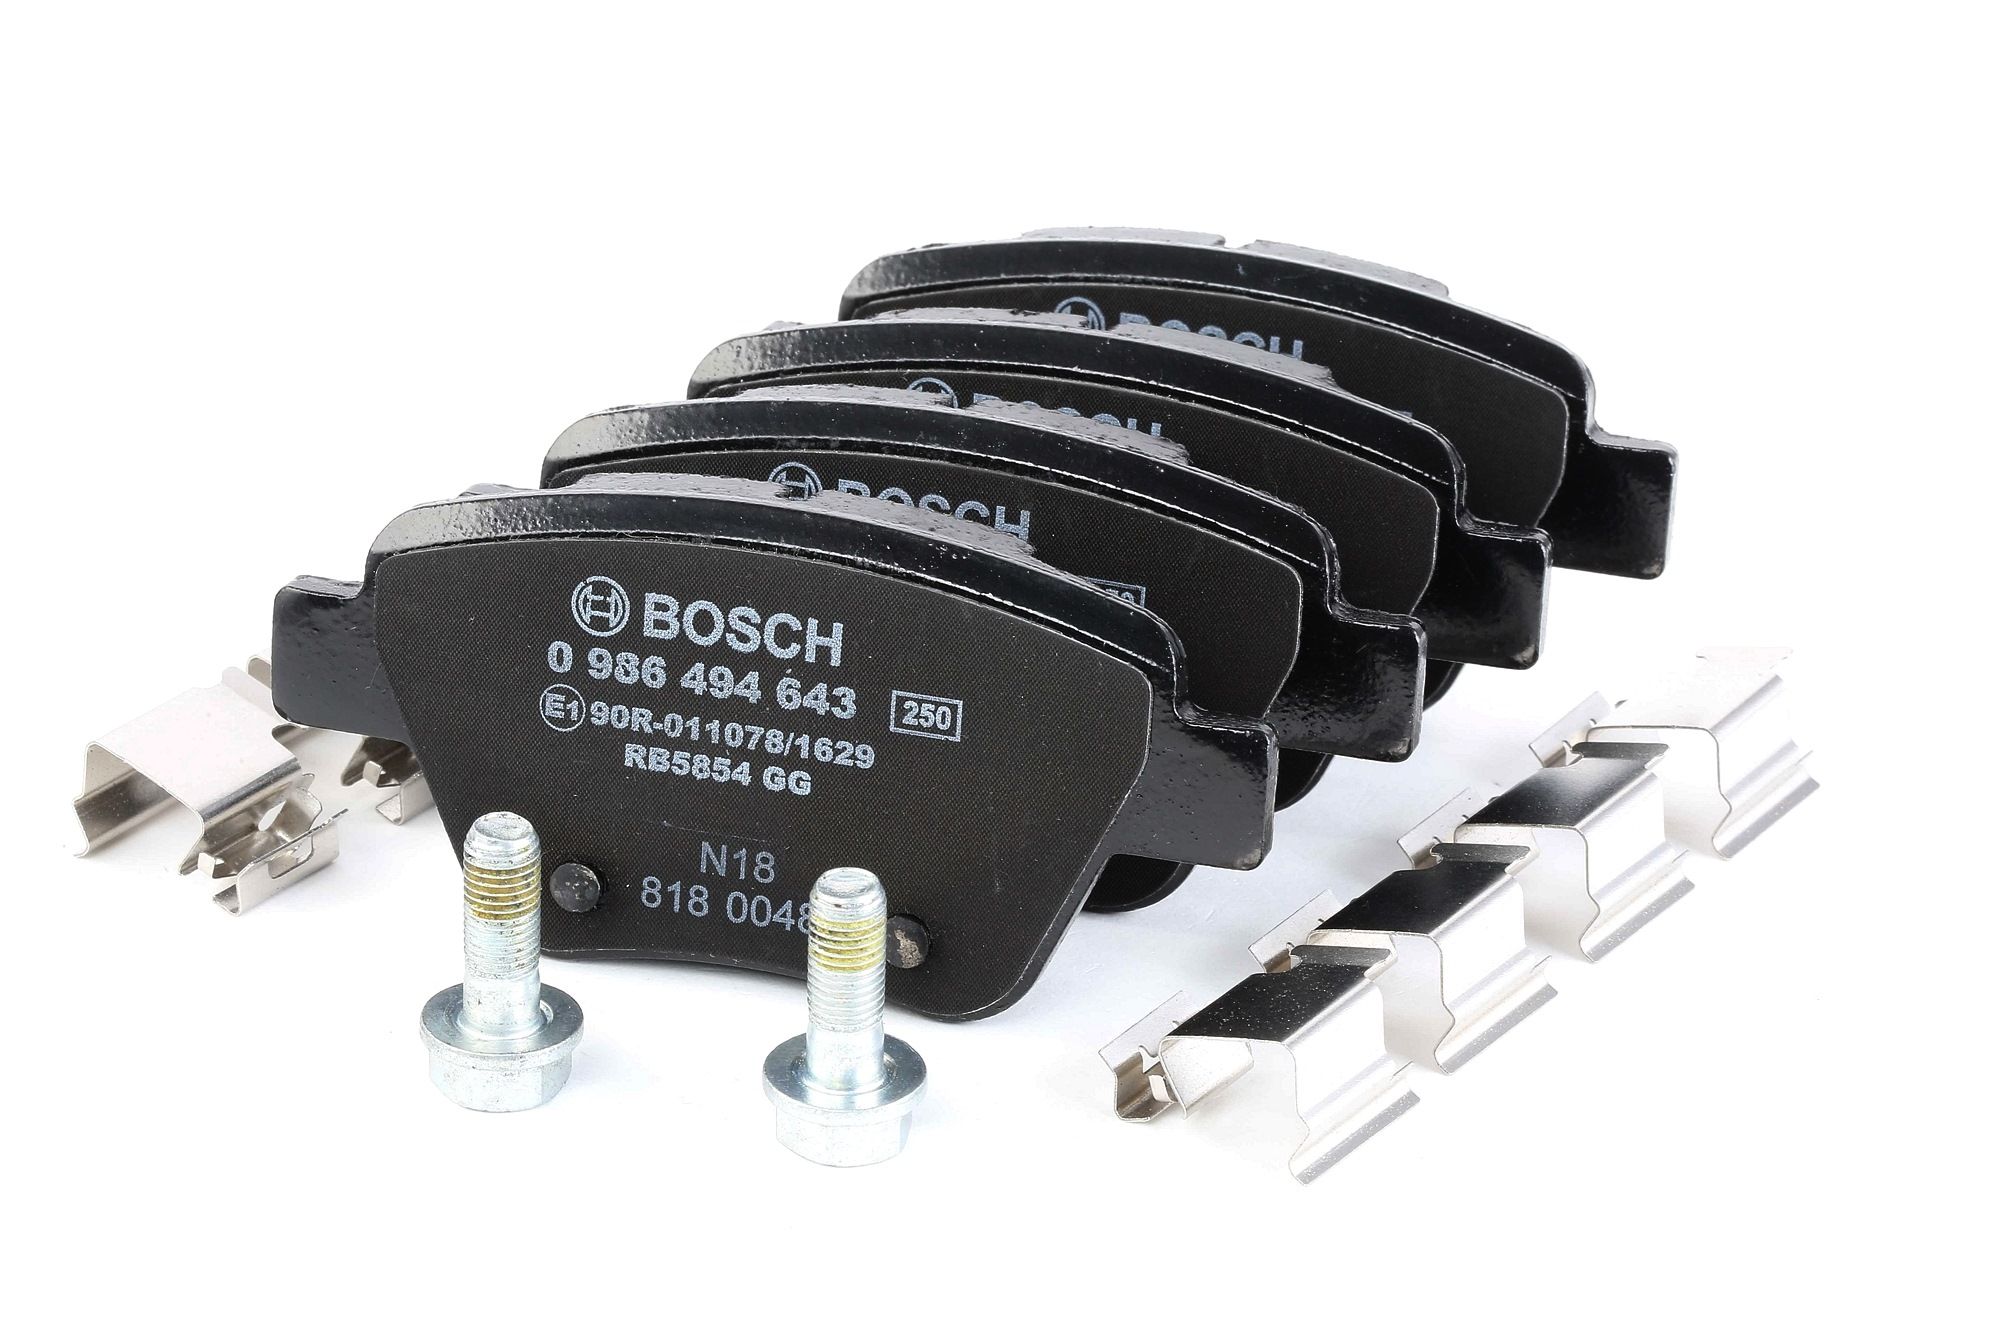
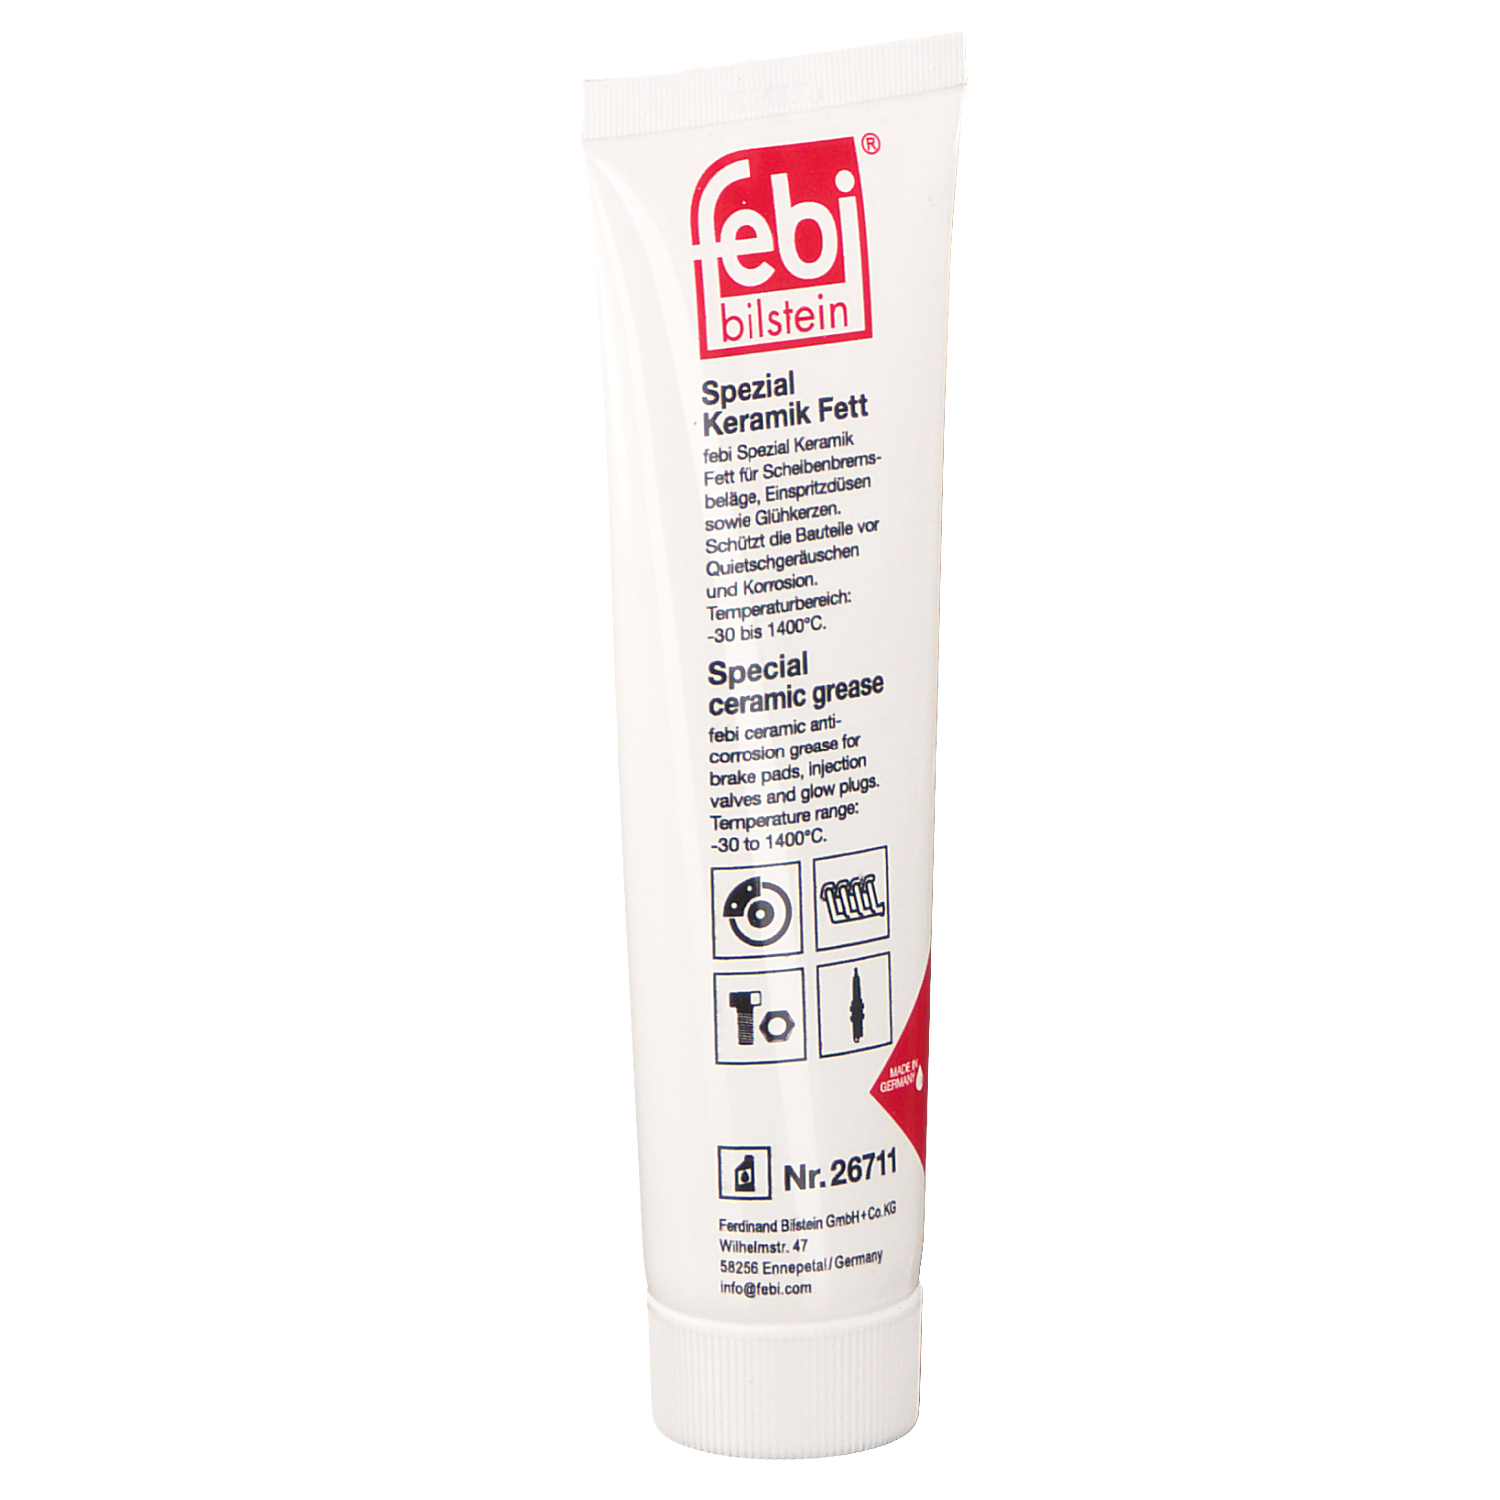
I also made sure to lubricate everything properly. For the brake pad contact points and hub/disc mating surfaces, I used Febi ceramic paste. For the guide pins, I used the Febi brake lubricant meant for guide pins, since those need something that is safe for rubber parts.

The brakes are amazing now. They make zero sound, feel smooth, and bite really well. No squeaking, no scraping, no weird noises, just proper brakes. It is one of those things that is easy to overlook while doing a bigger job like an engine rebuild, but it made a huge difference. The car feels much more complete with the engine running properly and the brakes finally sorted as well.
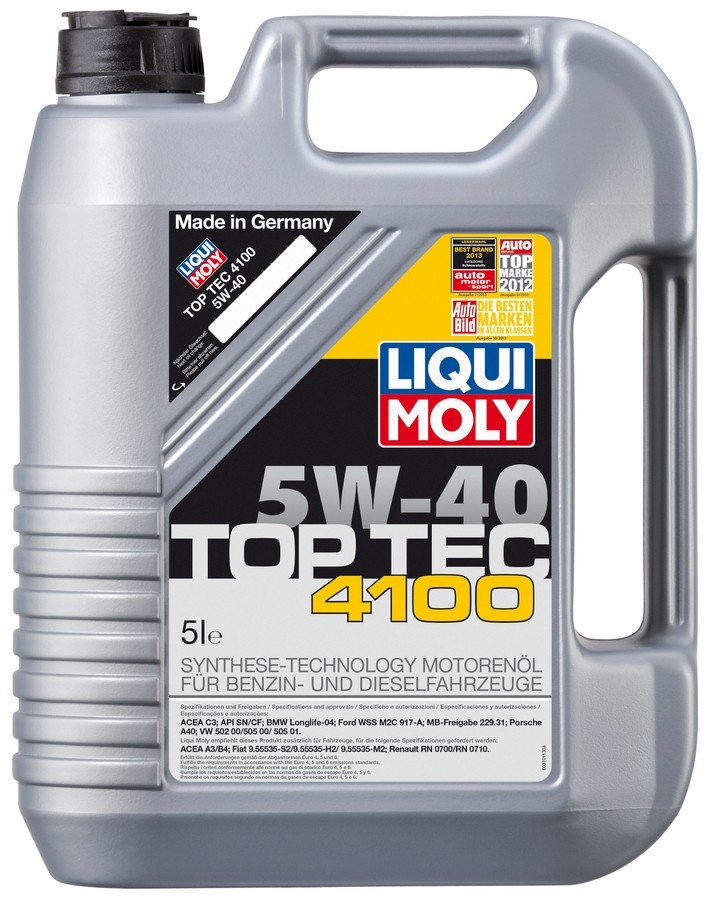
Before the first start, we went and bought some cheaper half-synthetic oil. Normally I only use Liqui Moly Top Tec in this car, but for the first start after a rebuild, the oil is basically just used as a flush. It goes in, runs for a short while, and then comes straight back out. So there was no point wasting expensive oil on that first run.
I installed a new oil filter, filled the engine with about 4.5 litres, disconnected the fuel pump and the coil packs, and then primed the engine a few times for around 15–20 seconds each time. Once we were sure oil pressure had been built, we connected the fuel pump fuse and coils again.
Then it was time for the first start.
It took a few seconds for fuel to reach the engine, but then it fired up. The engine sounded good, with no knocking or strange metallic noises. The injectors were a bit loud at first, but that could be from sitting for a while or just from it being the first start after everything had been apart.
We let it run for about ten minutes while watching for leaks. The engine smoked quite a lot at first, which is normal after this kind of work. There was probably still residue on the outside from disassembly, coolant, oil, cleaner, and everything else that gets on an engine during a rebuild.
After ten minutes, we shut it off and drained the oil.
It was black as coal.
That was not great to see, but it was also not a huge surprise. Even after all the cleaning and draining, there was clearly still old oil hiding inside the engine. The important part was the filter, so we opened it and checked it. No metal, only some small specs of black oil.
So we replaced the filter, filled it with another 4.5 litres of half-synthetic oil, and took the car for a very short round to warm everything up properly. Then it went straight back into the workshop for another drain.
This time, the oil looked much better. The filter had no metal again, and there were fewer black specs than the first time.
We filled it again with cheap oil, replaced the filter again, and called it a day.
The next day, we drove the car out of the workshop and took it for a very short test drive. Before that, we topped up the coolant and kept filling it as the system circulated and pushed air out. For the first drive, we brought extra oil and coolant just in case.
We monitored oil temperature, coolant temperature, idle smoothness, and listened for anything unusual. The first drive was very careful: no high rpm, no sudden load, and smooth driving only. We drove to a nearby parking lot, checked coolant again, let the car sit for a bit, and then drove a small loop of around 4–5 km before going back to the workshop.
The car felt great. Even while driving carefully, it felt responsive and tight. After three months of borrowing other cars, it felt very good to be back in the Golf again.
Back at the workshop, we drained the oil again and checked the filter. Again, everything looked good. The oil was clean, the filter had no metal, and this time there were no black oil specs. The oil was basically see-through, like freshly poured oil.
At that point, we filled it again with cheaper oil and planned to drive around 100 km before switching to the proper oil.
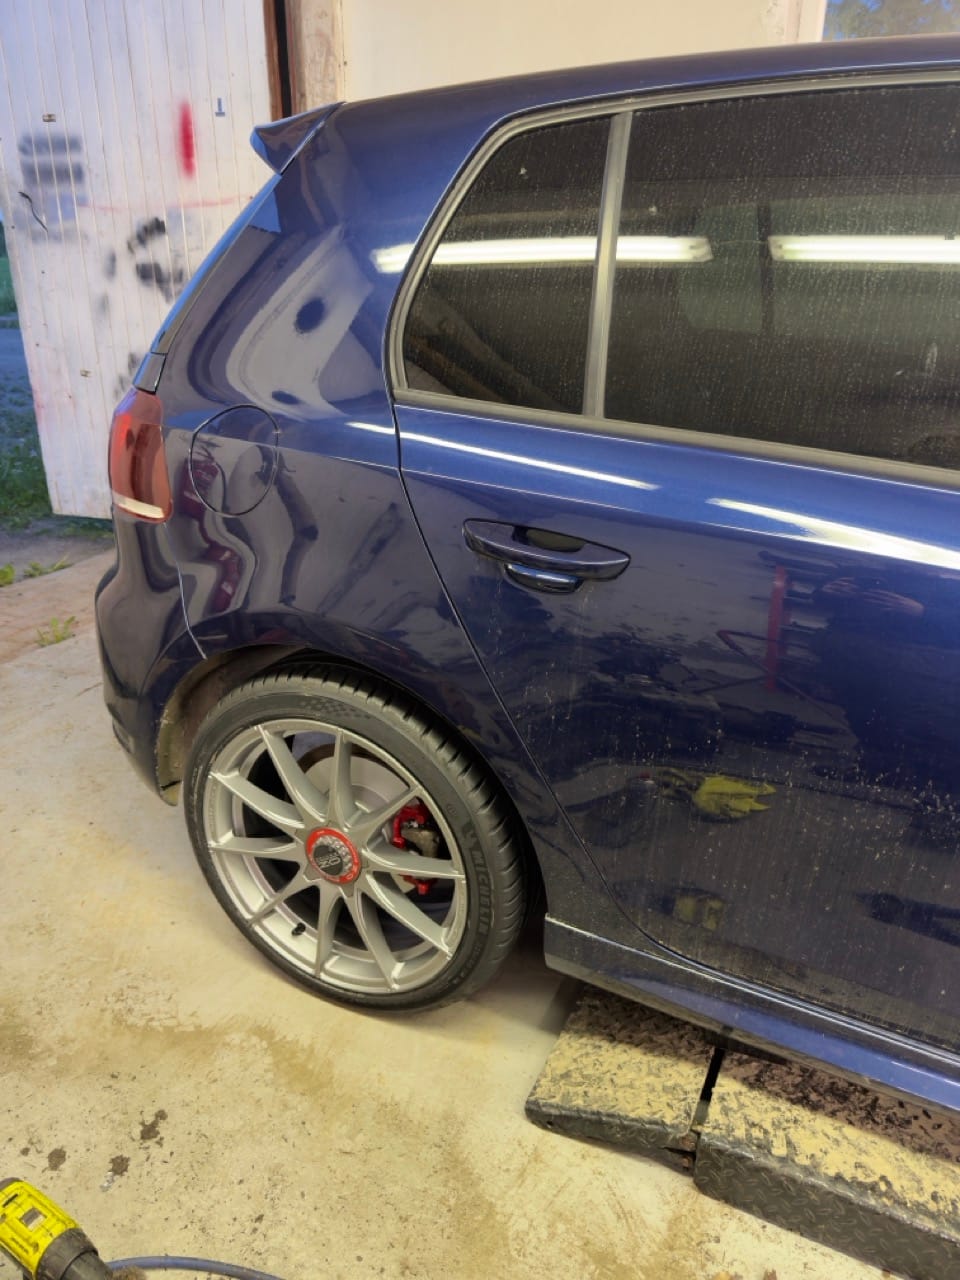
The car was also finally sitting on the new OZ Formula HLT wheels with Michelin Pilot Sport 5 tyres. These tyres are seriously grippy. I have a video from when the car was lowered onto the workshop floor, and you can actually hear how much grip the tyres have as they touch the floor.
After around 100 km of careful driving, I drained the cheap oil and filled it with Liqui Moly Top Tec 5W-40. From there, the plan was to drive the engine in properly. I set a target of around 500–800 km before the next oil change, drove very carefully, avoided high rpm, and made sure the engine was warm before driving. I also varied the rpm instead of sitting at one fixed speed for too long.

The goal was simple: let the piston rings settle, make sure everything ran smoothly, and hope the oil stayed clean.
It has now been about 900 km since I filled it with the proper oil, and I have done the next oil change. The oil looked good. It was not black, and I could shine a light through it. There was also no more smoke from the exhaust, and the engine does not seem to burn oil.
I did notice one issue, though. There seems to be a small oil leak somewhere. It is not large enough to show anything obvious on the dipstick, and I only noticed because the bottom plate was dirty. I replaced pretty much all the seals, but it is possible one got pinched or something small is not sealing properly. Hopefully it is somewhere easy to reach.
Other than that, the engine seems healthy. It sounds good, drives well, does not smoke, does not seem to burn oil, and the oil changes have looked exactly how I hoped they would after the first flush.
Brake lights, because of course
Right after getting the car running and driving, another problem showed up. The brake lights were stuck on.
The sensor on the master cylinder looked terrible. The connector housing was basically missing, and it was just the pins and cable holding it in place.
I went to the junkyard and picked up a few replacement sensors. Naturally, the first one I tested was also broken. I did not realize this until after spending three or four days checking everything else.
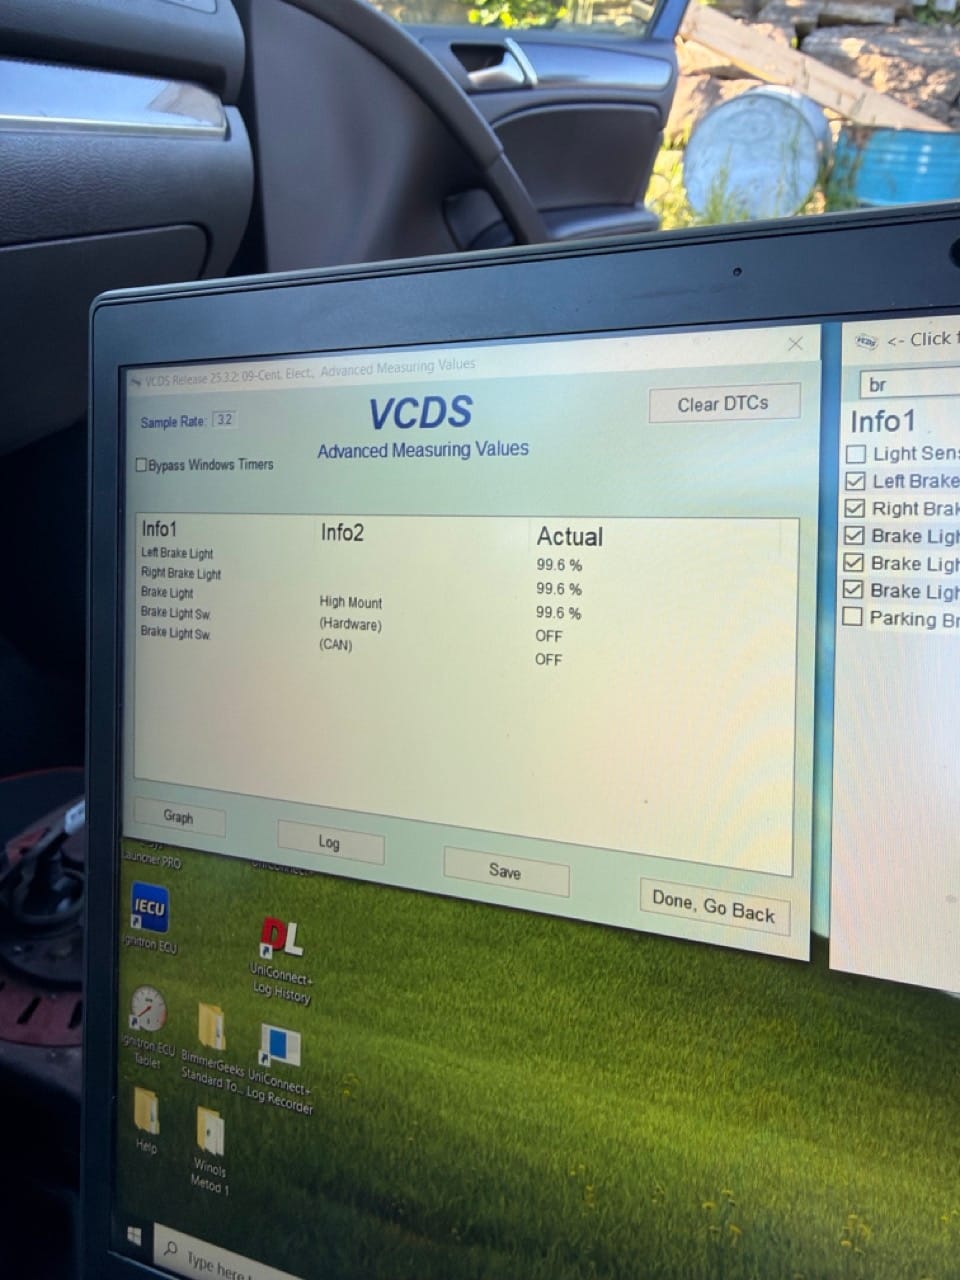
The symptoms were weird. The brake lights were stuck on, I could change gear without pressing the brake, and the car behaved strangely. But normal live data made it look like the brake pedal signal was working correctly, which made the diagnosis much more annoying.
Here I am actively pressing the brake pedal in and out, reading the VCDS value, yet the brake lights are still stuck on
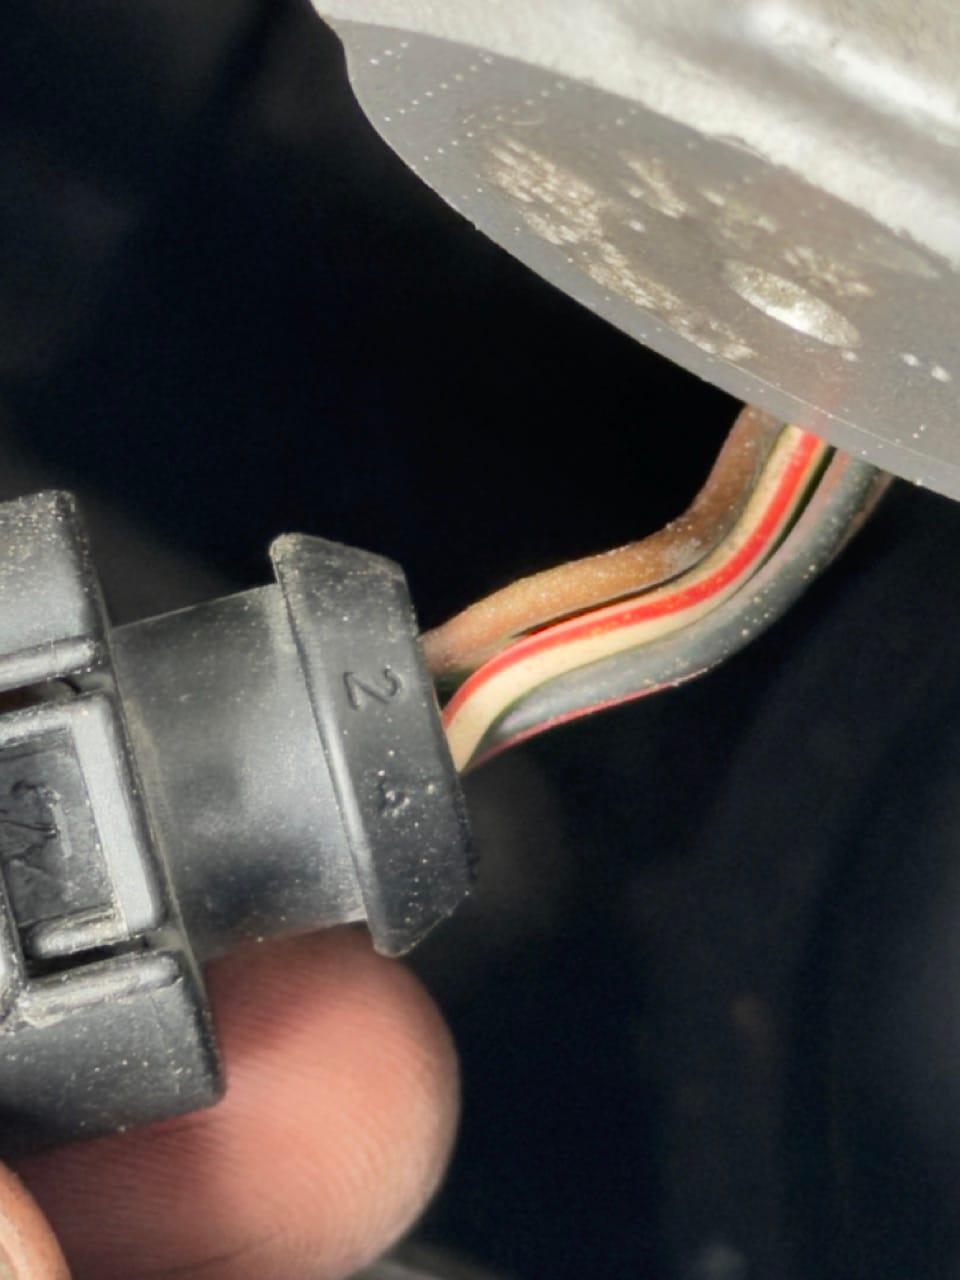
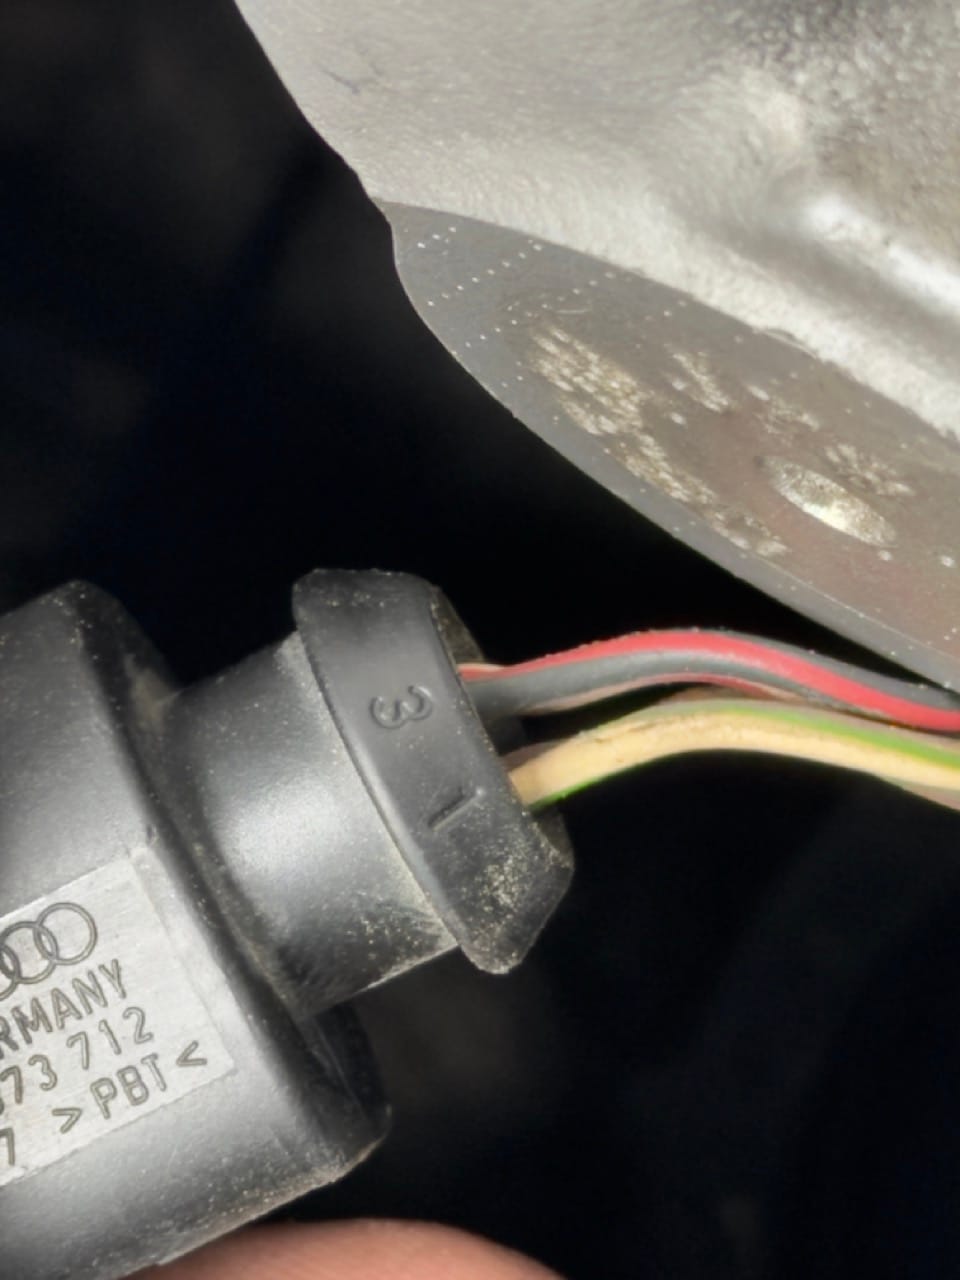
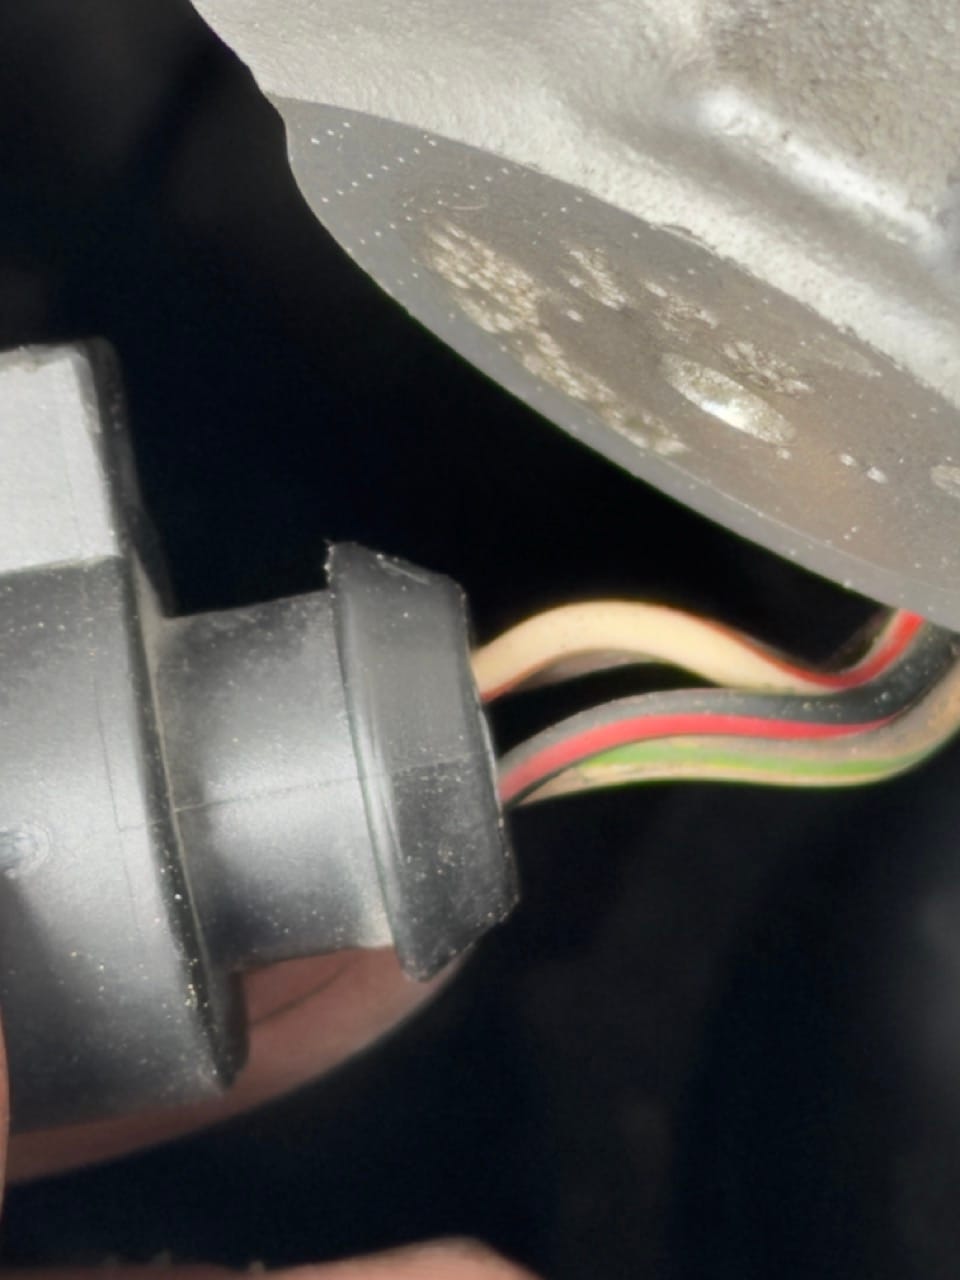
Here's how the original Brake Light Switch connector pinout looks for those who need it
I searched forums, checked wiring, resoldered the wires twice, and even checked under the dashboard to make sure the car did not have some second hidden brake switch. Nothing made sense until I opened VCDS and went into Measuring Blocks.
In group 66 or 67, I could finally see the actual brake switch values. The sensor has two outputs, and they need to agree. Instead of showing 000 with no brake and 011 when pressing the brake, mine was showing something like 010 or 011 all the time. So one of the outputs was stuck.
It was the sensor.
I tested the other sensors with a magnet while watching the value in VCDS, and that finally confirmed which one worked.
The fault code was likely the usual brake switch implausible signal fault, something like 16955 / P0571 / 001393 - Brake Light Switch (F): Implausible Signal, or possibly 00526 - Brake Light Switch (F). I do not remember the exact code, but “implausible signal” was the important clue.
By the time I figured it out, I had spent five or six hours diagnosing and managed to drain the battery. So the car had to go on the charger. It was around midnight anyway, so starting it again was probably not the best idea.

So if you ever have stubborn brake light switch problems on one of these cars, do not only trust the normal live data. Go into VCDS Measuring Blocks and find the raw switch value. That was what finally solved it for me.
Engine mounts
I also replaced the engine mounts with 034 Motorsport Density Line mounts.
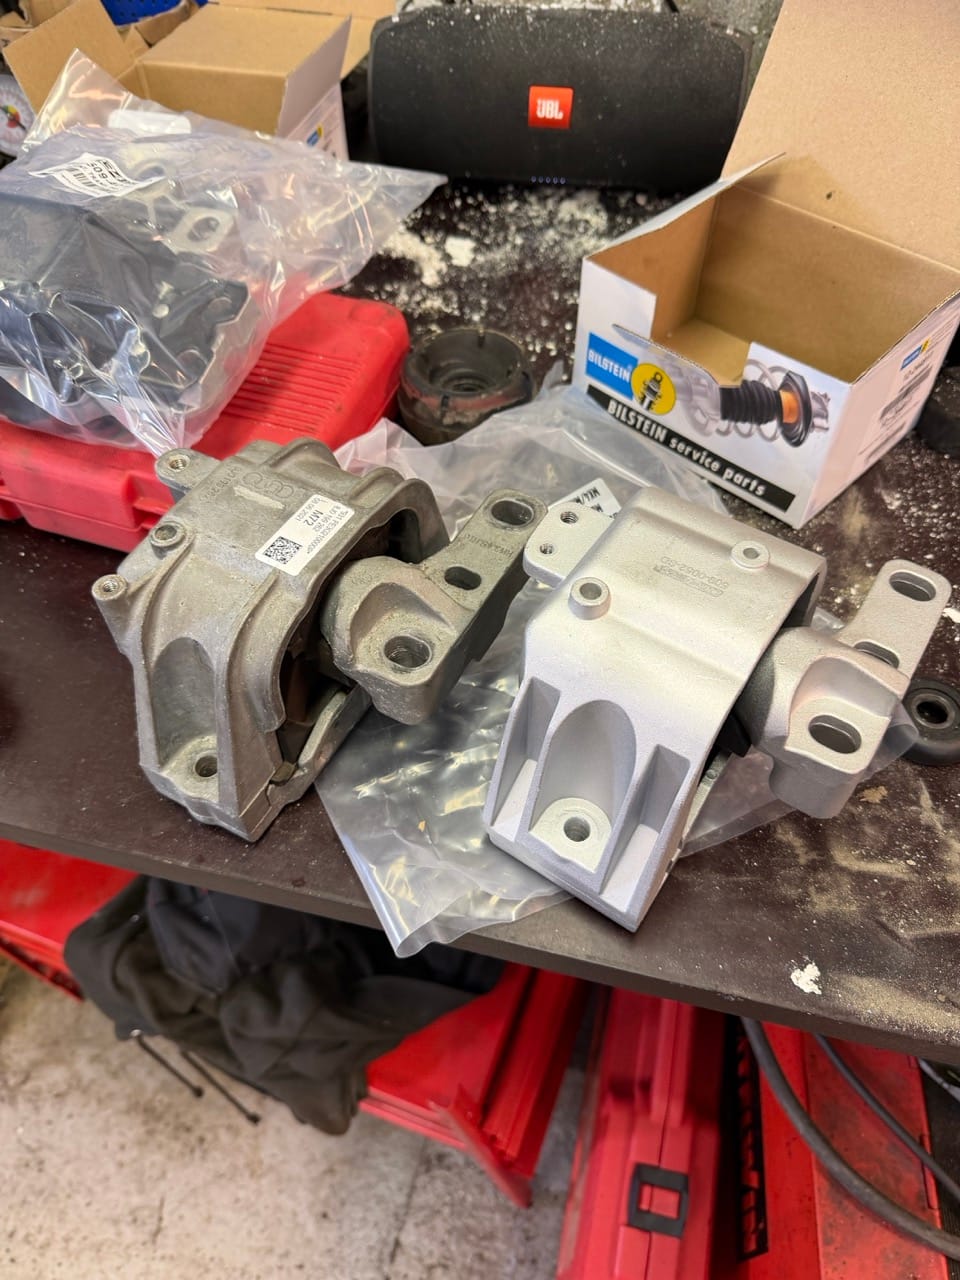

This was very needed. The old mounts were so worn that I could move them by hand with almost no force. Replacing them while the engine was out made sense. I did not replace the dogbone mount yet, but I will probably do that later when I drop the subframe.
Still not completely done
The AC still needs attention. I paid around 200 euros to get it filled, and it was empty again after two days. Somehow the leak test passed when it was filled, even after testing for around ten minutes, but clearly there is a leak somewhere. I reused the old O-rings on the AC lines, which was probably a mistake, so those need to be replaced.
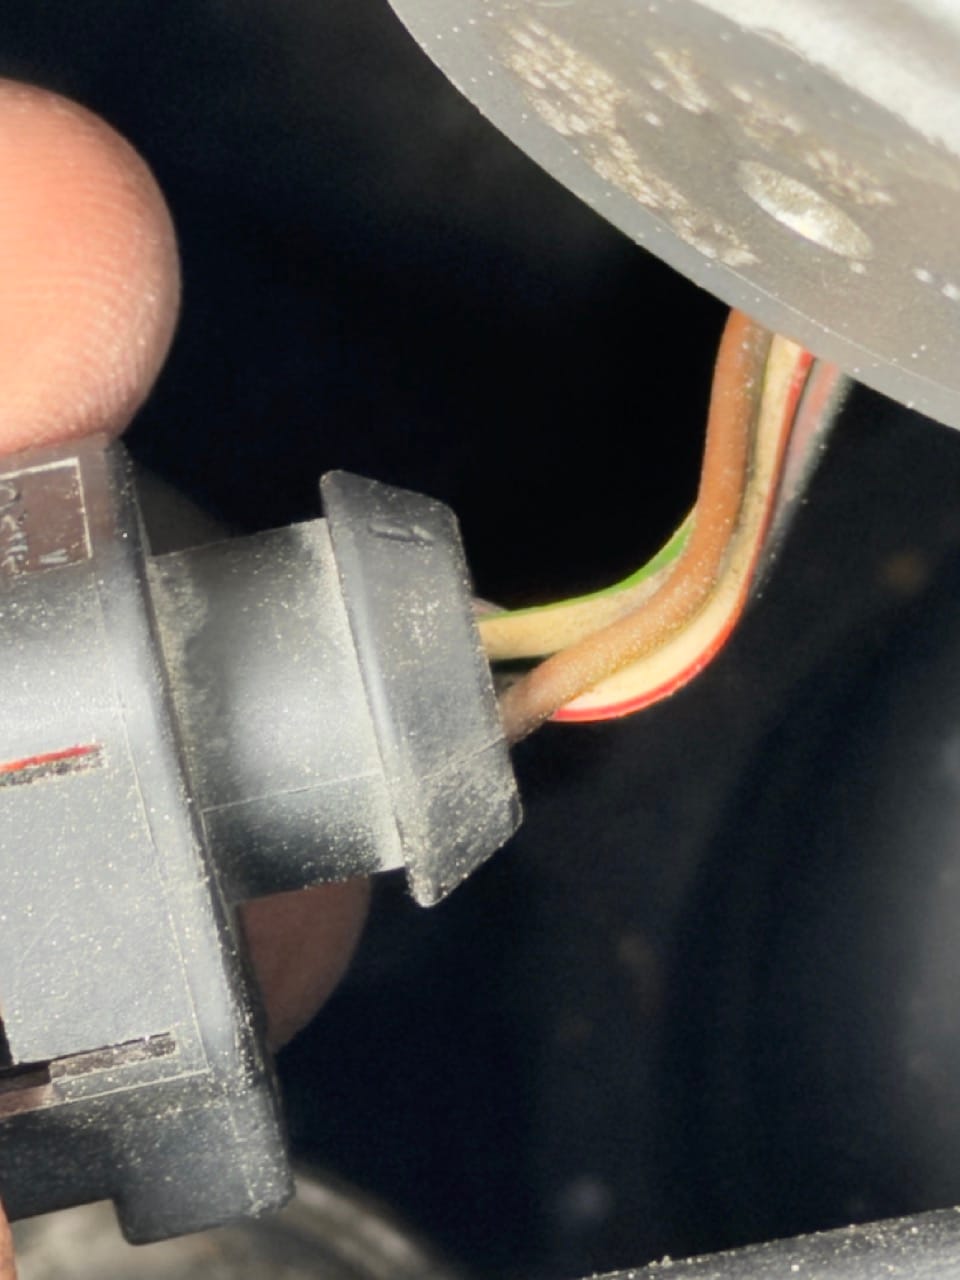
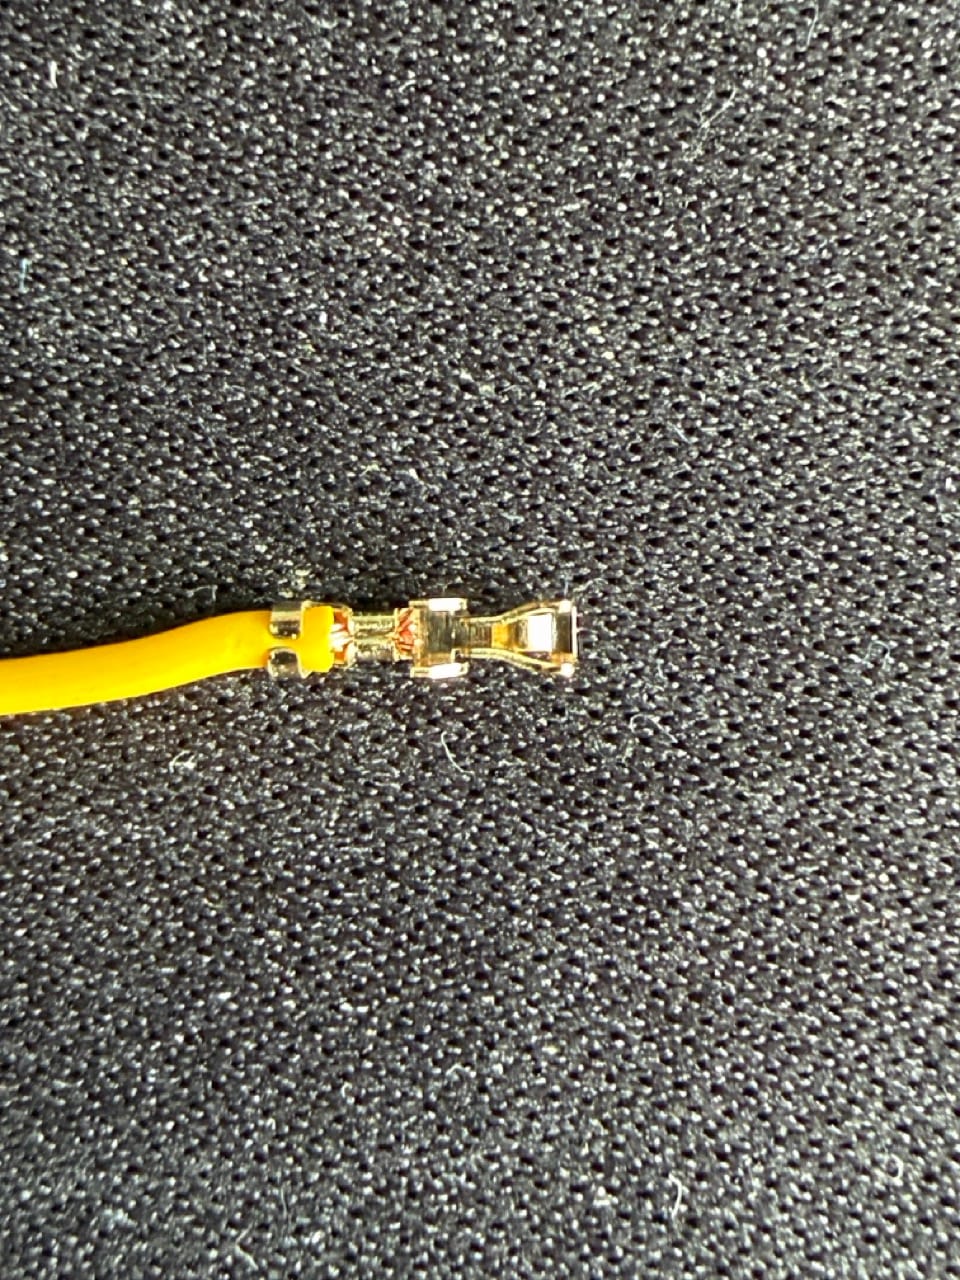
The rear camera is also still not finished. I bought an AliExpress retrofit camera for the new radio, but it turns out it is only really compatible with cars that do not already have the factory rear camera. The aftermarket camera uses a two-pin connector for the hatch opening, while my original setup uses a four-pin connector.
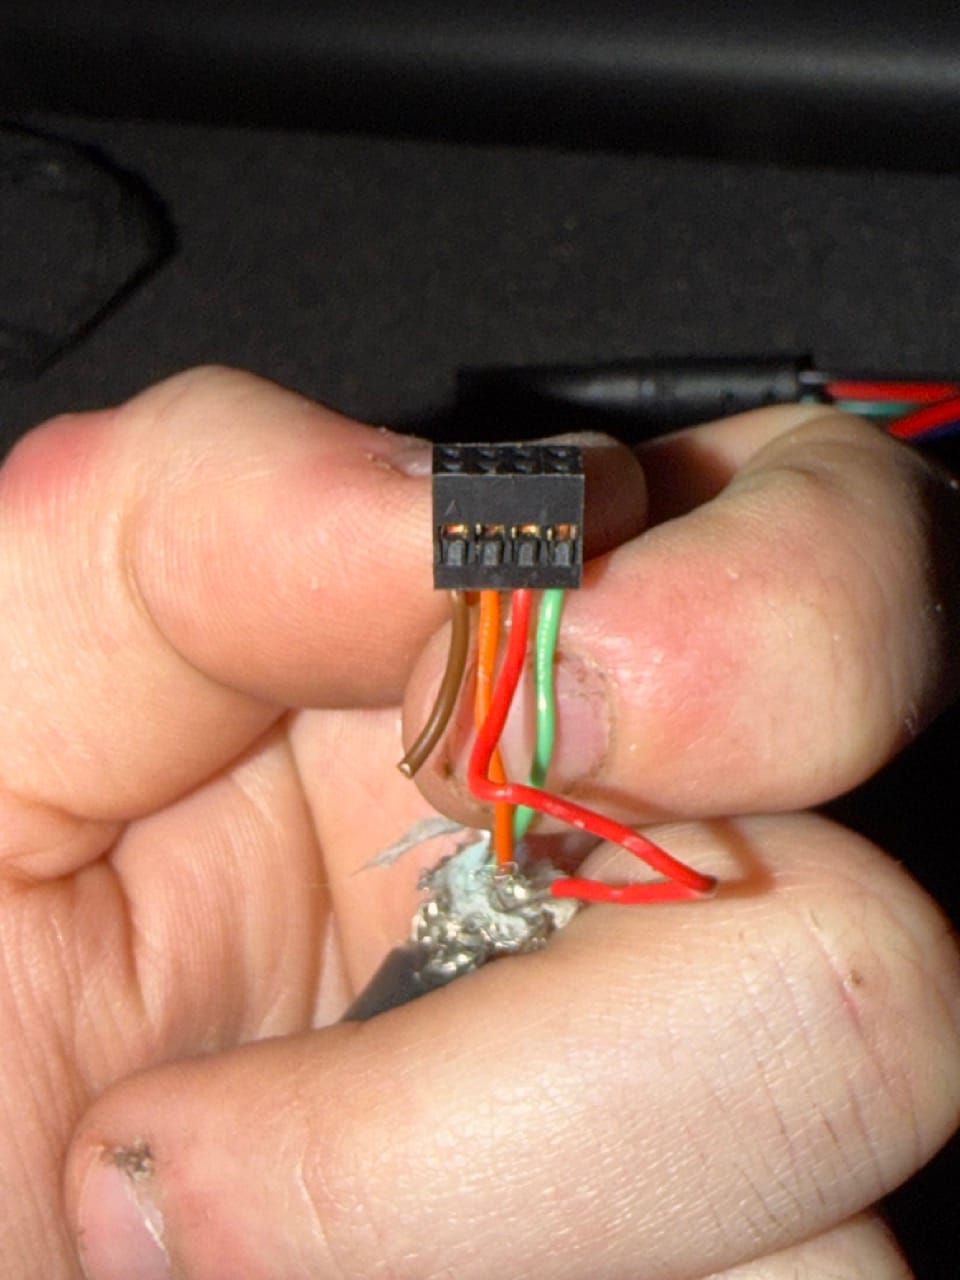
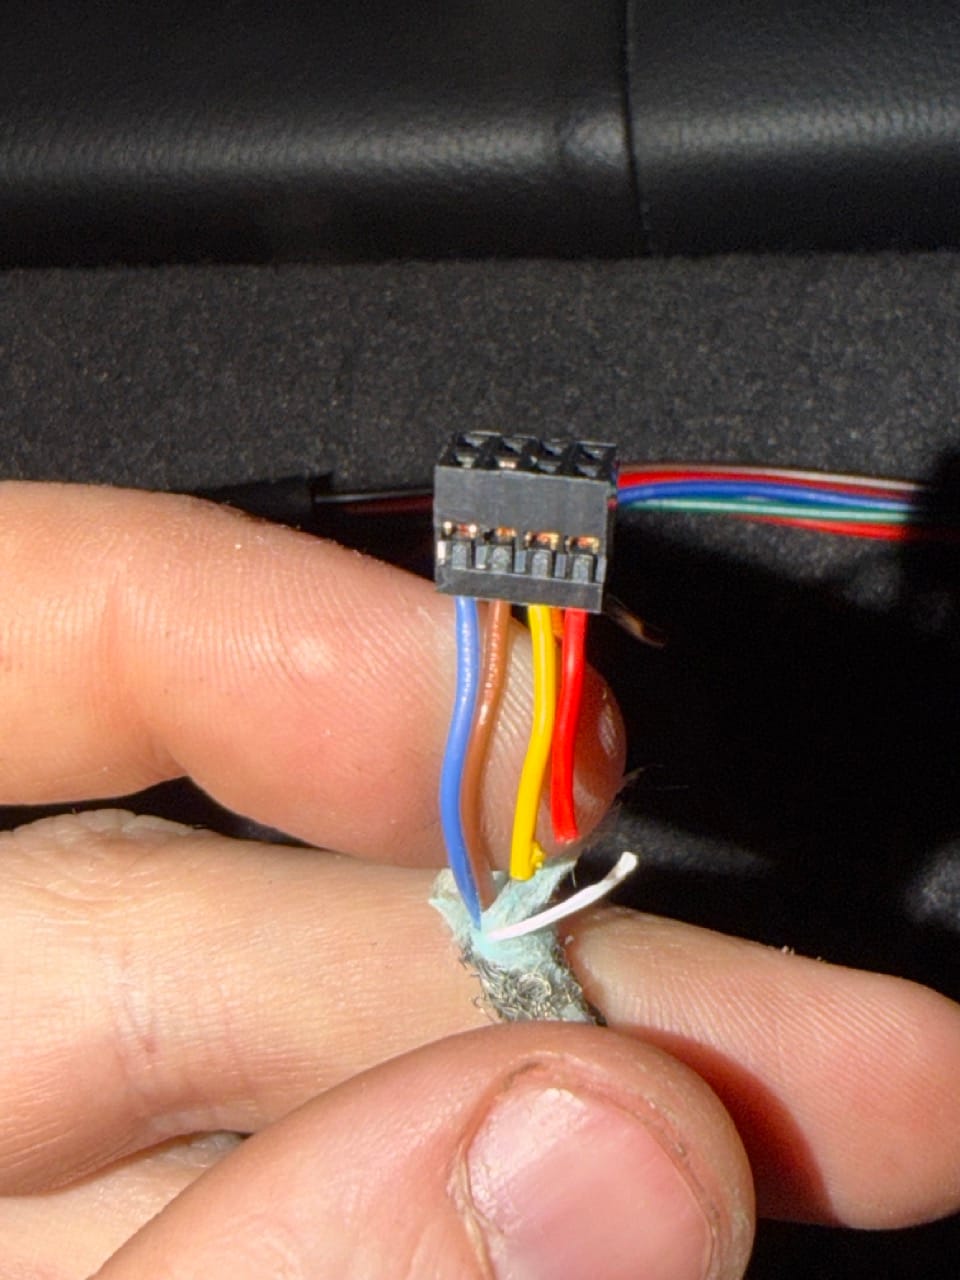
The connector that goes directly into the camera unit
I tried to reverse engineer both setups, but they are completely different. The original camera itself seems fine, though. The problem appears to be the small cable going to the camera unit. It has been soldered before, and I could solder it again, but I would rather replace the wire properly.
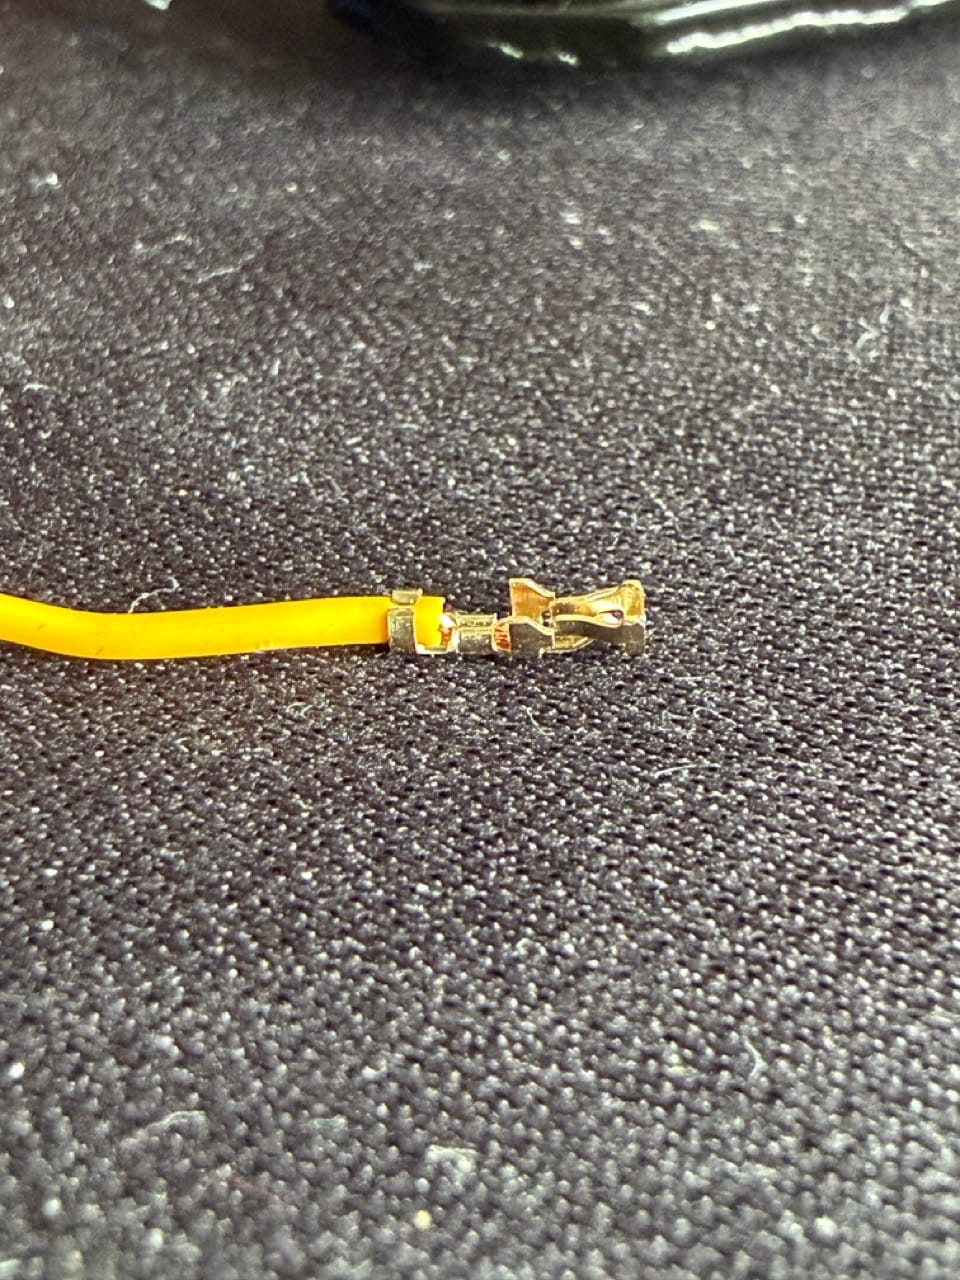
The case (left) for the camera unit and the camera unit (right) itself
So far, I think the connector is closest to a PHDR-08VS, which is a 2x4-pin connector that needs some modification to fit. The wire seems to be around 28 AWG, maybe 26 AWG, and the terminal might be either SPHD-002T-P0.5 or SPHD-001T-P0.5. I am still not completely sure, and I also do not have the correct crimping tools for terminals that small, so I might just order a harness that already has the connector and wires attached.
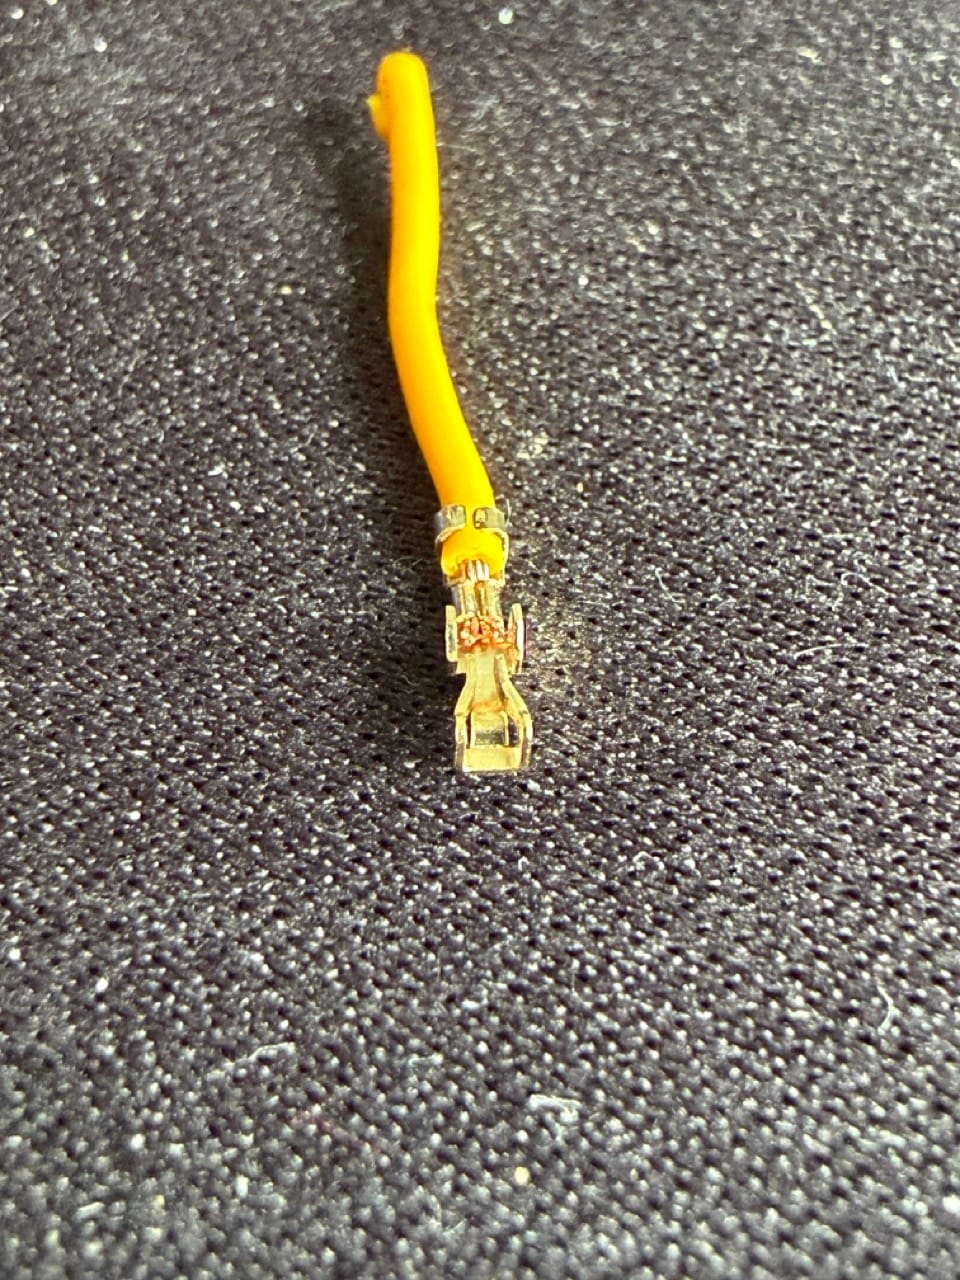
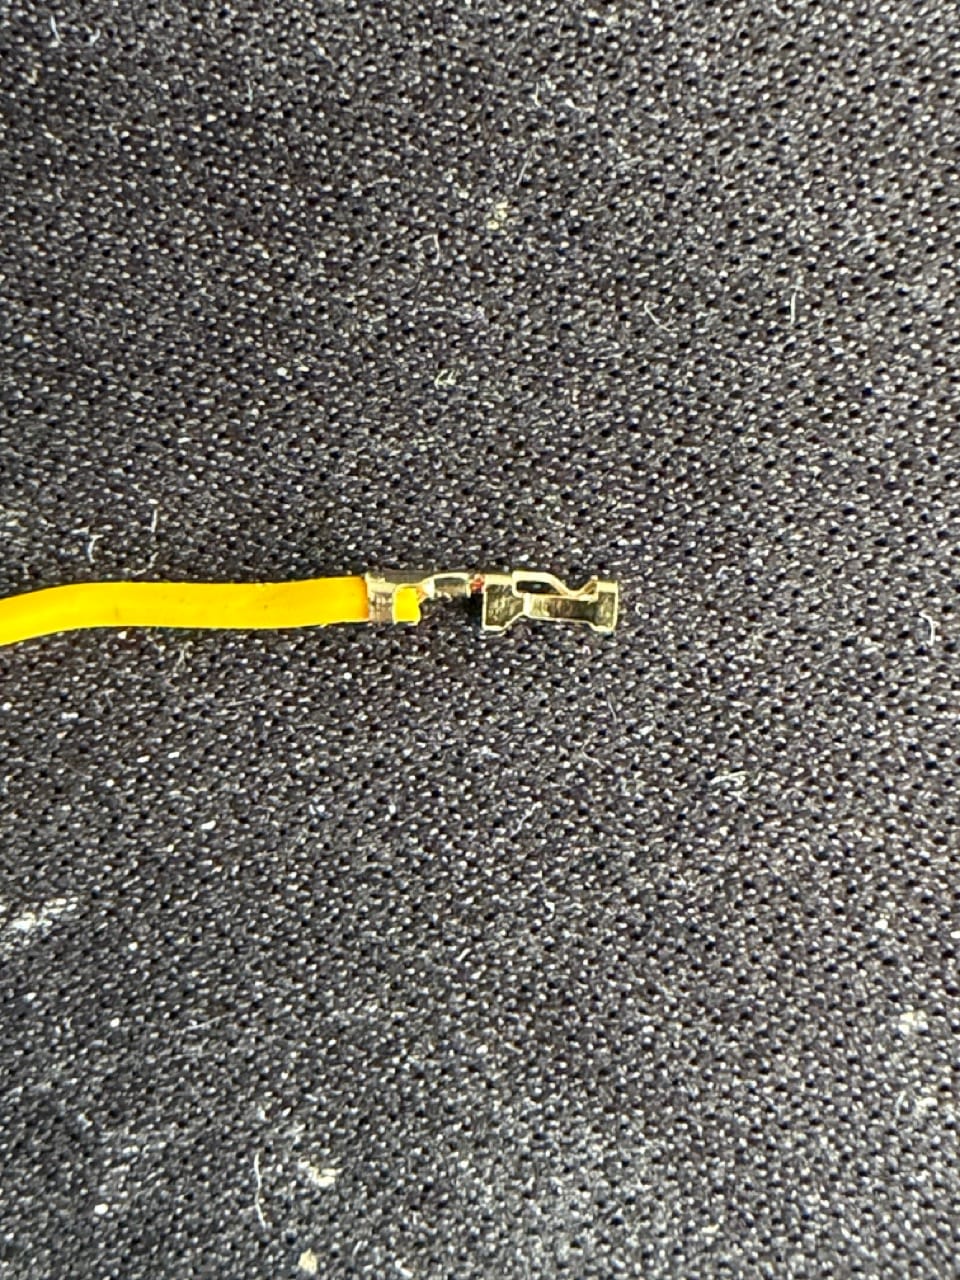
This is what the terminal inside the camera units connector looks like
So that is where the car stands now. The engine is in, it runs, it has survived several oil changes and around 900 km of careful driving, the brake light issue is fixed, the engine mounts are replaced, and the brakes are now refreshed with OE Bosch discs and pads.
The remaining jobs are finding the small oil leak, fixing the AC leak, and finishing the rear camera wiring. After that, I would very much like to stop fixing things for a while and just enjoy it.